
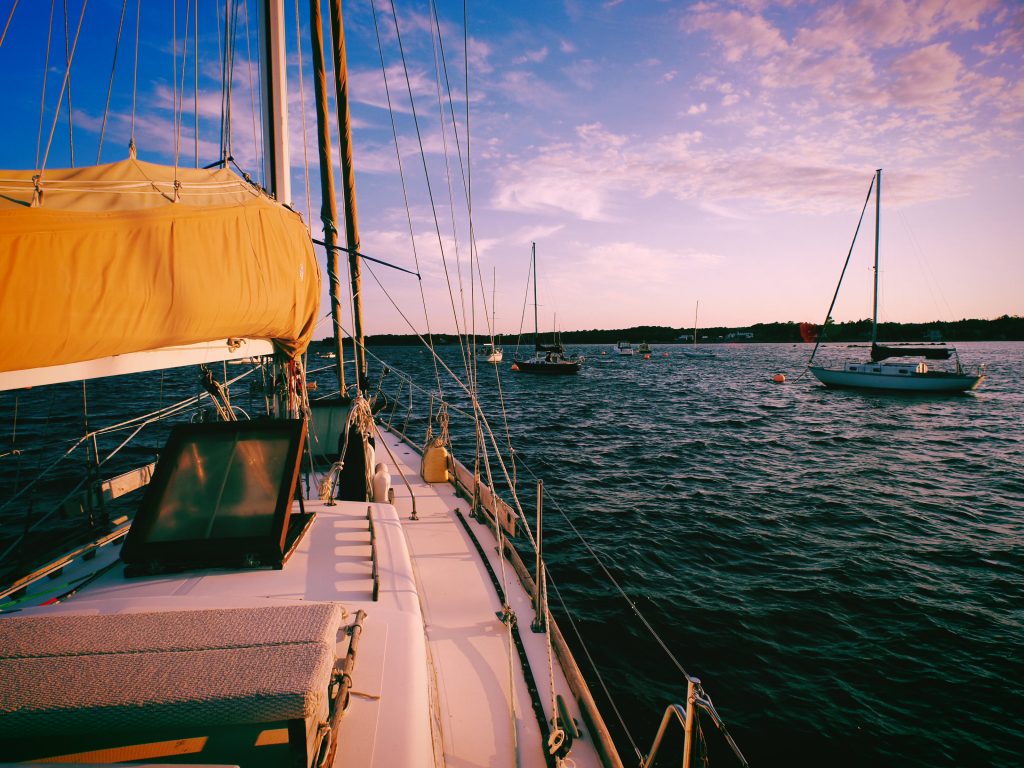
As we departed from East River Shipyard on 6 June, we never expected to run into engine trouble. We certainly weren’t expecting that trouble to be diesel bug in our auxiliary fuel tank!
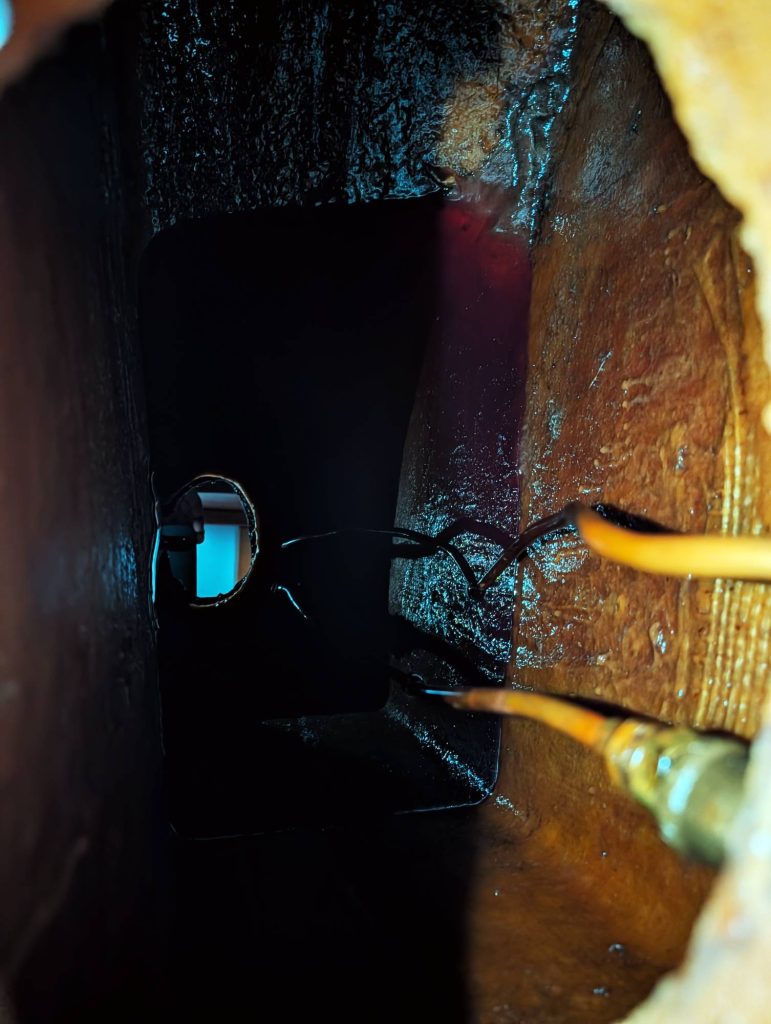
It never occurred to us that, since Isola Naida was first constructed, no one had ever laid eyes on the inside of her auxiliary fuel tank. How do we know that? Simple. It would have been practically impossible. The six-foot-long, approximately 70-gallon tank was constructed with a single inspection port. That port only provided access to the first of five baffled sections and was barely large enough to get an arm through, let alone clean the tank.
Unfortunately, we were about to discover exactly why that was a problem.
What are our options?
Once we knew we were dealing with diesel bug, we really had two options.
Option 1
Empty the tank, measure exactly how much fuel we have, refill the tank and treat the diesel with biocide. Once the diesel is shock treated we could continually filter it through our fuel polisher until the diesel ran clear.
This may have worked, however, biocide is harsh on engine components and there is a good chance that we wouldn’t completely resolve the issue. It would also have cost a fair amount in filters. Ultimately, we didn’t like not knowing if we’ve take care of the issue entirely and worried we’d find ourselves constantly fighting back the diesel bug.
Option 2
Empty the tank, cut new inspection ports, de-grease and dry out the tank entirely, make new lids for the inspection ports, refill the tank and treat the fuel with a maintenance dose of biocide.
For us, this was the obvious choice.
The Vision
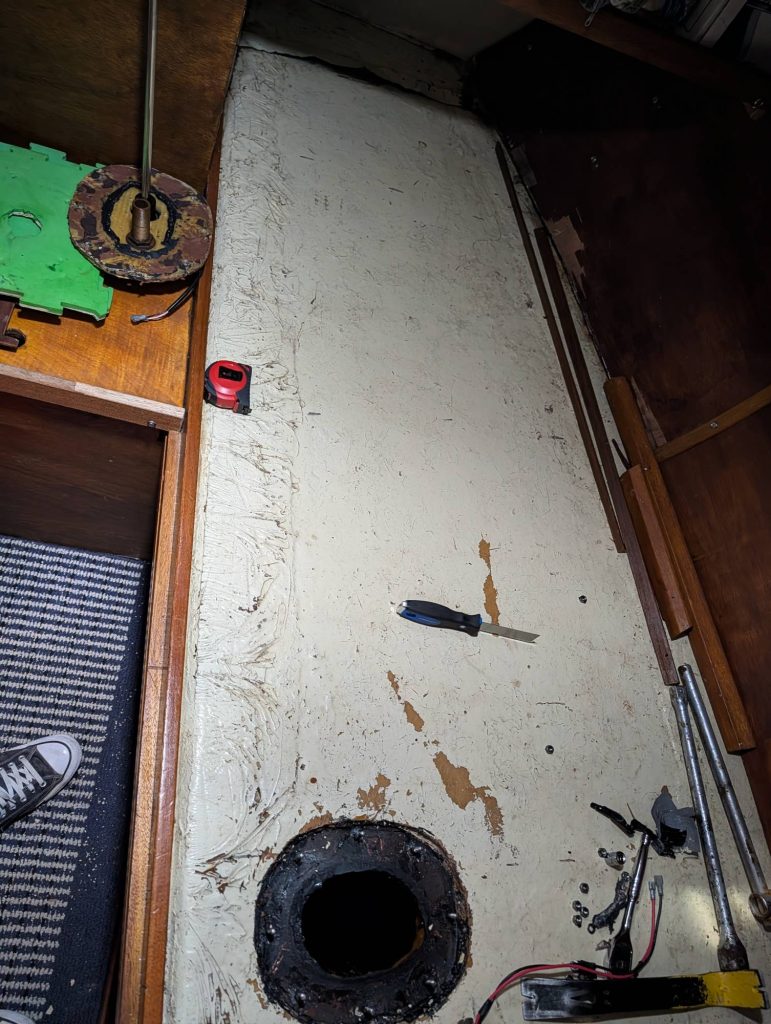
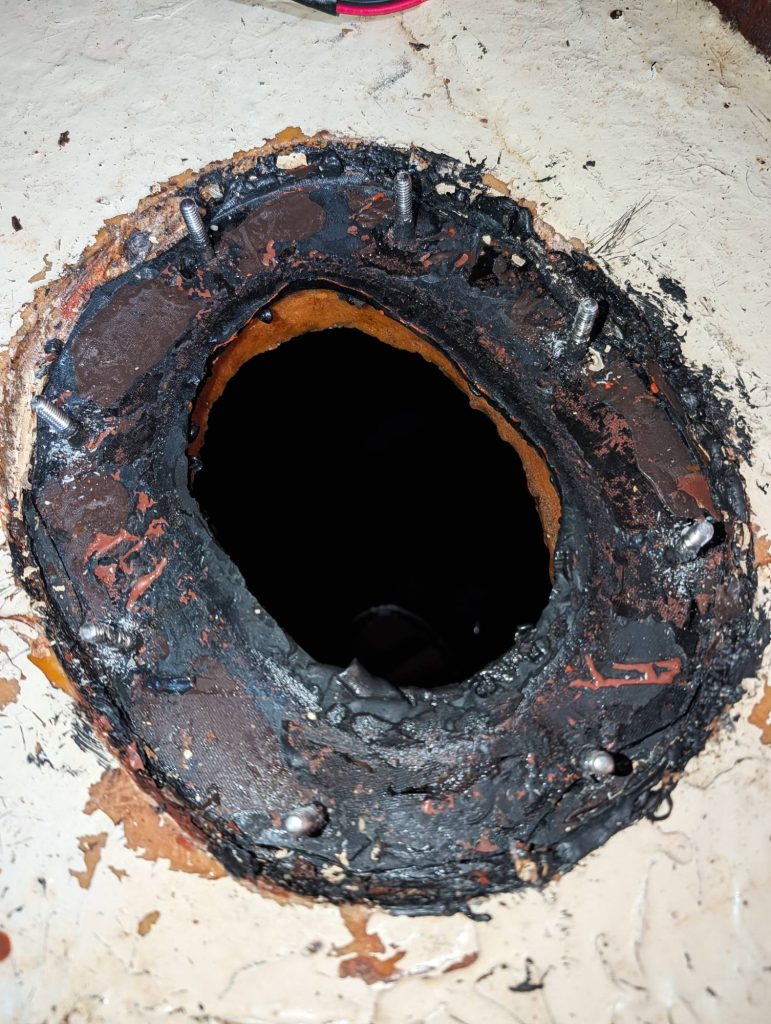
To help put our minds at ease and to provide us proper access to the tank in the future we decided that the best option was to cut new inspection ports and clean the tank out completely.
We knew this would prevent us from using the tank, and therefore our engine, until the work was complete. But that seemed like a much better option than crossing our fingers and hoping the problem goes away.
The end goal is to have two new, large inspection ports with aluminum lids bolted in place and sealed with new rubber gaskets.
The Plan
The plan is as follows:
- Empty the tank in 5-gallon (20 L) jerry cans
- Cut new inspection ports
- Route a lip into the ports so the aluminum lids can sit close to flush with the existing fiberglass
- Fill, fair and sand to round any hard edges and smooth the surface of the berth
- Fiberglass the plywood core exposed from cutting out the ports
- De-grease, rinse, vacuum, and dry out the tank
- Fit new aluminum lids, rubber gaskets and bolt everything into place
- Refill the tank, treat the fuel, and polish it
Step 1: Empty the Tank
On 11 June, D’Arcy and Noelle arrived at Isola Naida with a bunch of jerry cans and a plan.
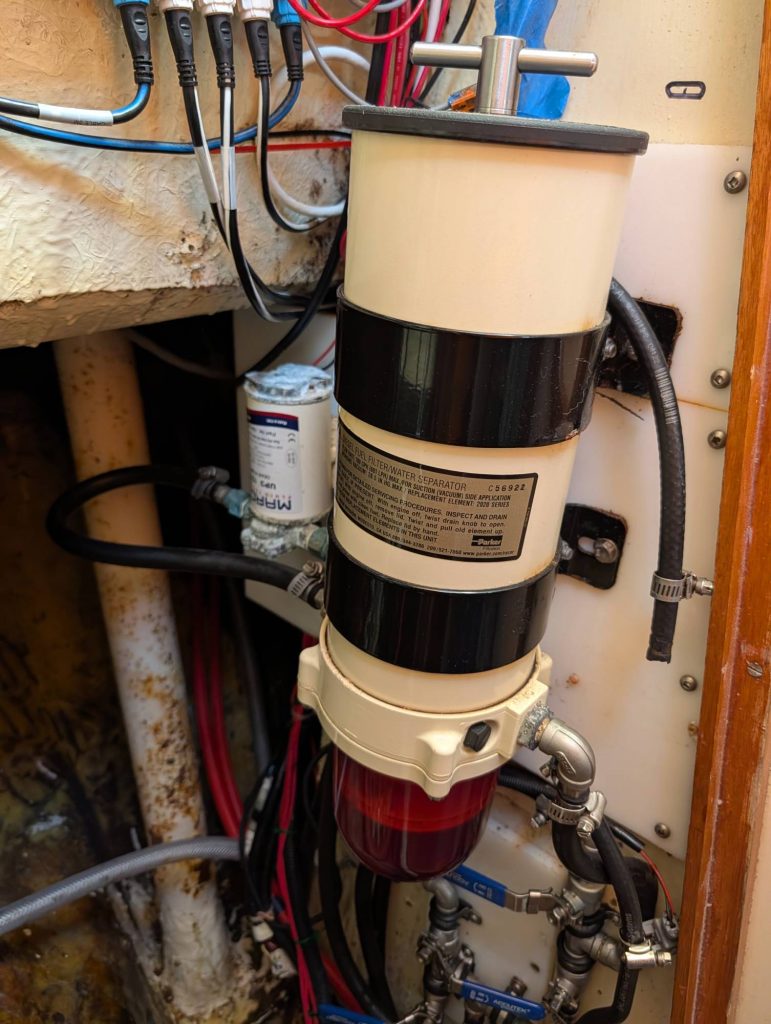
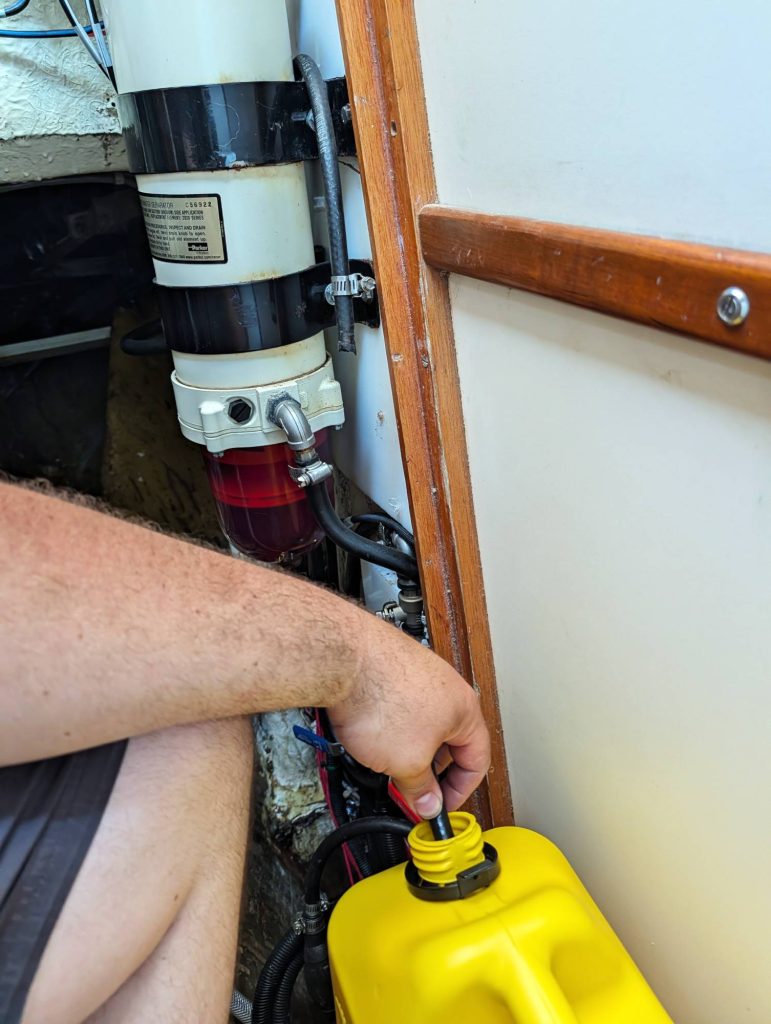
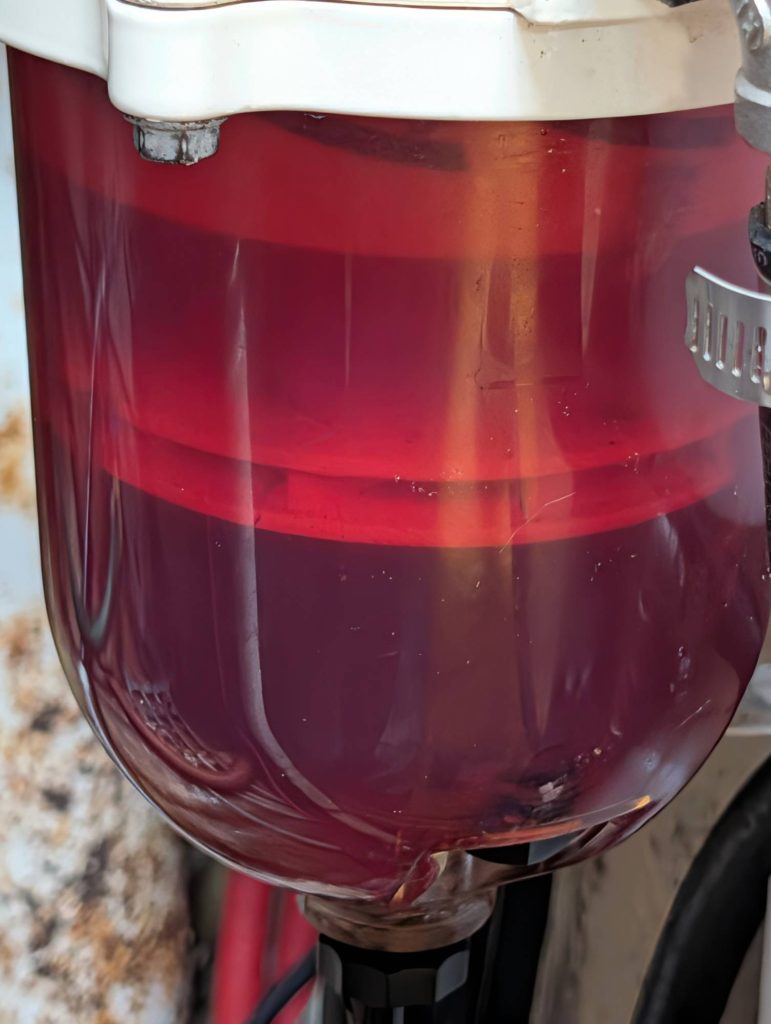
The fuel pump to the Autoterm diesel heater was disconnected, which provided us with an outlet on the filtered side of the fuel polishing system. By turning on the fuel polisher, we could divert the fuel to the jerry can instead of routing it back to the tank. This allowed us to provide an initial cleaning pass to the diesel as it was being removed from the tank.
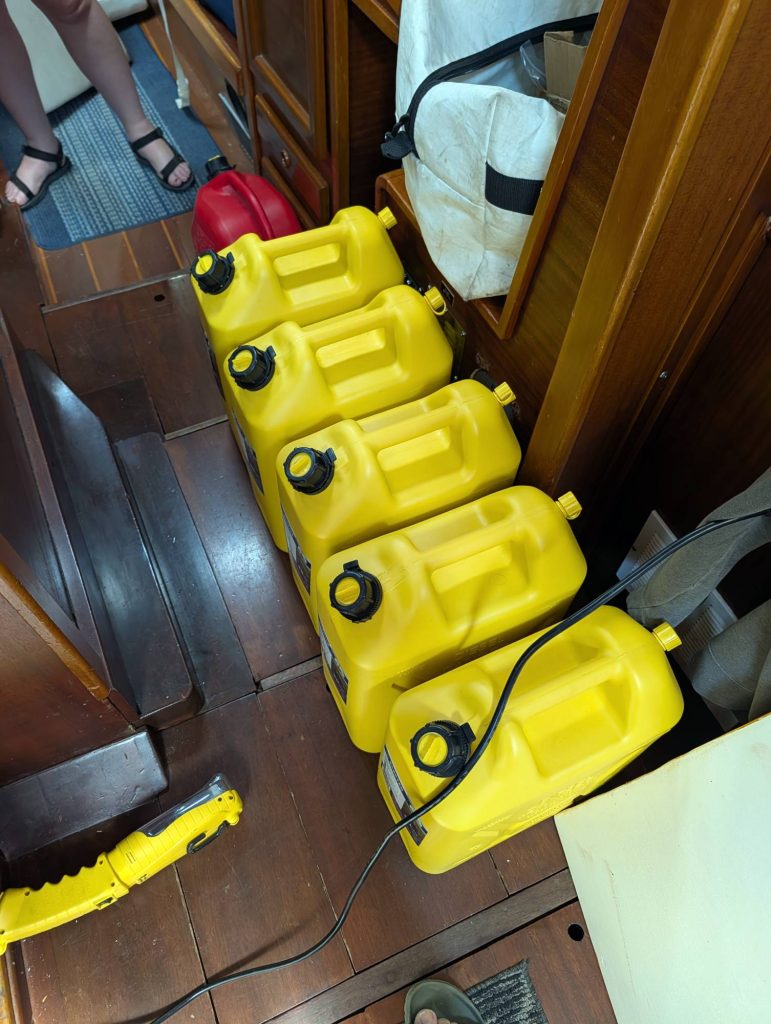
We wildly underestimated the amount of fuel we had in the tank and had to make multiple trips to Princess Auto to purchase more jerry cans. By the time the tank was empty we had eleven 5-gallon (20 L) jerry cans full of filtered diesel, plus a twelfth containing the questionable discharge at the end of the pumping process.
With the 55 gallons of fuel removed from the tank, work could begin on isolating the quarterberth with plastic sheeting to attempt to contain the mess that would follow.
Step 2 & 3: Cutting
On 13 June, D’Arcy arrived at Isola Naida to come up with a cutting plan.
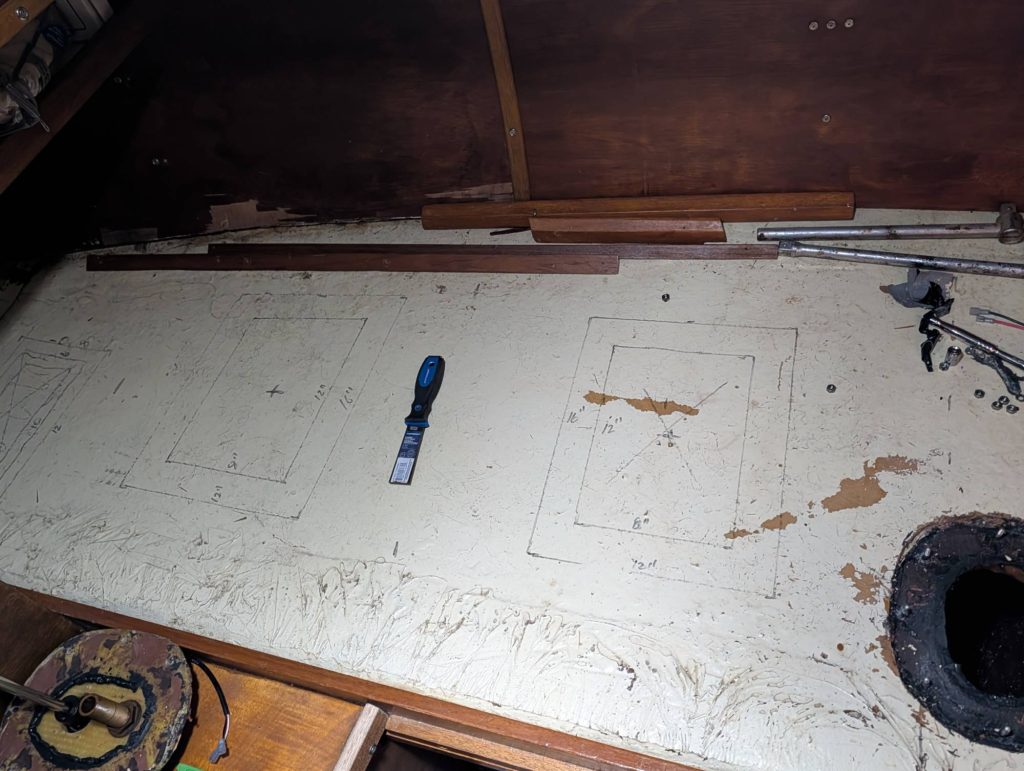
We attempted to determine the locations of the baffles using a tapping test on the top surface of the tank. The results seemed promising, and we thought we had located the baffles. Based on those results, D’Arcy sketched out three large rectangular inspection ports to be cut into the tank.
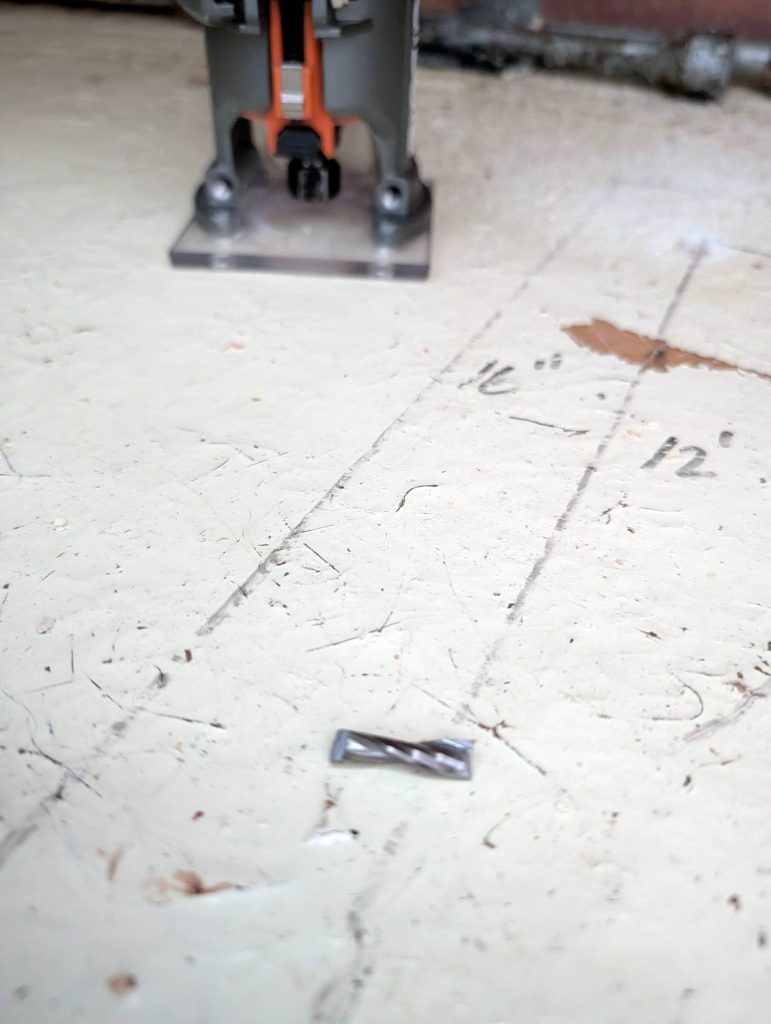
On 19 June, D’Arcy returned with a router to attempt to route out the borders of the new inspection ports. It turned out that the router bits were no match for the dense fiberglass – two of them broke within the first 30 minutes cutting the day short.
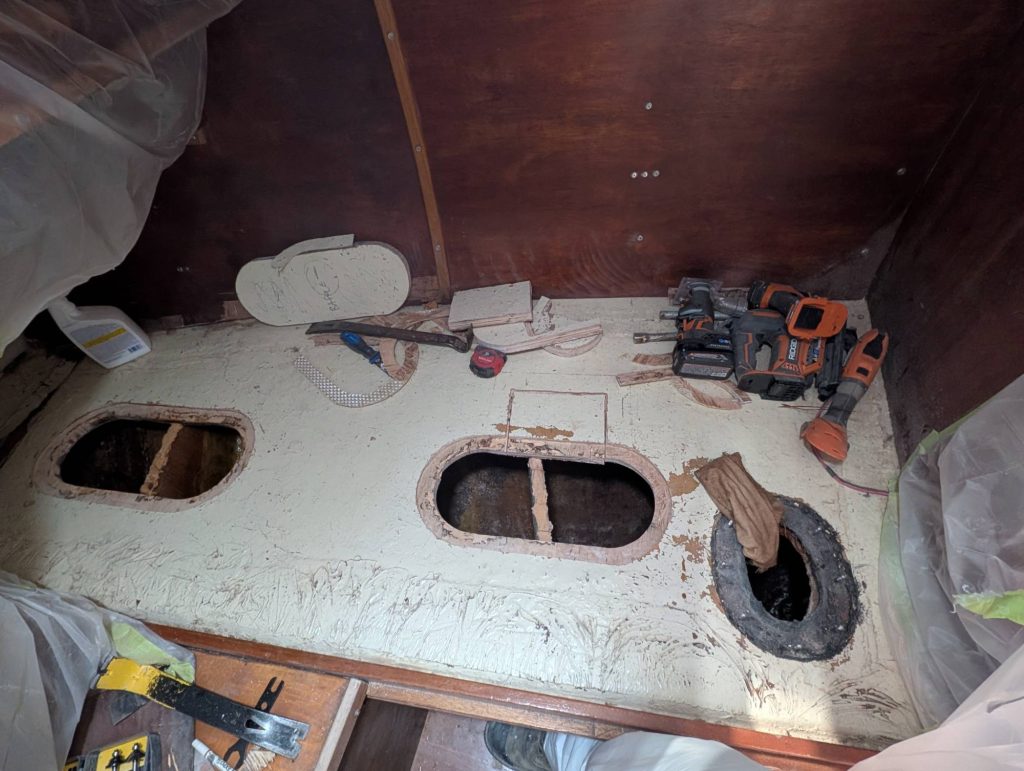
A week later, D’Arcy returned to Isola Naida with a circular saw and an oscillating multi-tool complete with a diamond blade.
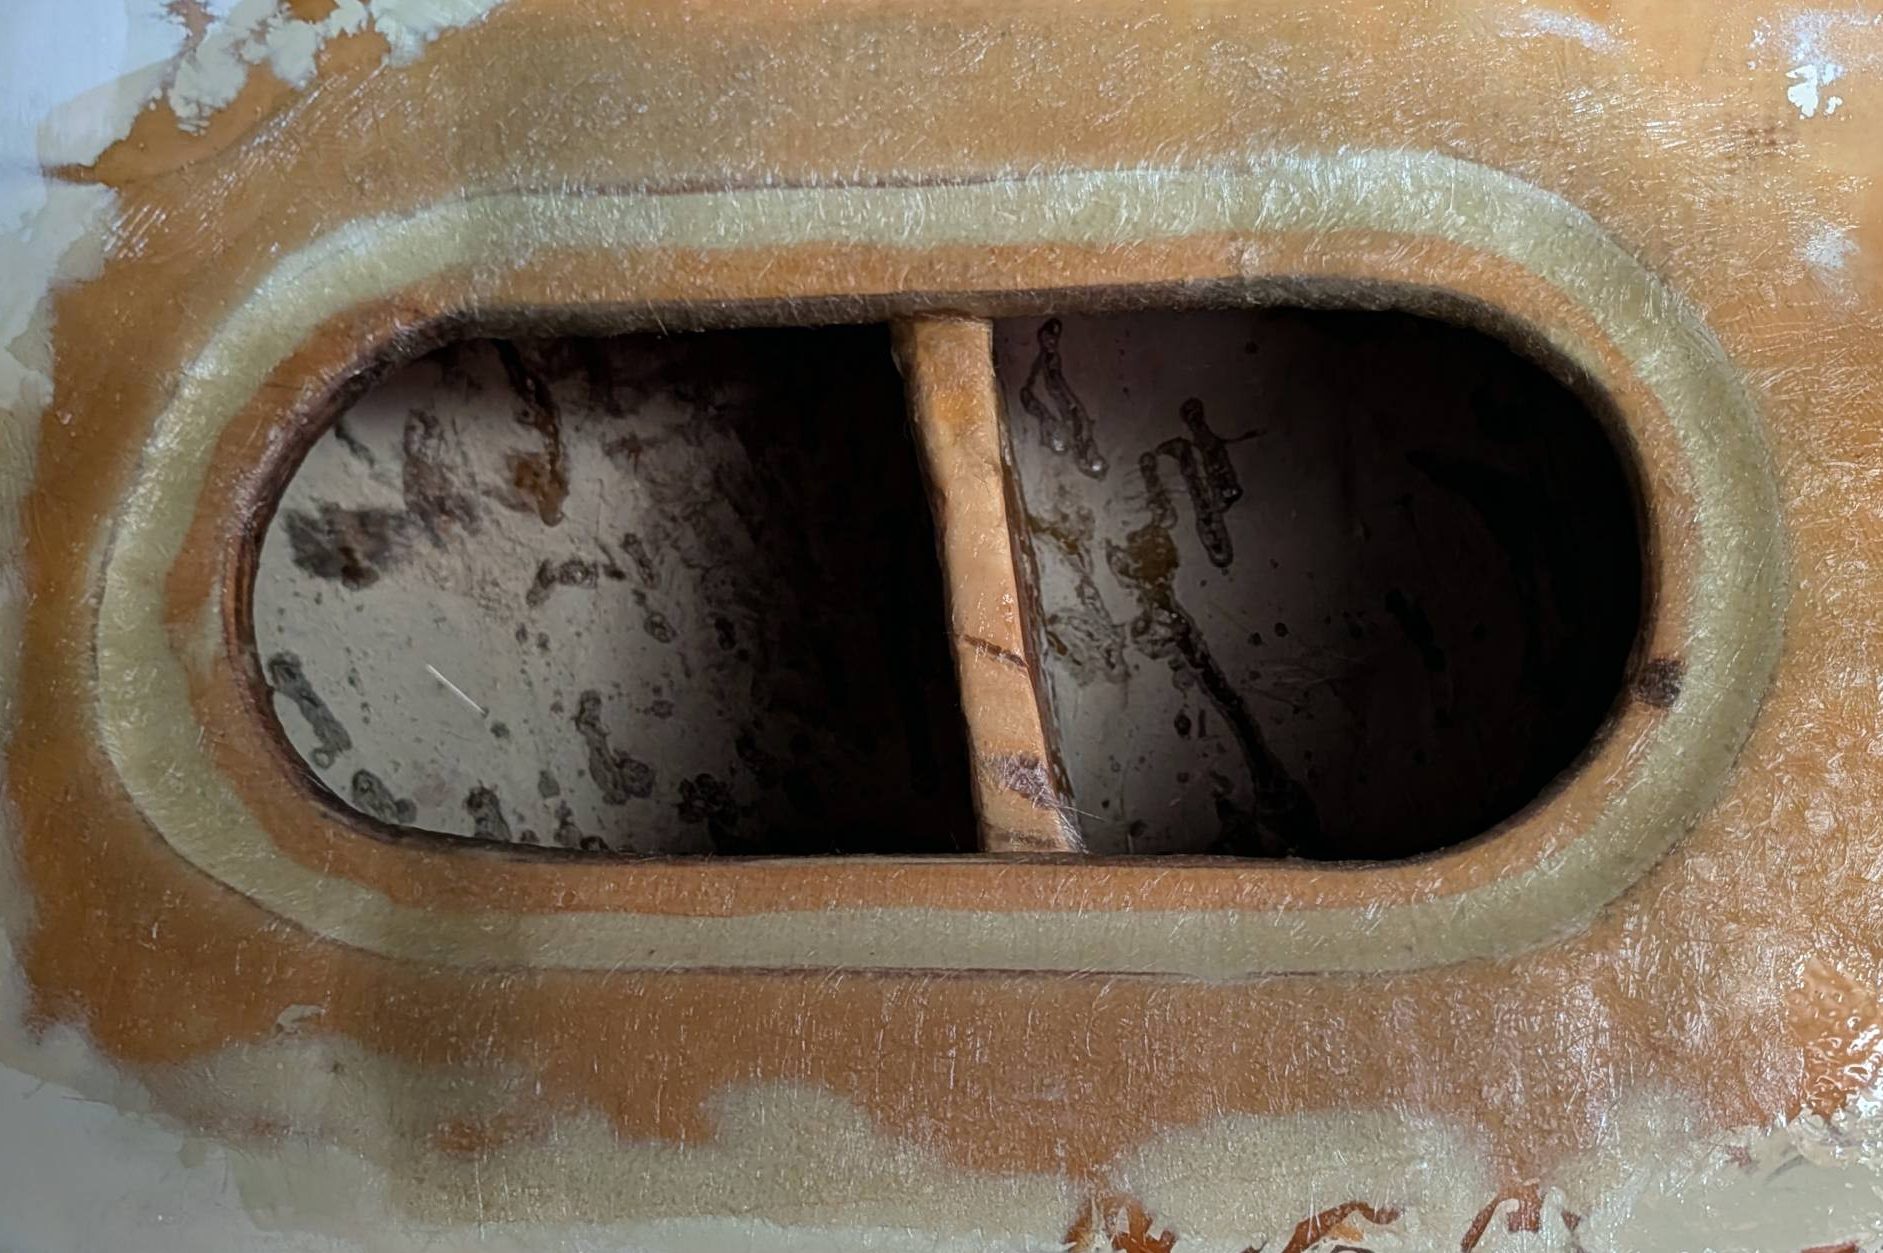
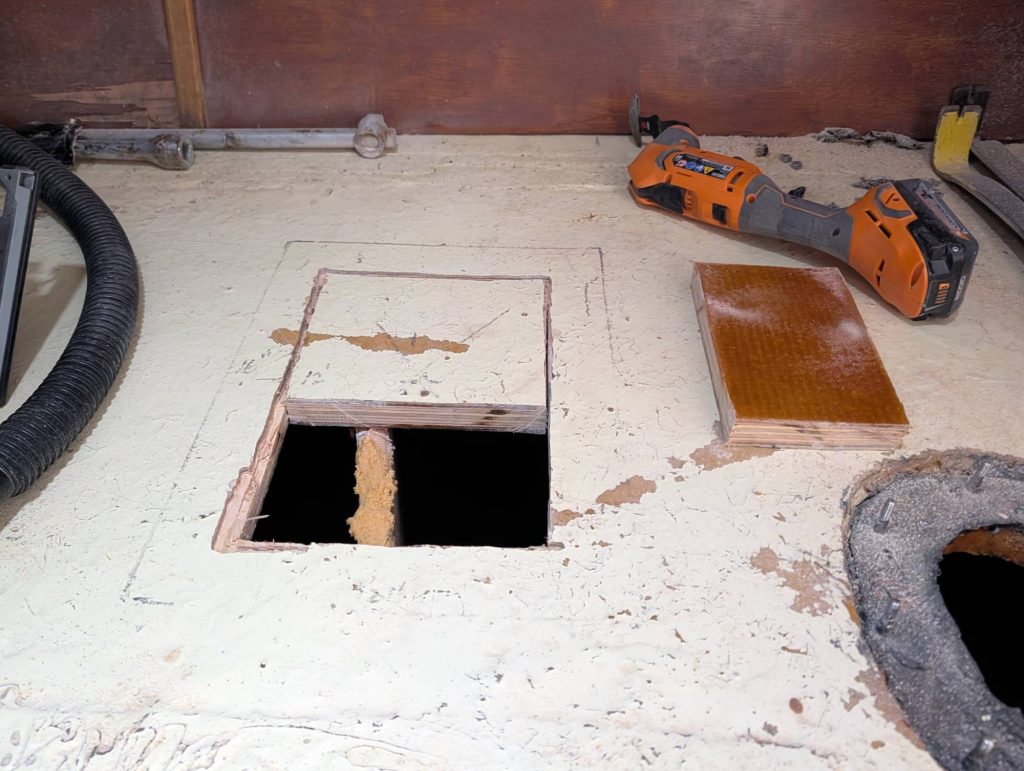
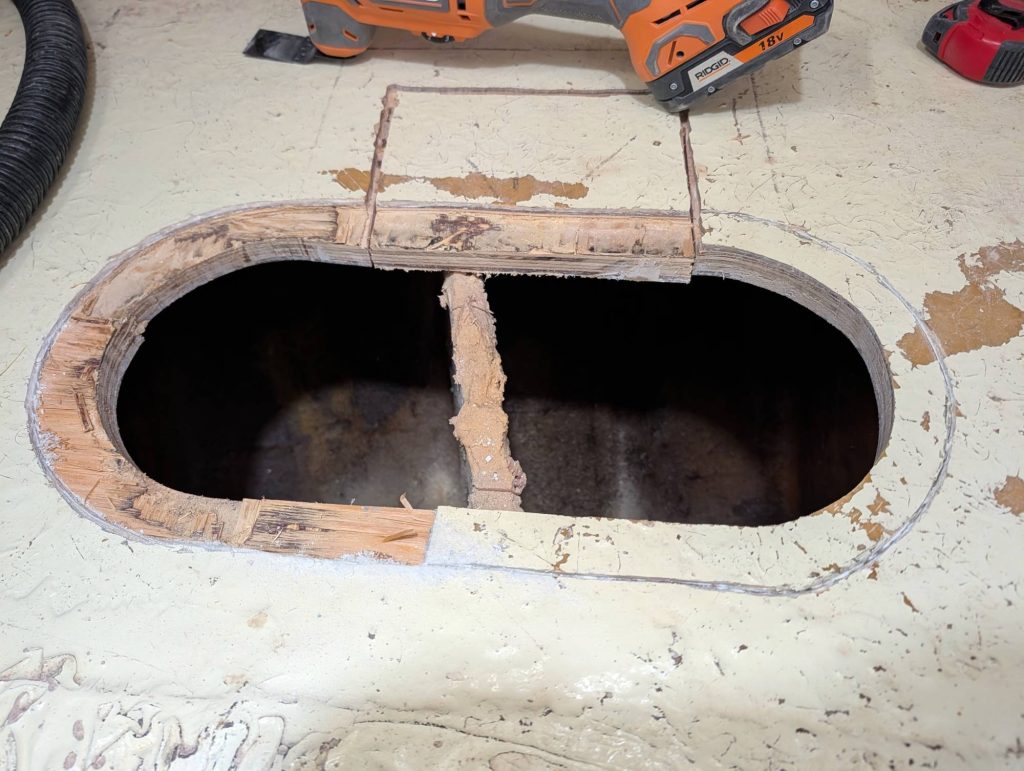
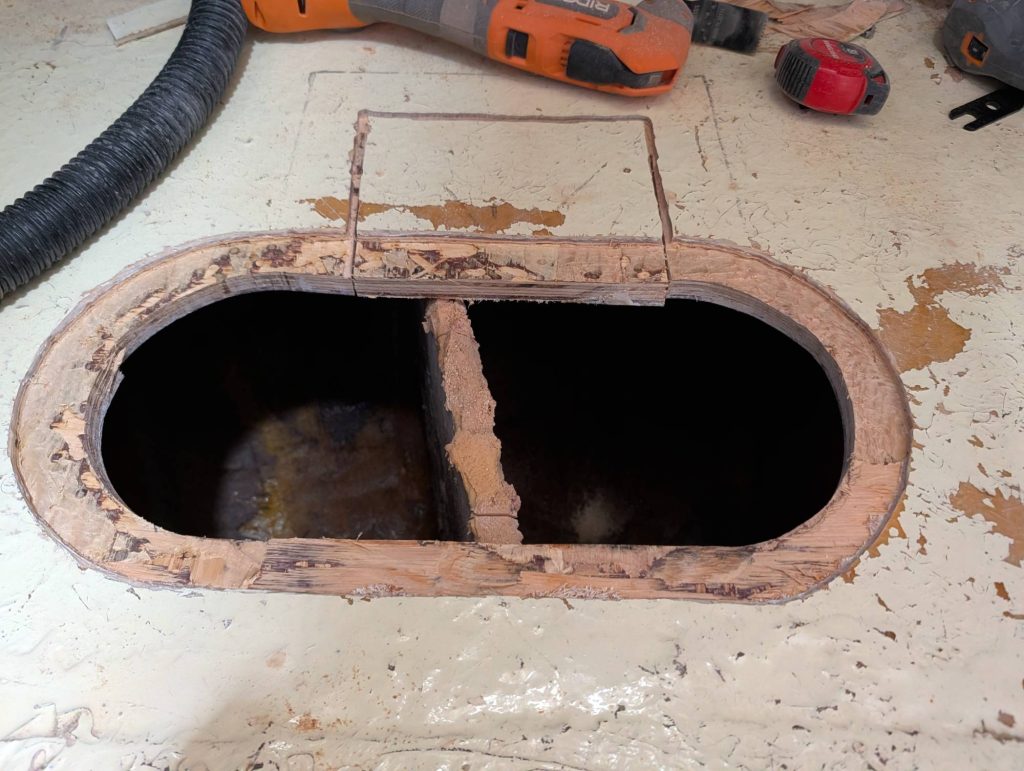
The first cuts made with the circular saw revealed something unexpected: a baffle, right in the middle of the new inspection port!
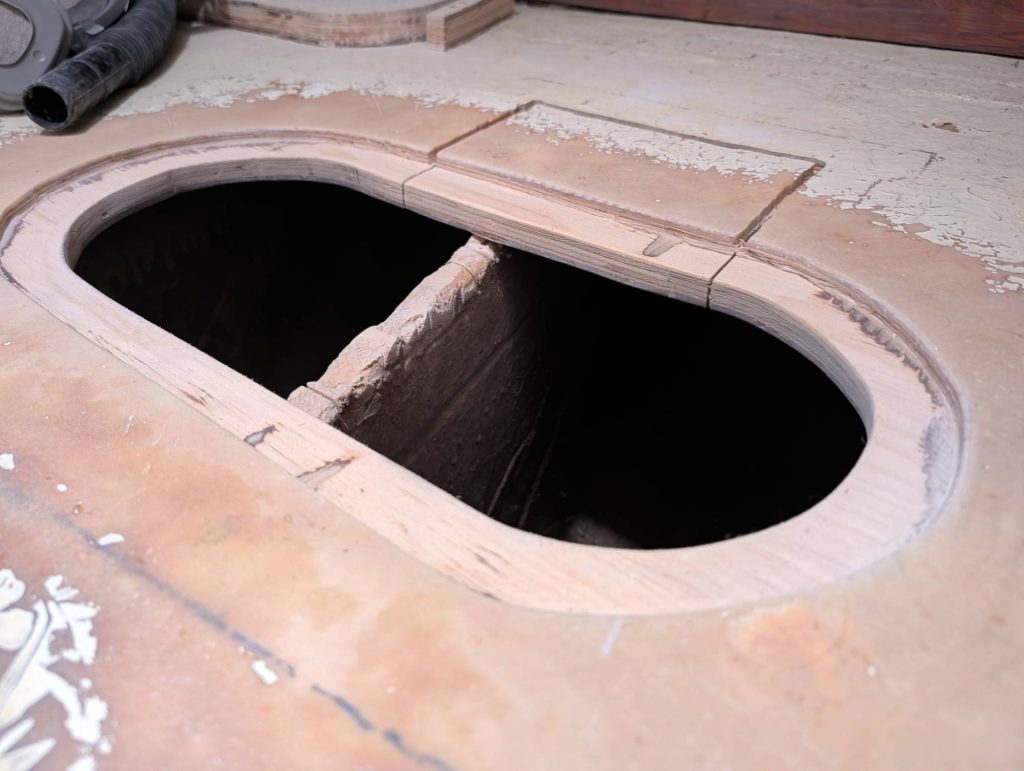
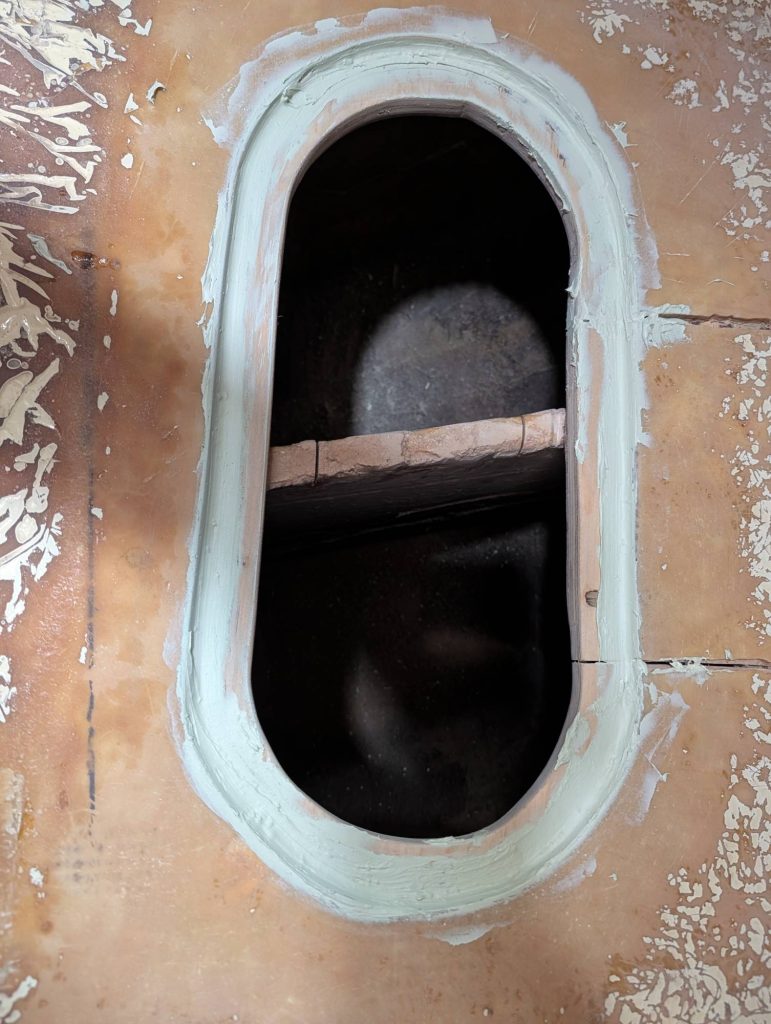
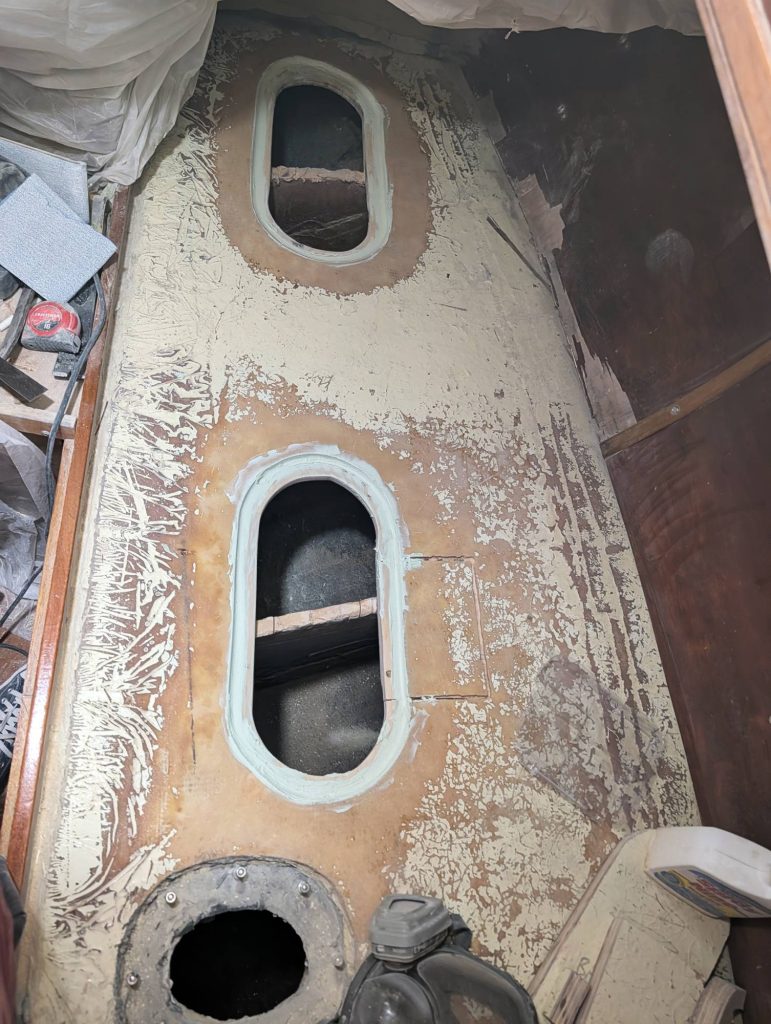
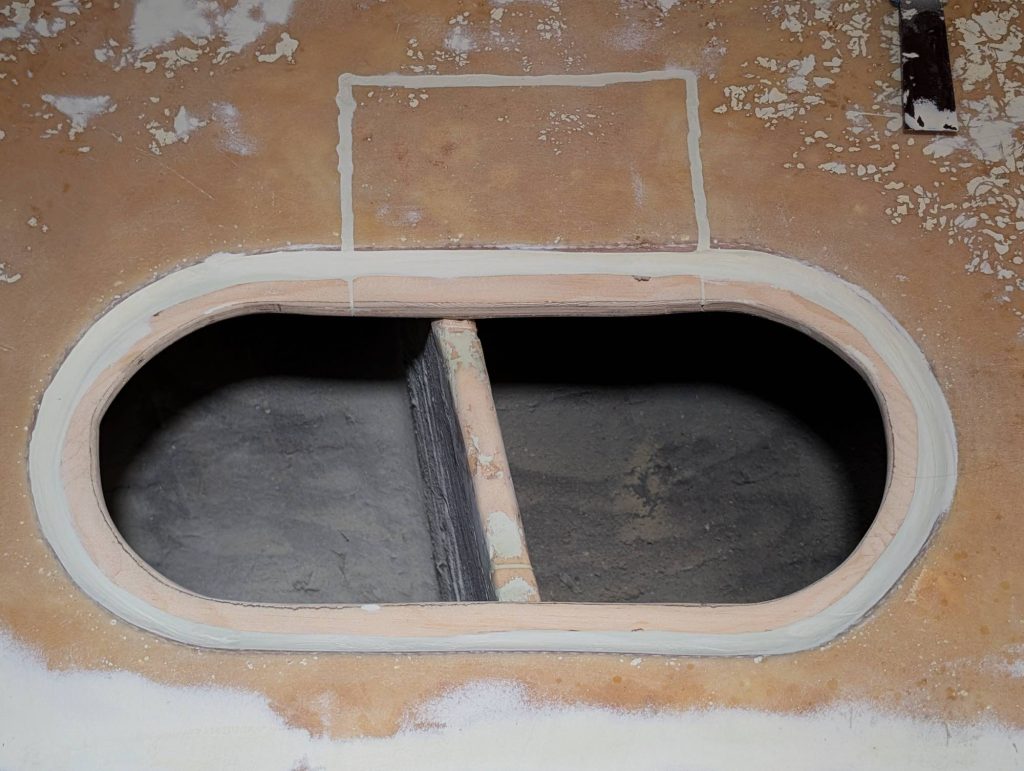
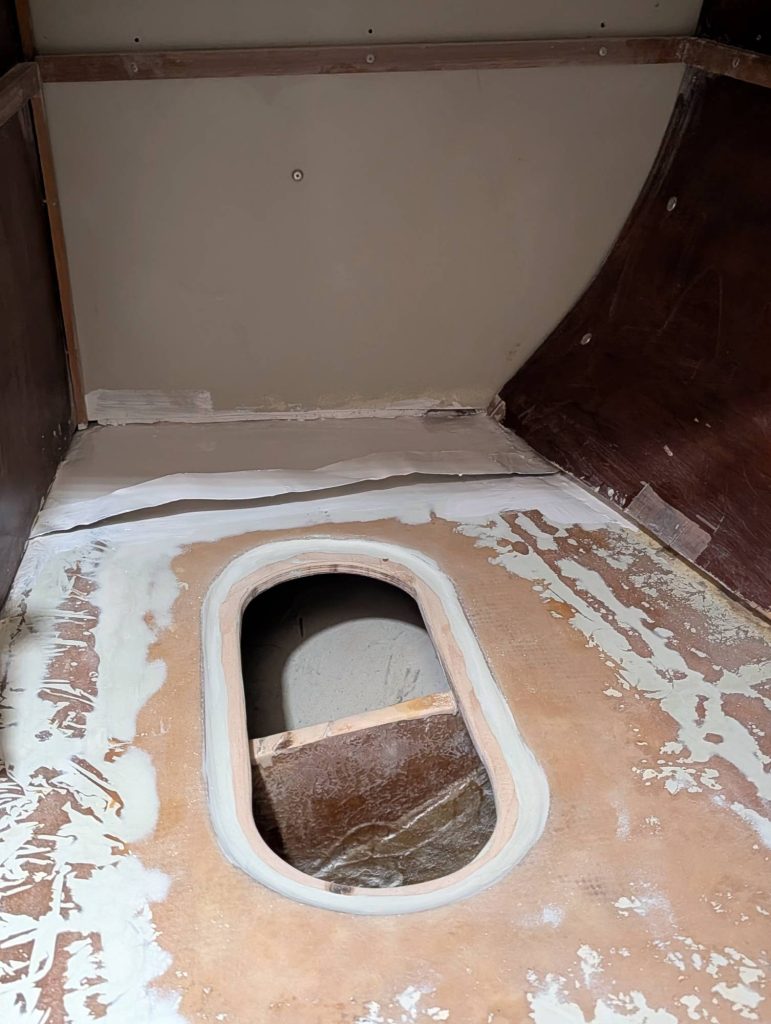
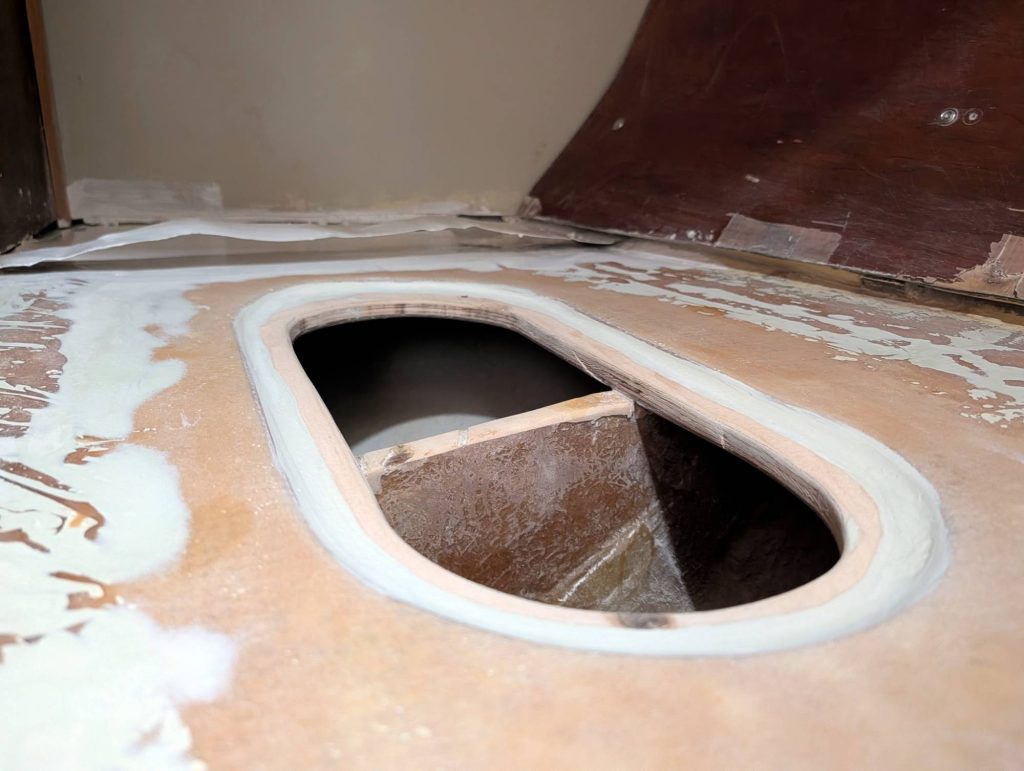
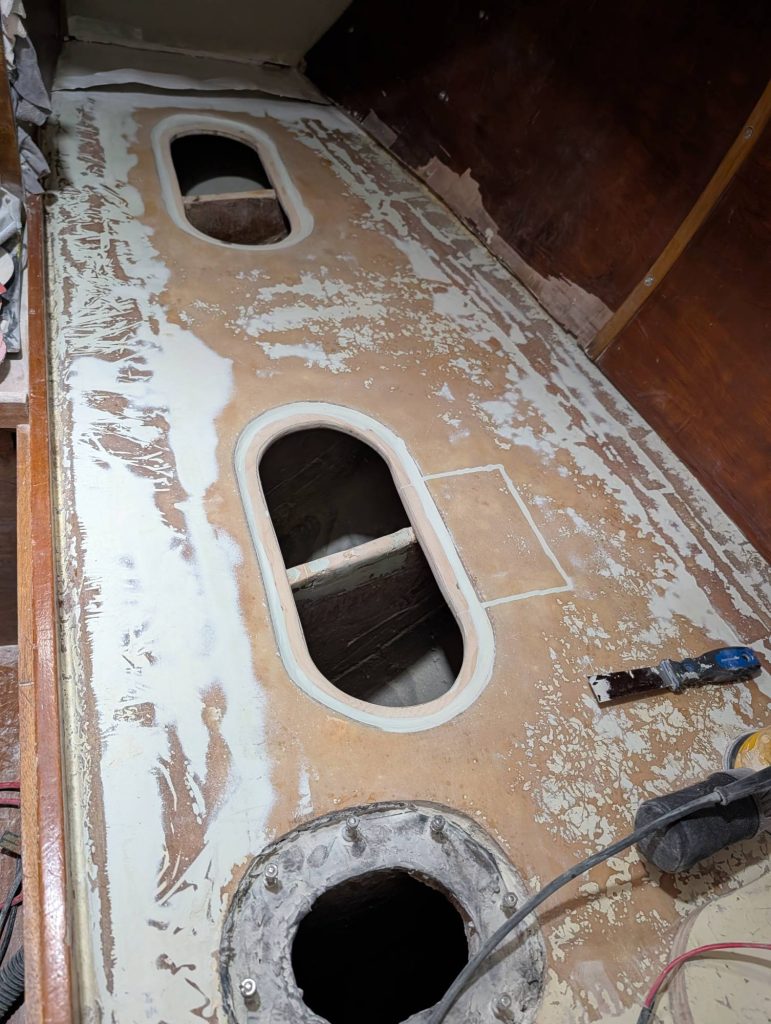
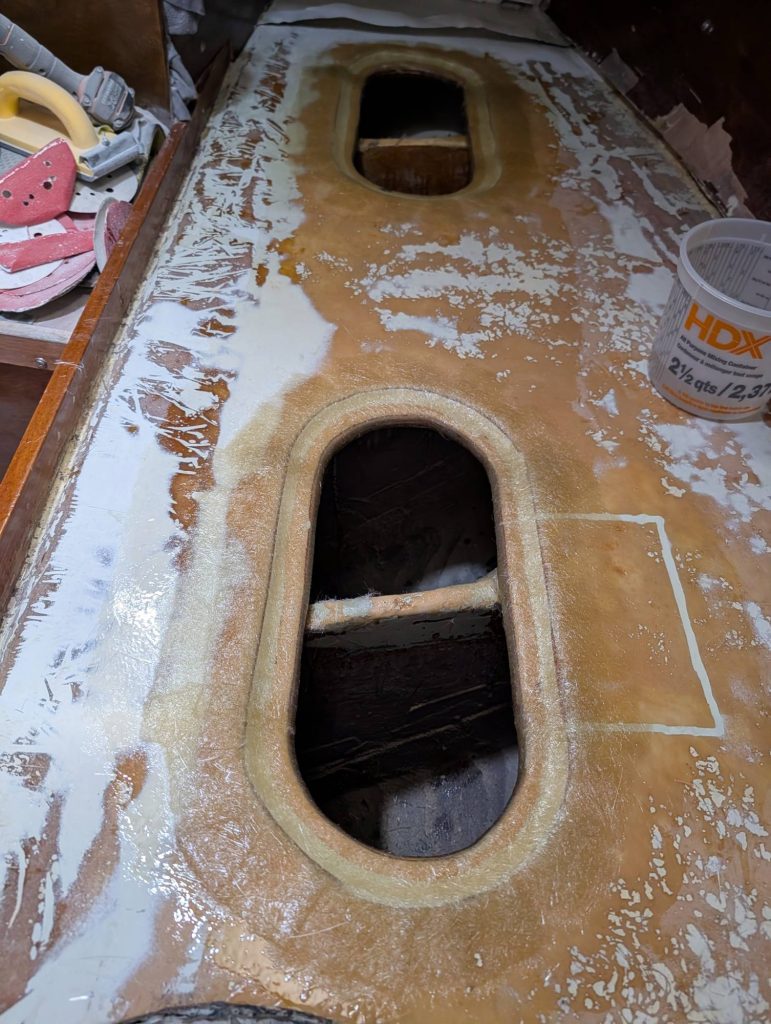
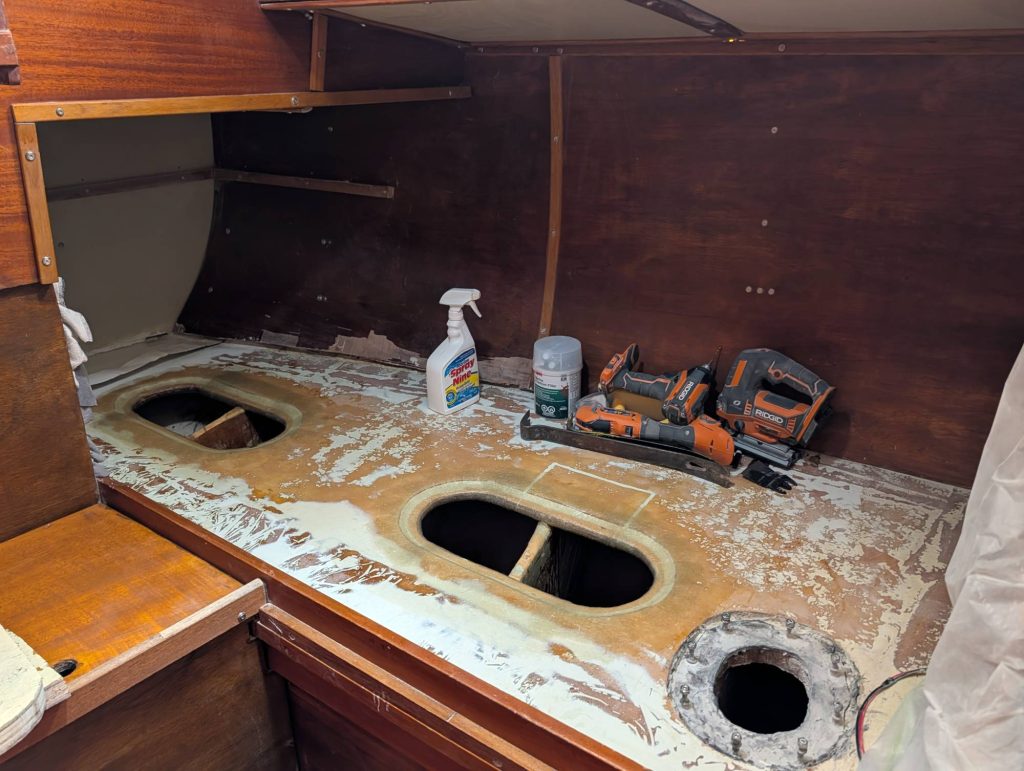
With some access to the tank, D’Arcy was able to measure out exactly where the next two baffles aft were located. The plan was altered and we decided to cut two pill-shaped inspection ports instead.
Sometimes the best-laid plans only last until the first cut.
Step 4: Fill, Fair and Sand
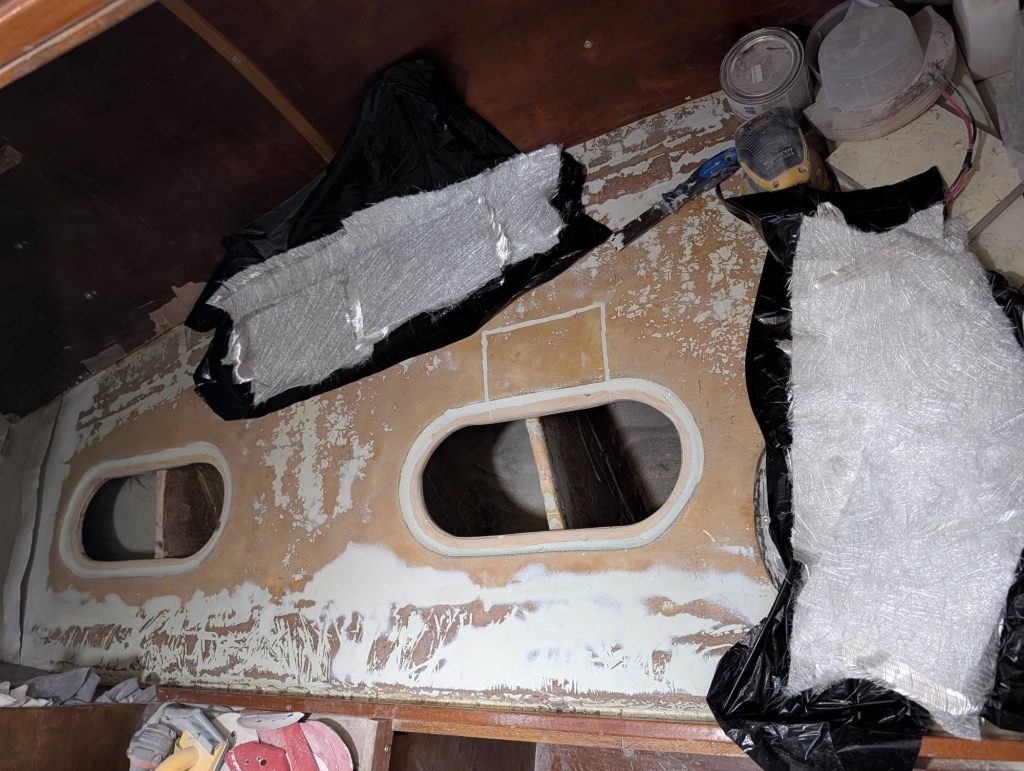
On 1 August, D’Arcy was back on board Isola Naida sanding, filling, fairing and sanding some more.
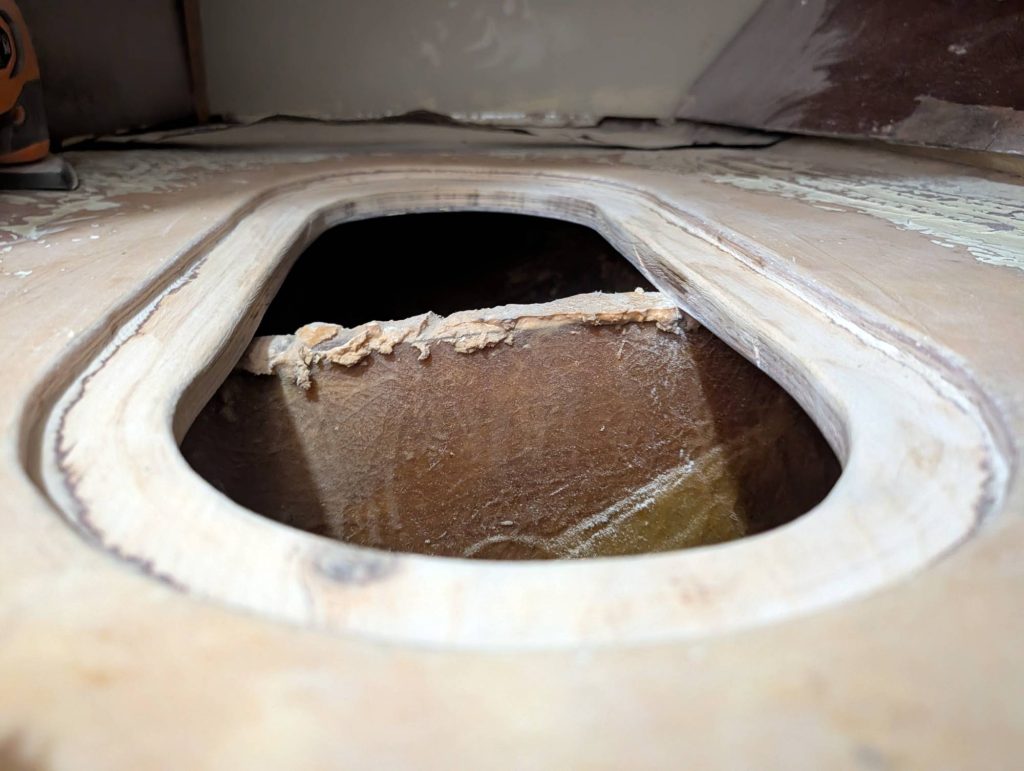
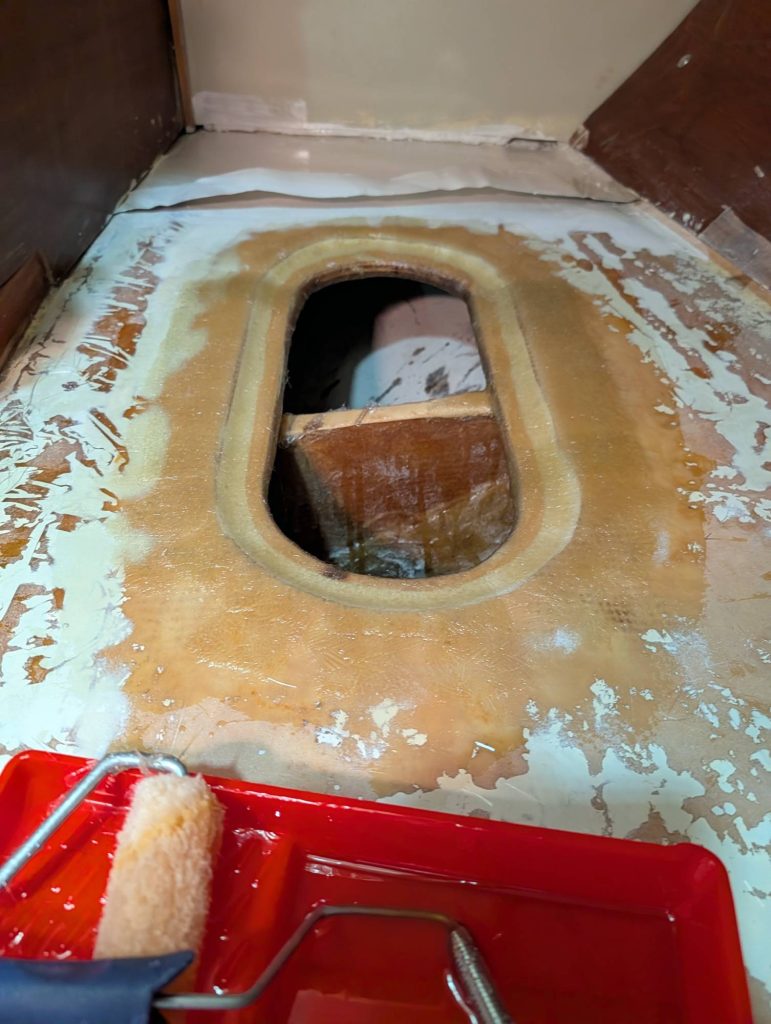
The first step was to sand the marine-ply core that was now exposed. This plywood would become the lip that the new lids would eventually secure to. To achieve the best possible seal when the gasket and lid were installed, we wanted the top edge to be as even and consistent as possible.
Once the plywood was sanded as evenly as possible, D’Arcy changed his focus to rounding any hard edges. This would make it less likely that the fiberglass would lift and form an air pocket when it was applied around the edges of the inspection ports.
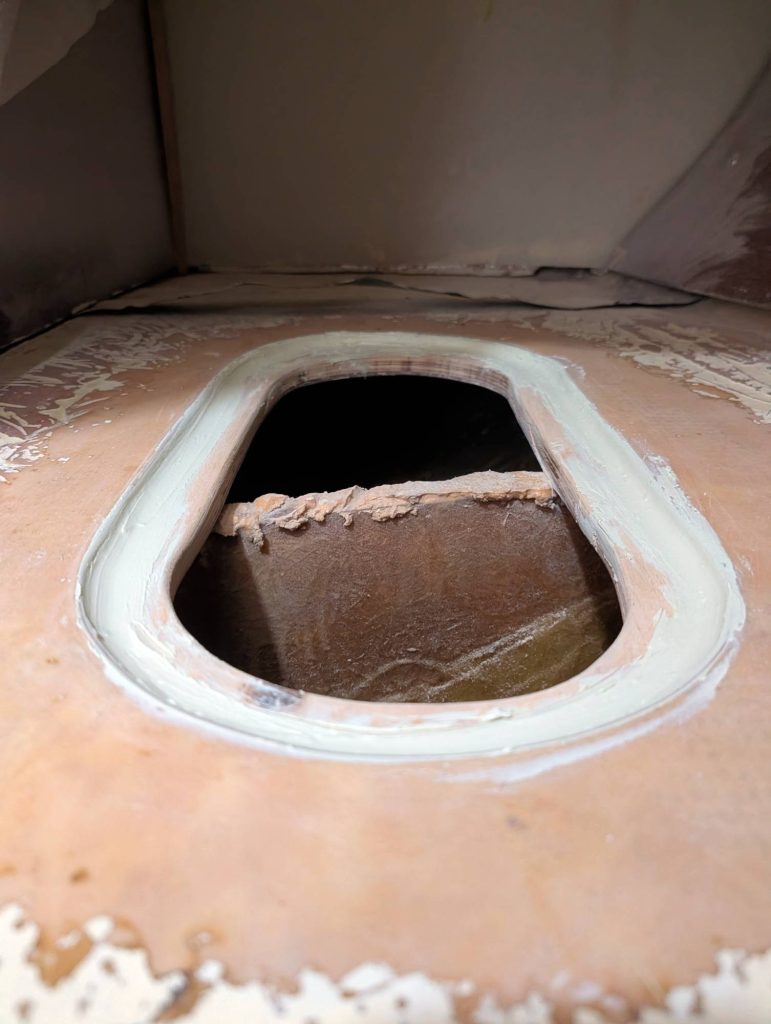
To eliminate the hard angle between the sanded plywood and the top layer of fiberglass, 3M Marine Premium Filler was applied and pressed into the corner.
D’Arcy came back to complete the fairing and sanding on 15 August. Fairing was applied to the original cuts that had been abandoned in favour of the pill-shaped inspection ports, as well as to the top surface of the tank.
Before the lids are installed, the top surface will be painted with white Interlux Bilgekote to protect the surface and make it easier to clean and maintain. This space doubles as the quarterberth, so being able to easily clean underneath the mattress is important.
Step 5: Fiberglass
On 29 August, D’Arcy arrived at Isola Naida with fresh rolls of fiberglass chopped strand mat, 1708 biaxial cloth, a gallon of vinyl ester resin, methyl ethyl ketone peroxide (MEKP), rollers, brushes, mixing cups and plenty of extra acetone.
It took a few hours of preparation to cut and prepare the fiberglass pieces, ensuring appropriate overlap between the layers. With everything cut roughly to fit, the pieces were organized and the first 500 mL of resin was mixed with 5 mL of MEKP hardener.
The aft inspection port was worked on first. Despite the warm weather we were experiencing, the temperature inside the tank was relatively cool, extending the working time of the resin significantly.
It took some tricky roller work to get the fiberglass to stick to the inside of the tank. In total, three layers were applied to each inspection port: a layer of CSM first, followed by a layer of 1708 biaxial cloth, and finally another layer of CSM.
Any visible air pockets were rolled out toward the edge of the fiberglass before progressing to the next layer.
With all of the fiberglass applied, all that was left to do was dust and wait.
On 30 August, D’Arcy returned to finish the fiberglass work. The errant fibers inside the tank were sanded away, and the topside of the tank was smoothed out. A fairing coat of 3M Marine Premium Filler was then applied to feather out any imperfections before being sanded smooth.
Step 6: Clean
The tank had been sitting open for a few months and, with the exception of the lowest point in the tank, was dry to the touch.
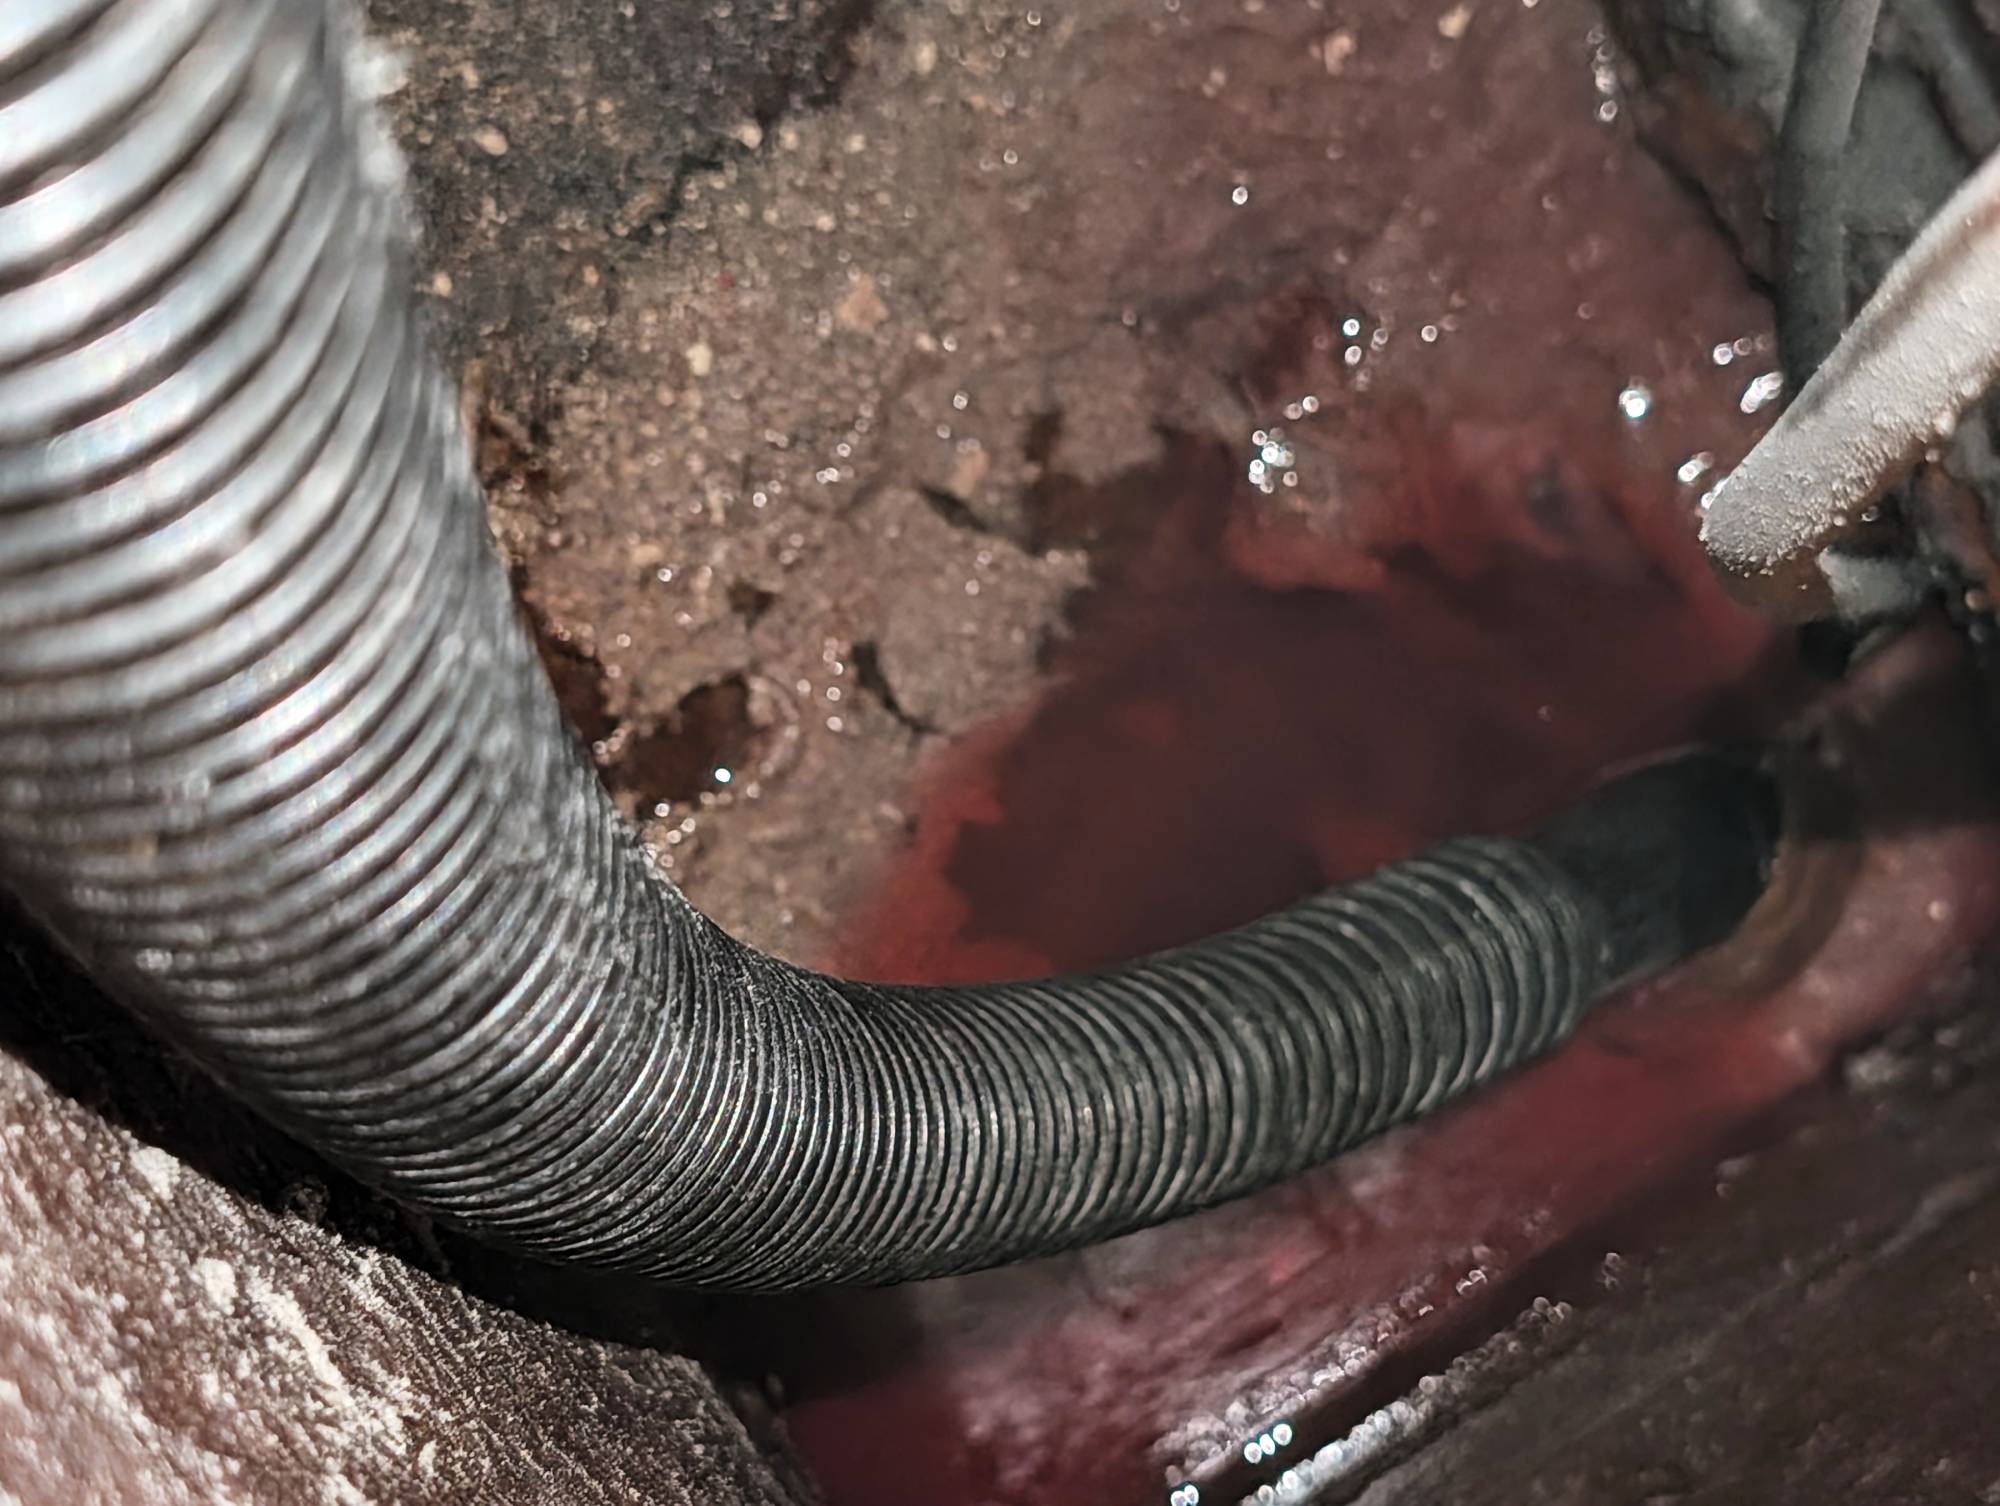
With all of the sanding that had taken place, the tank was now full of dust. Once the fiberglass work was complete and the plywood core protected, the next step was to vacuum as much of the sanding dust from inside the tank as possible before rinsing it in preparation for degreasing.
D’Arcy used a manual pump sprayer and plenty of degreaser to ensure thorough coverage throughout the interior of the tank. After the degreaser was applied, the tank was scrubbed by hand with a stiff brush and wiped down with a damp rag.
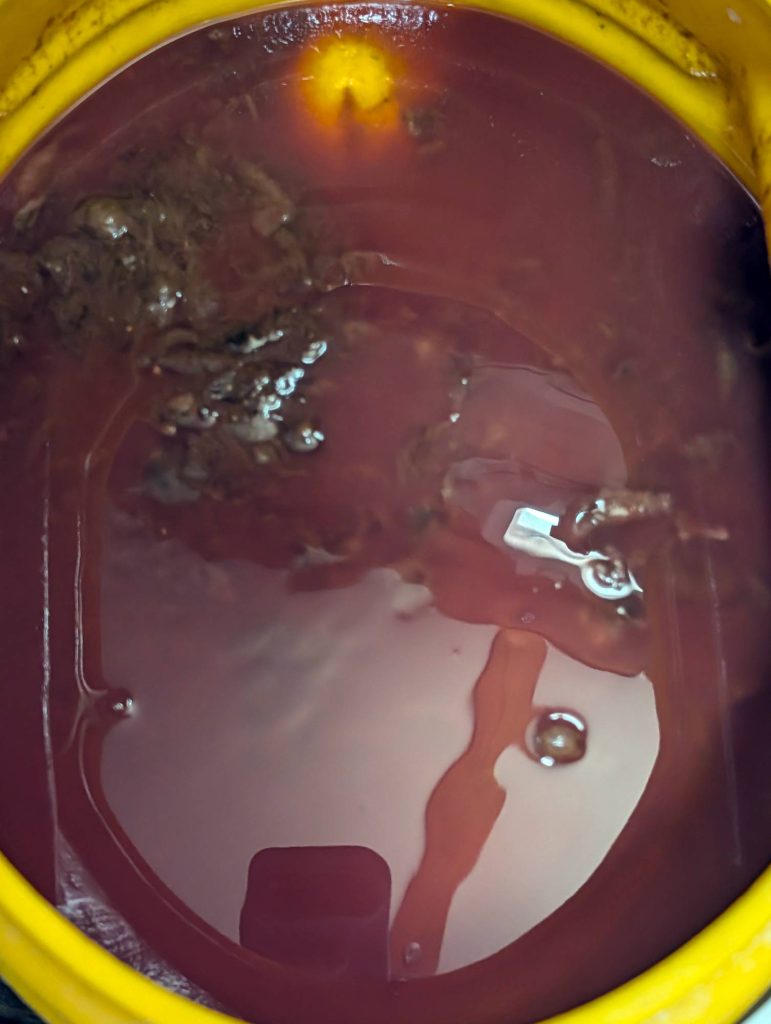
Once each baffled section had been degreased and scrubbed, the manual pump sprayer was filled with fresh water and used to rinse the tank. The remaining water was left to pool before being vacuumed out, and the tank was left to dry.
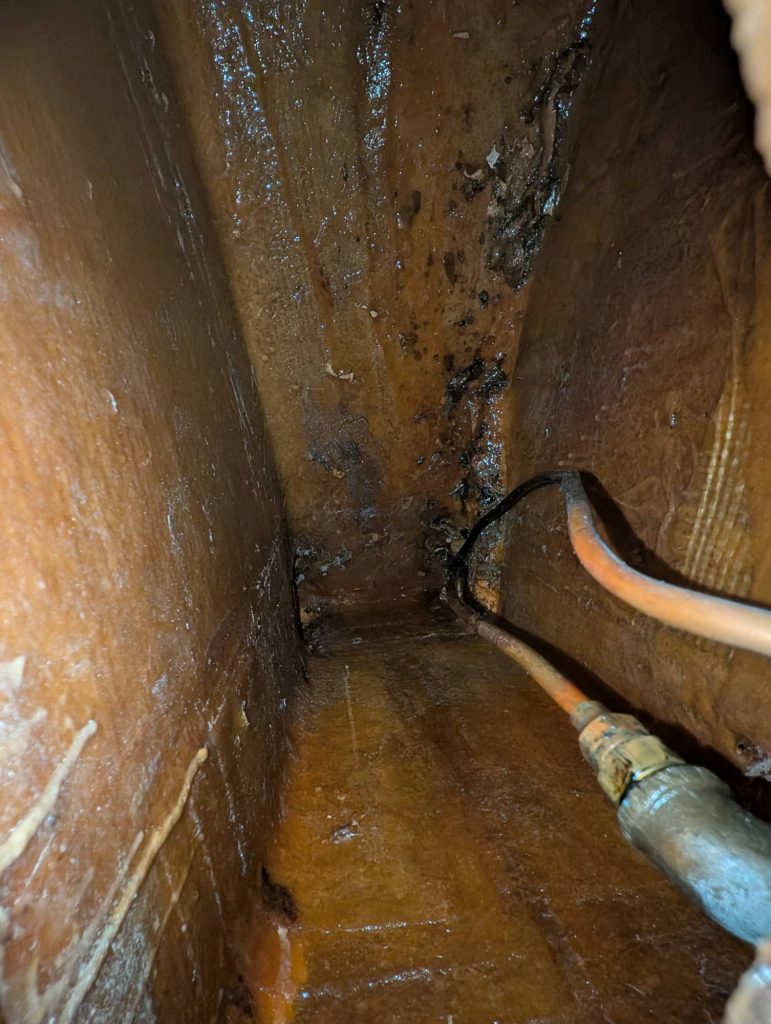
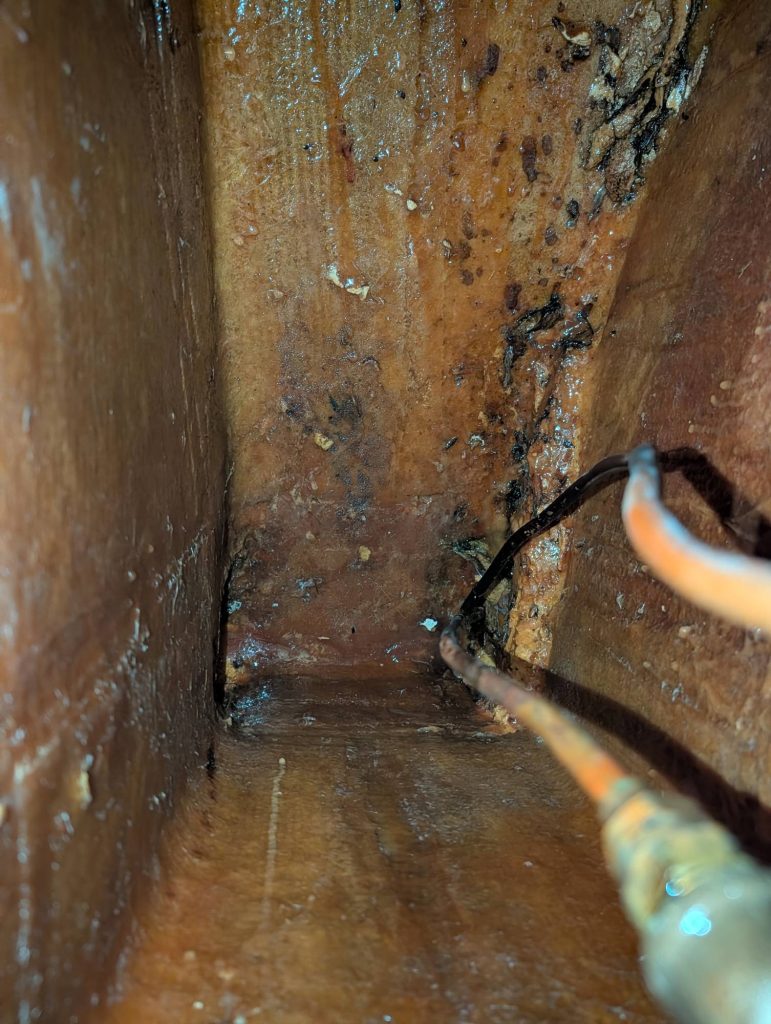
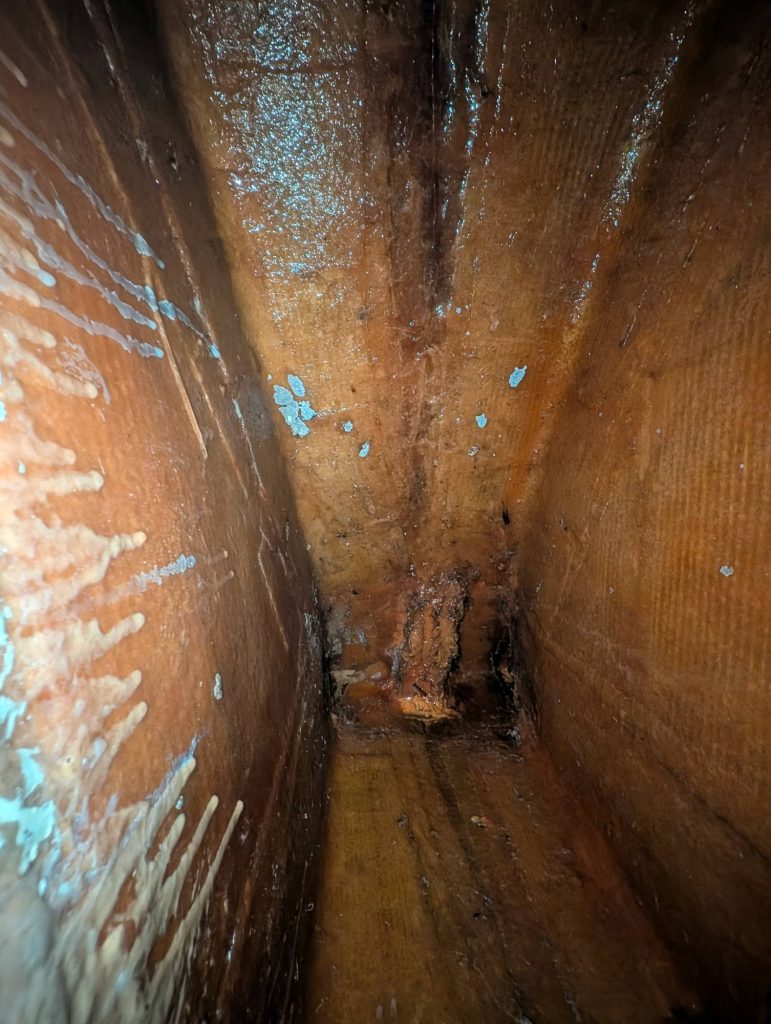
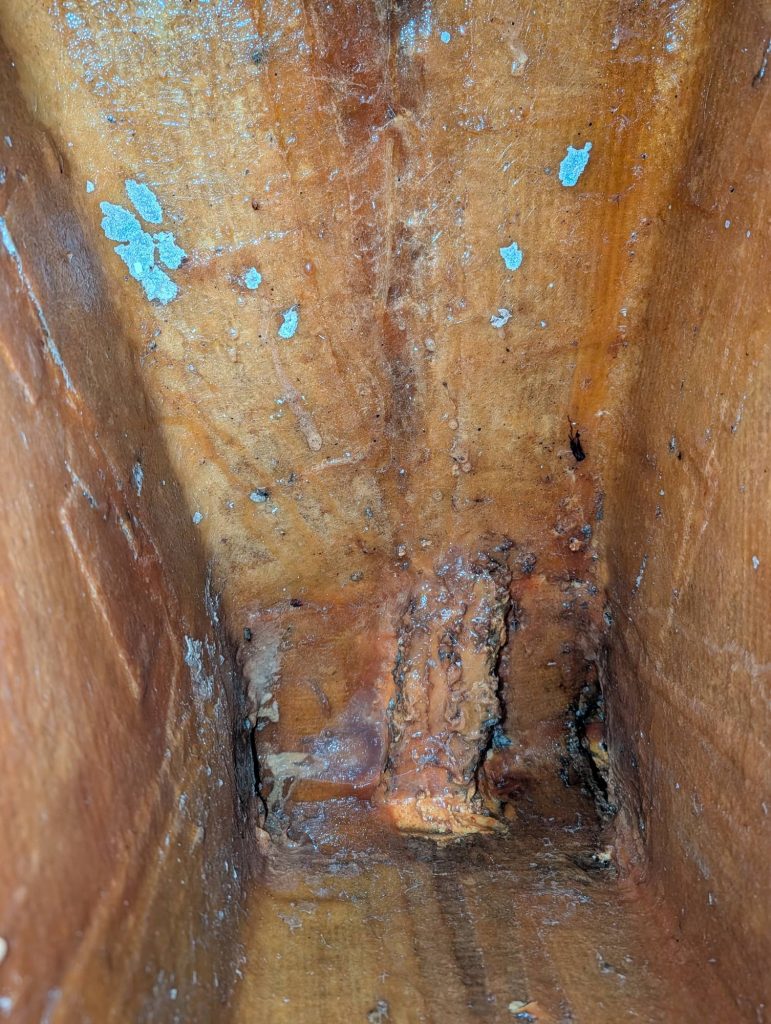
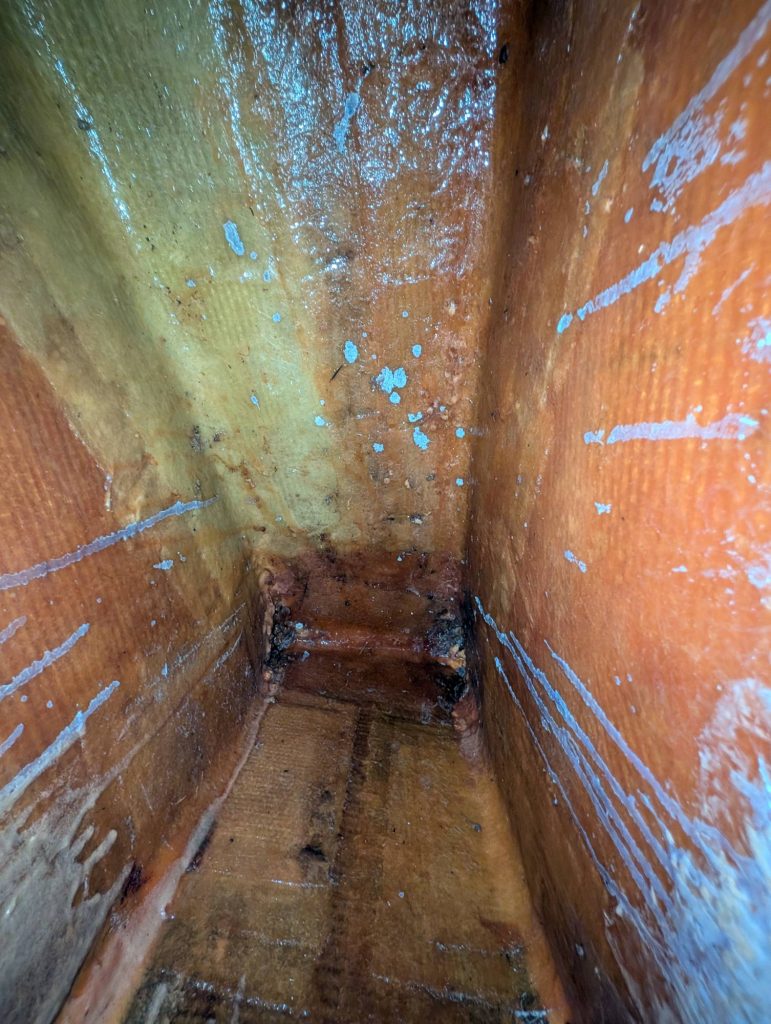
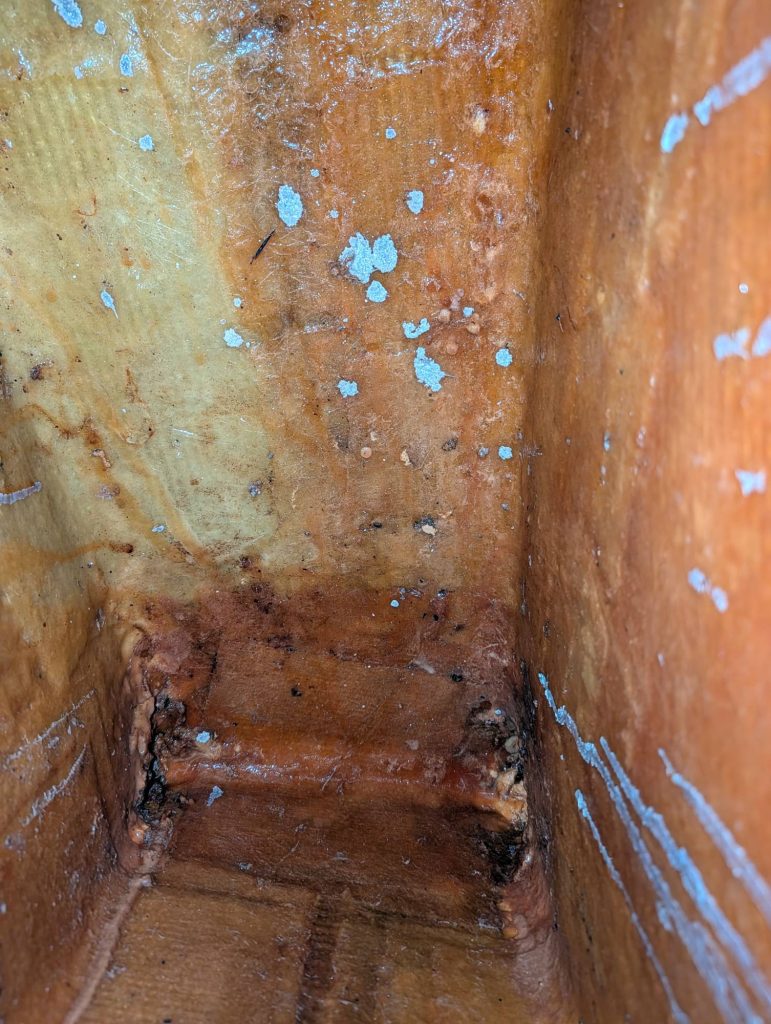
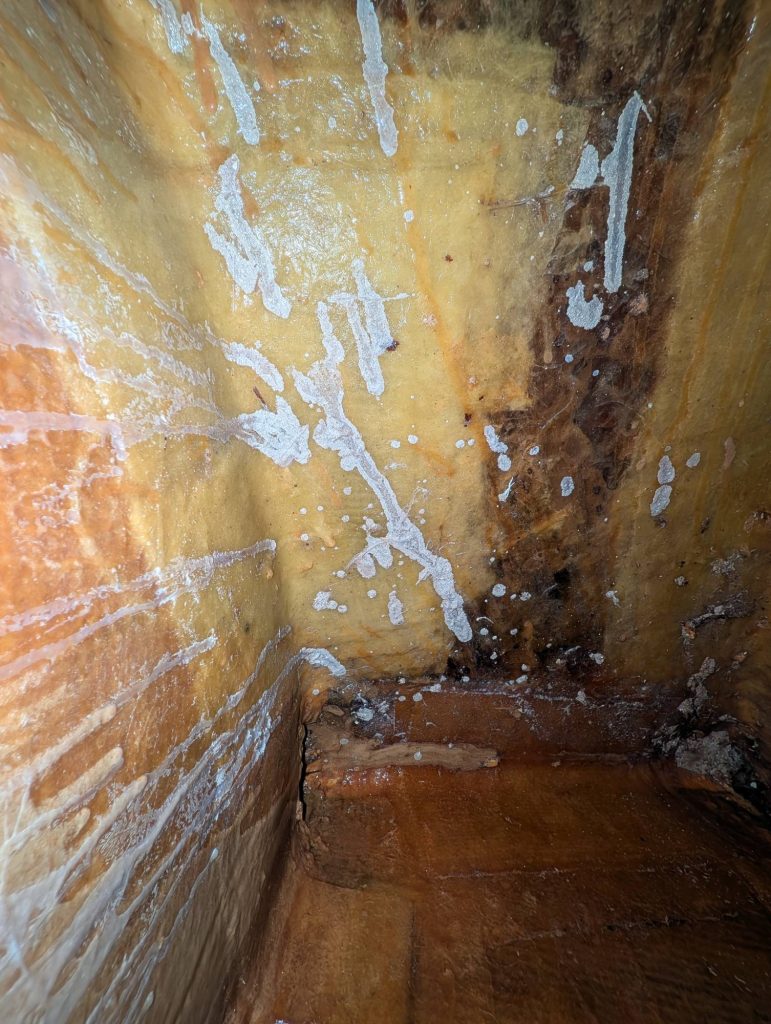
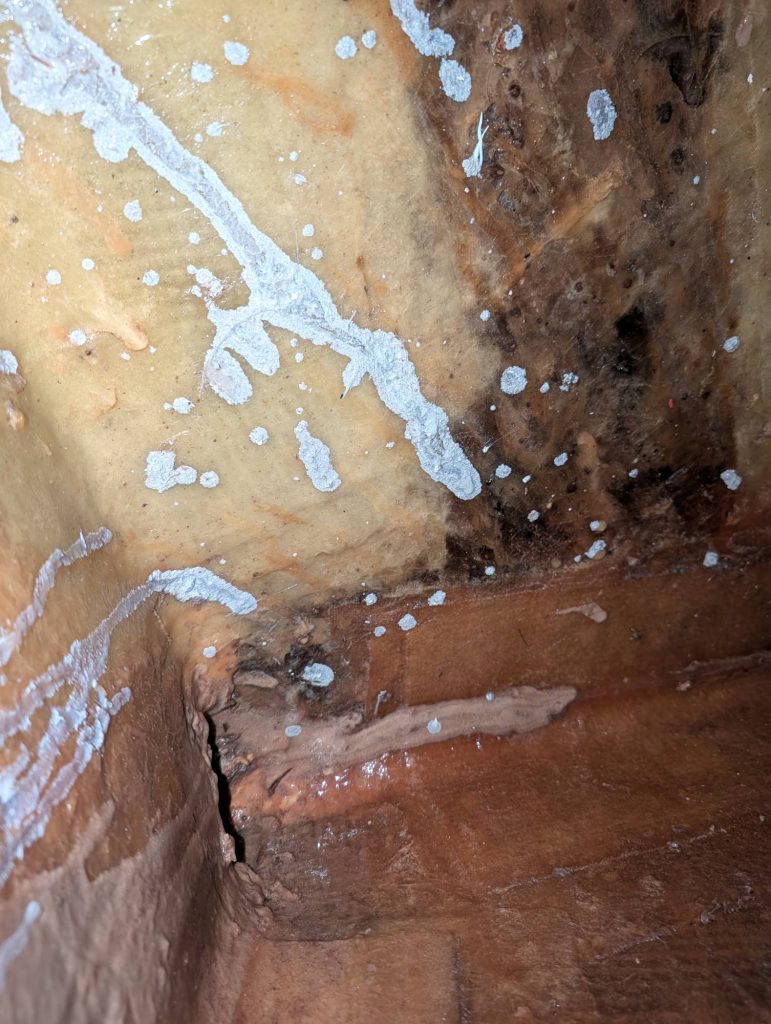
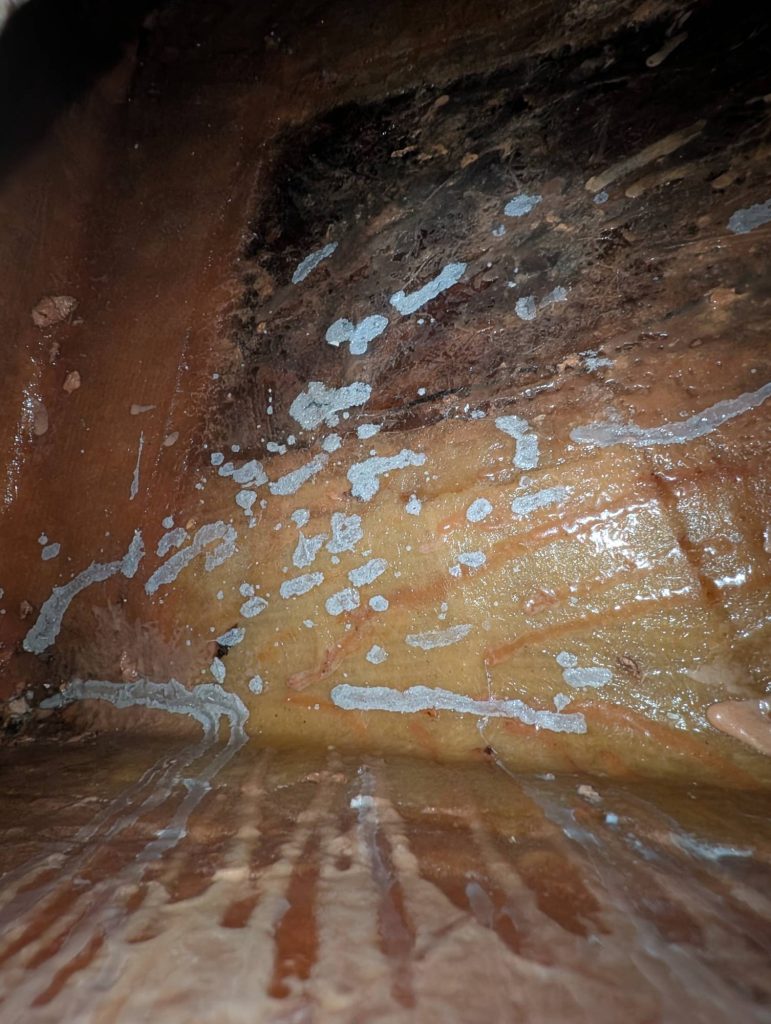
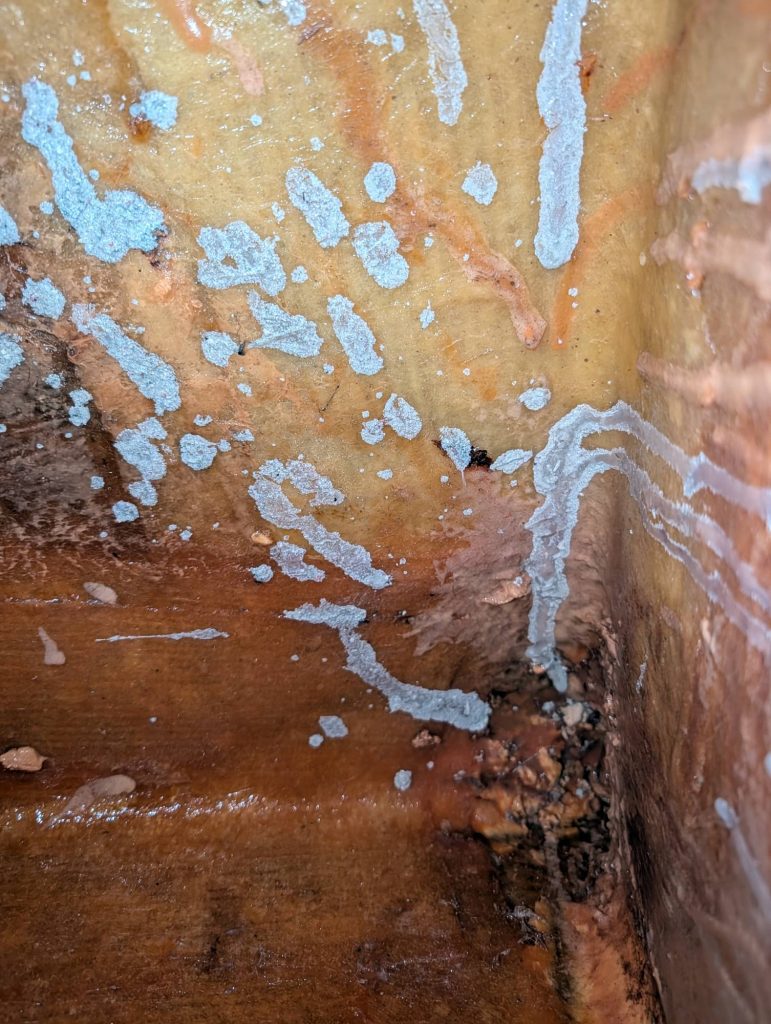
It took several passes to remove the majority of the diesel bug from the tank. The aft sections weren’t nearly as affected as the forward sections.
It’s difficult to tell from the photographs that one section is any cleaner than another, but the difference in person was significant.
Unfortunately, there is one limitation we can’t easily overcome. Given the age of the boat, diesel has permeated the resin used in the construction of the tank. There really isn’t any practical solution for that beyond removing the tank entirely and replacing it.
That may be a consideration in the future, but it is well outside the scope of this project.

Step 7: Lids
Coming soon…
Step 8: Refill
Coming soon…
Cleaning a contaminated fuel tank has certainly been more work than we expected when we left East River Shipyard in June. But once the project is complete, we’ll have something we didn’t have before: proper access to the inside of our auxiliary fuel tank.
If nothing else, we’ll never again have to wonder what’s happening inside those five baffled sections.
Leave a Reply
You must be logged in to post a comment.