Tag: Projects

  • Shore Life: A Refreshing New Look

    Shore Life: A Refreshing New Look

    We’ve been progressing the work on Isola Naida as spring continues. Unfortunately, we haven’t been able to be consistent in executing any single project from start to finish on account of the Nova Scotia spring. We take advantage of the sunny days when we have them to progress work on Isola Naida’s new look. When the rain comes, which is often, we retreat back inside to work on mechanical systems and to find all of the leaks that we need to address when the sunny days return.

    In our last post we made a list of the jobs we need to complete before Isola Naida splashes in a few weeks. This week, we’re looking at the progress made giving Isola Naida’s hull a fresh look as we head into the season.

    Bottom Paint

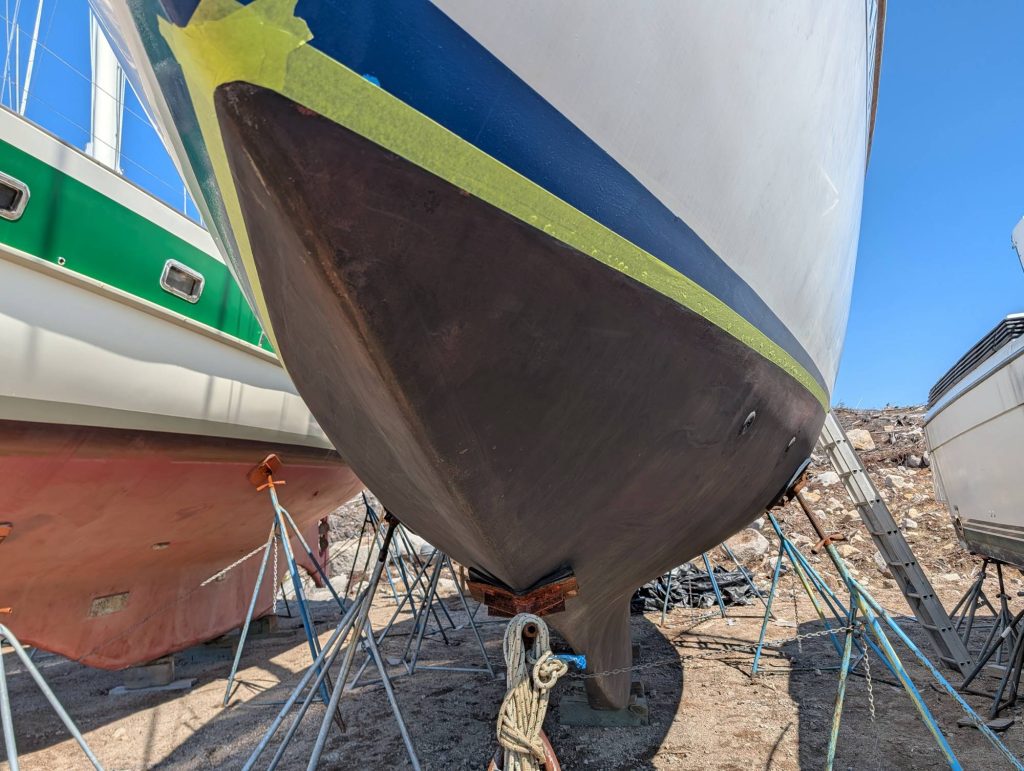
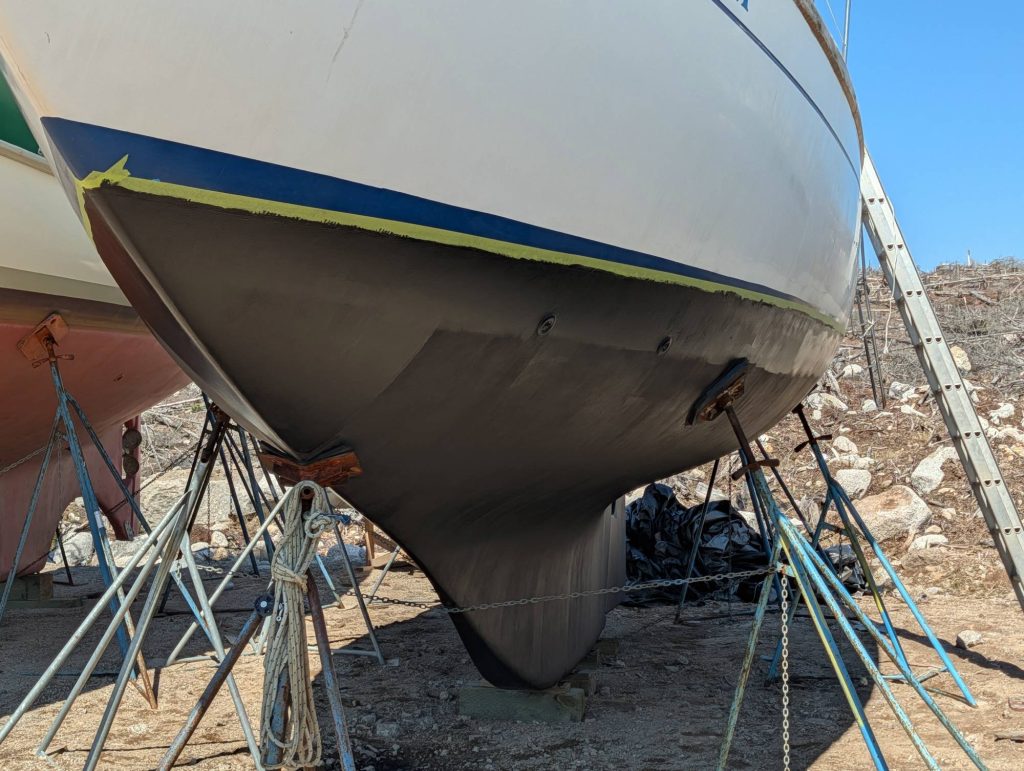
    A few weeks ago, D’Arcy used painter’s tape to mask Isola Naida’s boot stripe then donned a paint suit, face mask, and gloves. Equipped with his trusty DeWalt random orbital sander and just enough 120 grit sandpaper to get through the job, he gave gave the bottom paint a thorough sanding. Isola Naida’s bottom paint was not in bad condition, though the underside of the keel lacked paint coverage. After smoothing out any uneven surfaces and giving the existing paint a consistent tooth, D’Arcy thoroughly mixed two gallons of Petit HRT Unepoxy – Black.

    A full coat of fresh bottom paint was applied to the hull. High-friction areas received a second coating: the waterline, the bow, and the rudder. When we’re lifted from the stands in a few weeks, the areas that were missed will get a coat of paint before we touch the water.

    Removing Old Vinyls

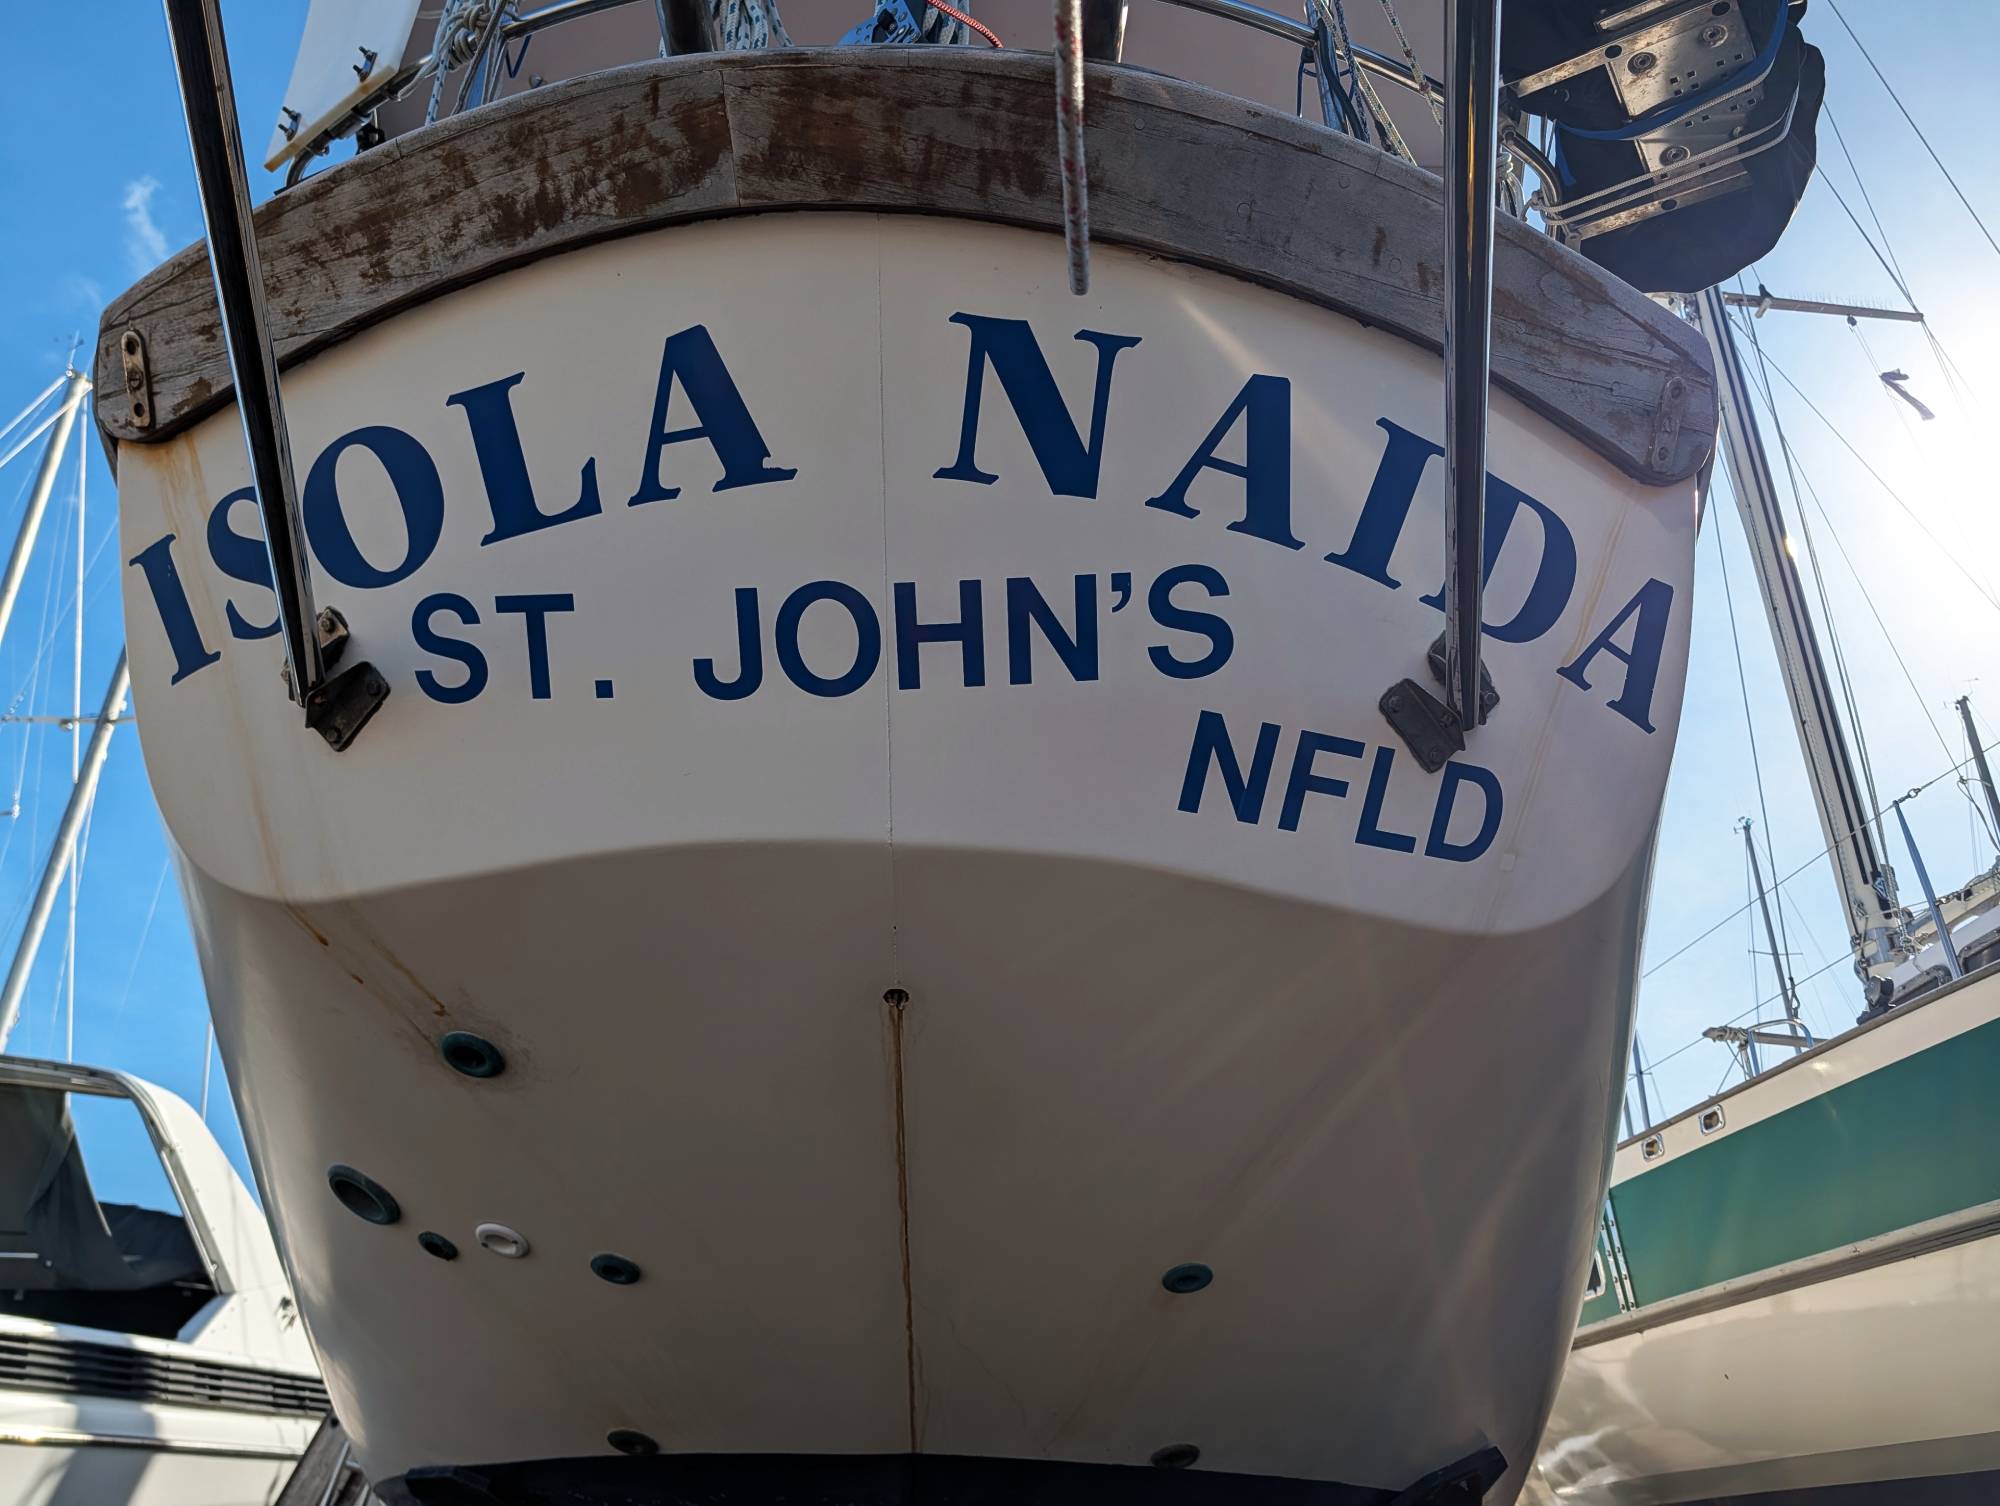
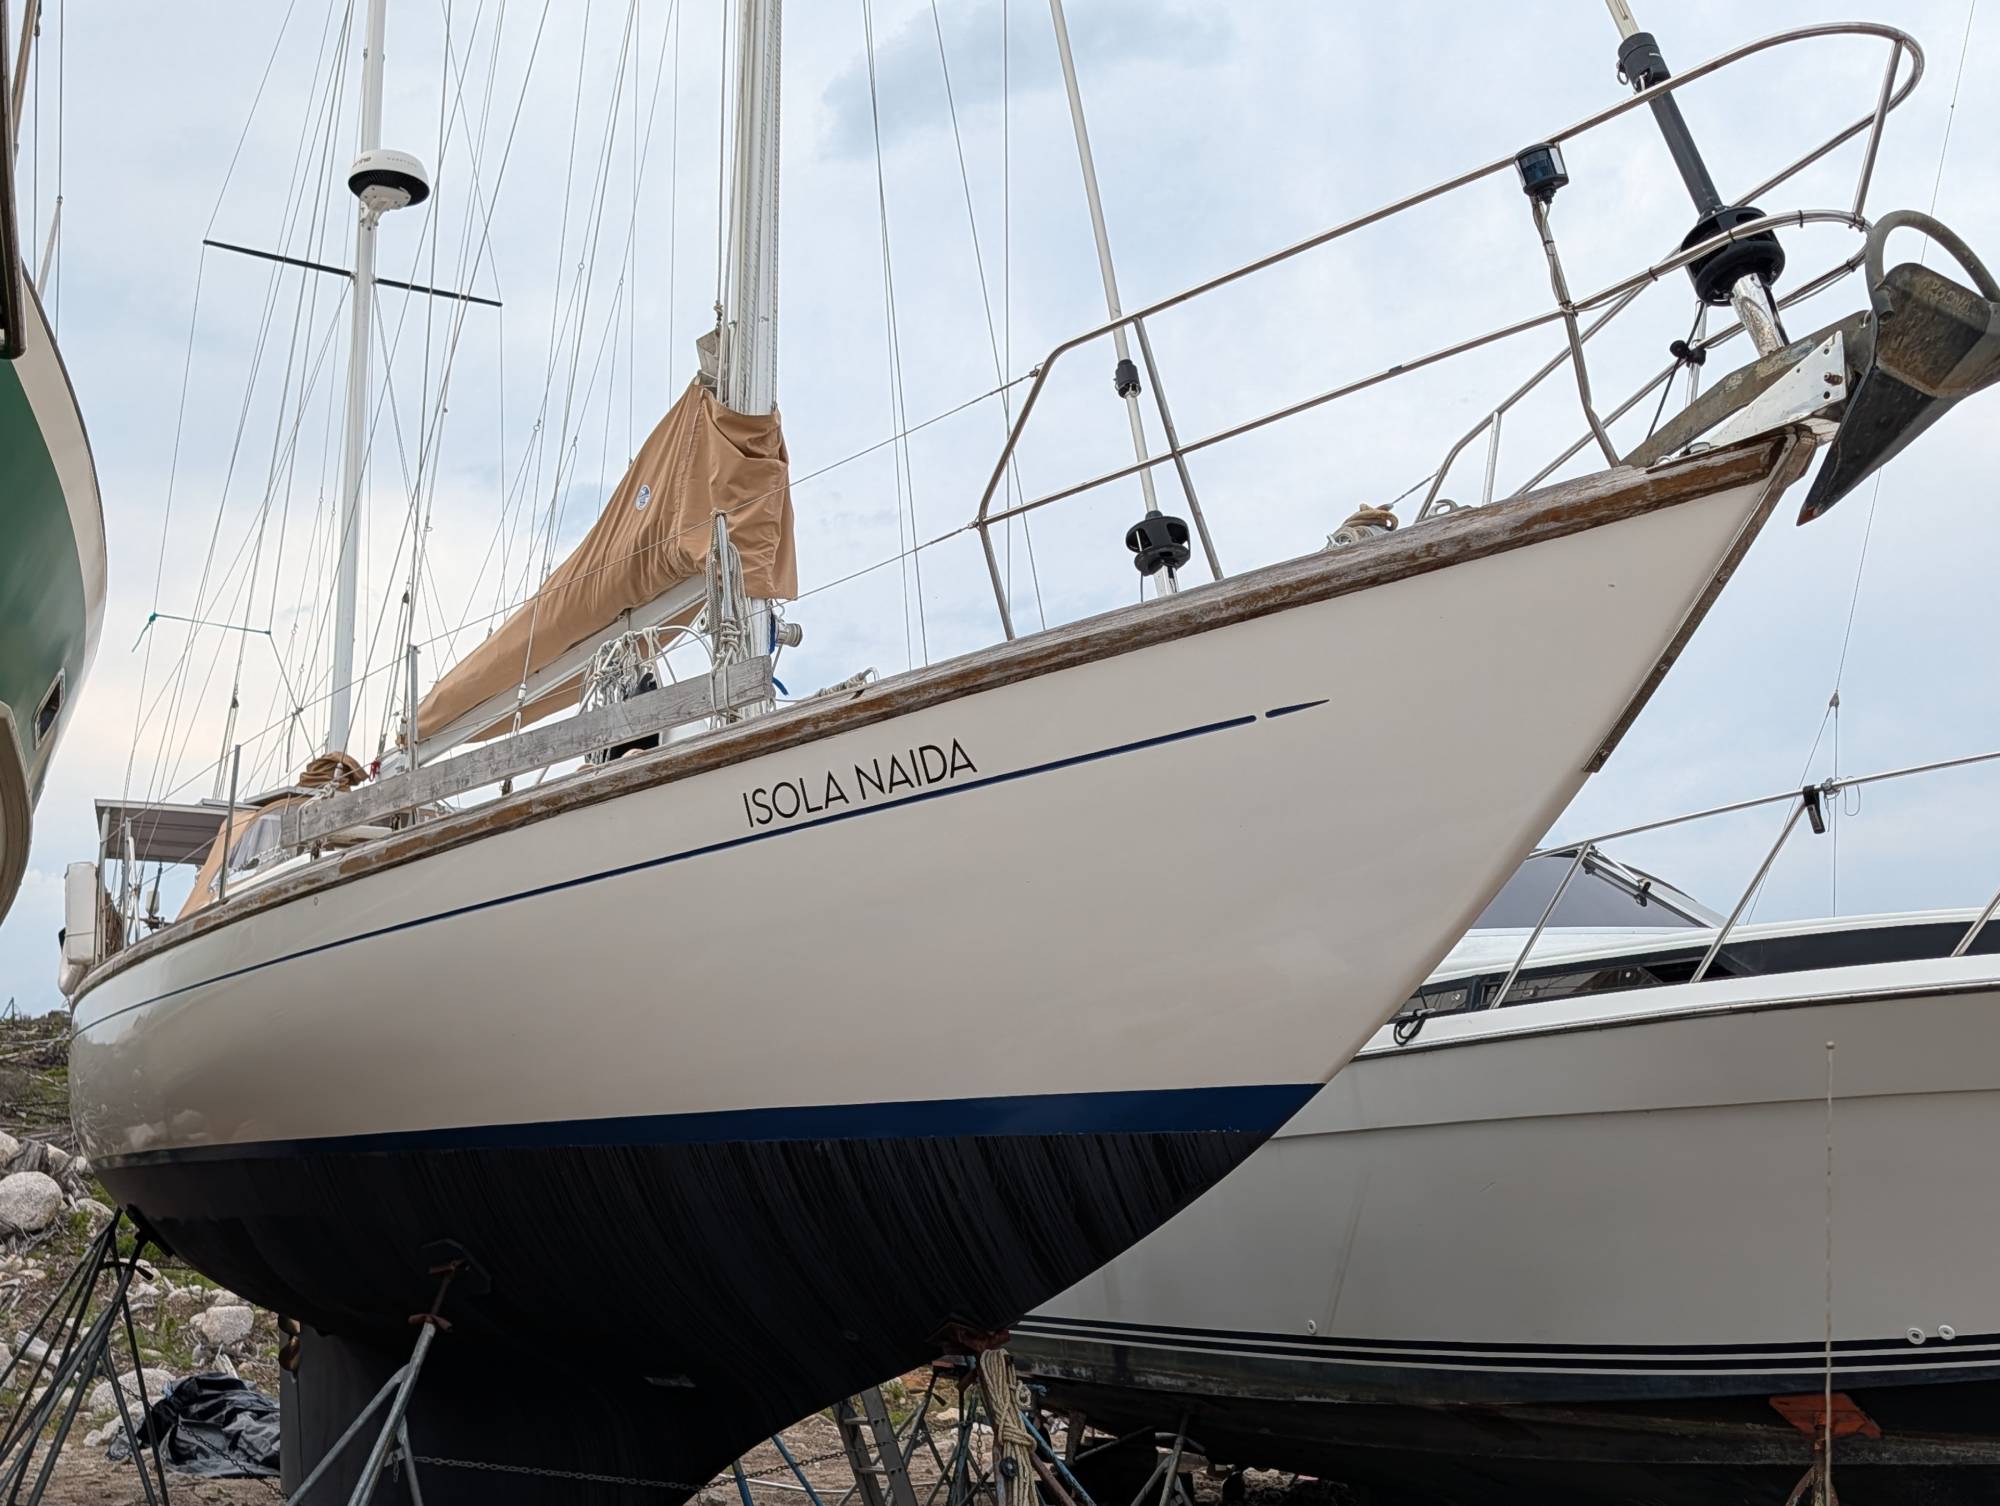
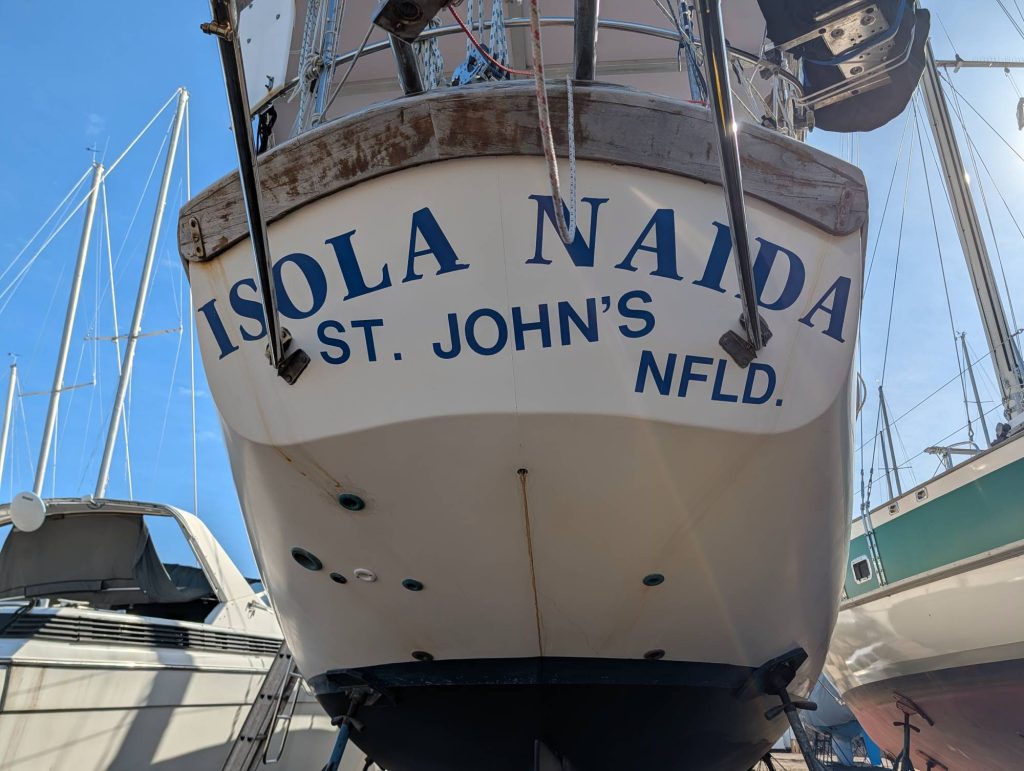
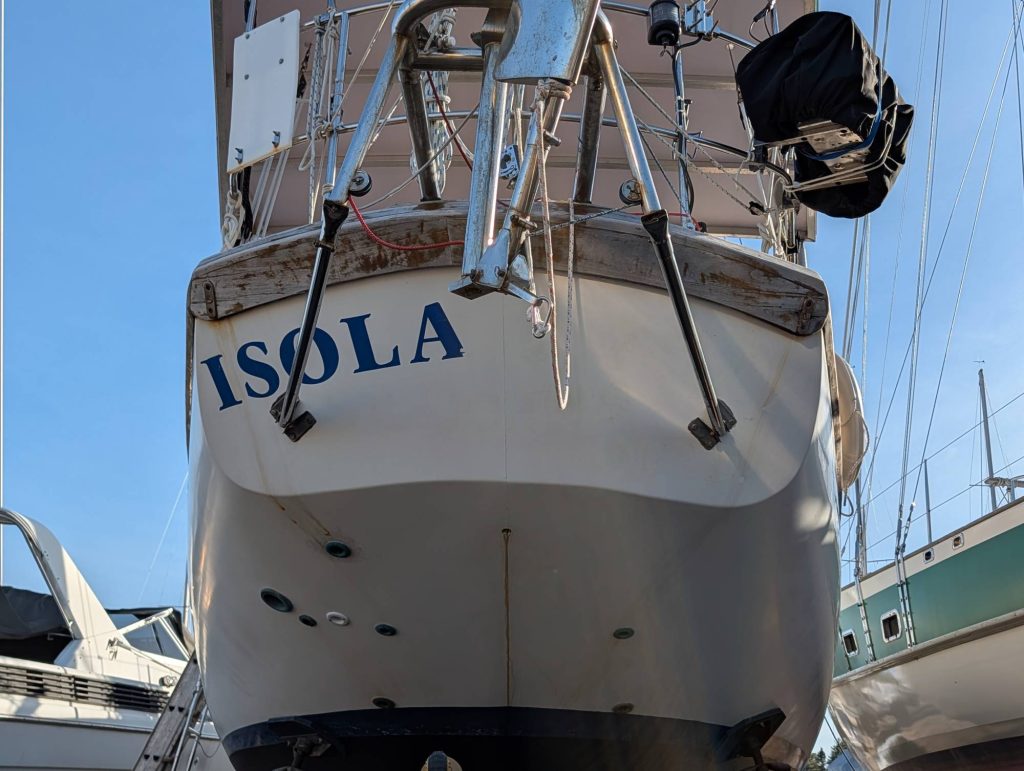
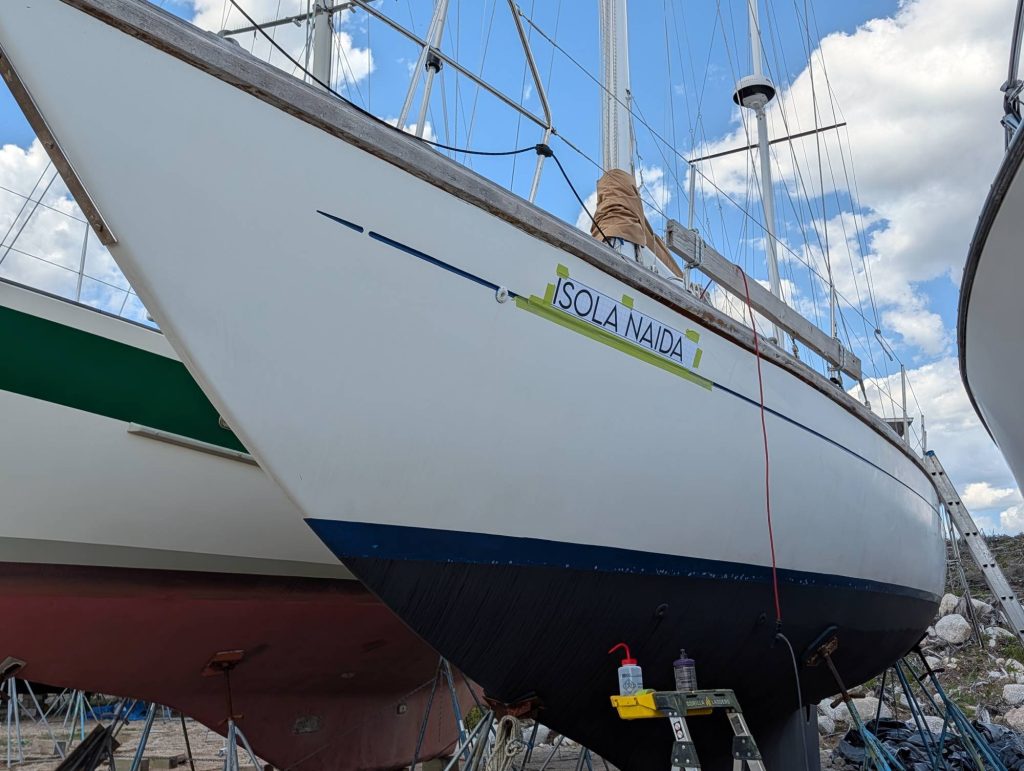
    Isola Naida’s vinyl decals were aging and beginning to chip away. The large blue serif lettering was dated and bulky. We wanted to breathe some new life into Isola Naida’s appearance. When we purchased Isola Naida in July 2025, we changed her port of registry from St. John’s, Newfoundland to Halifax, Nova Scotia. We were going to have to remove some of the decals and decided this would be a good time to replace them all.

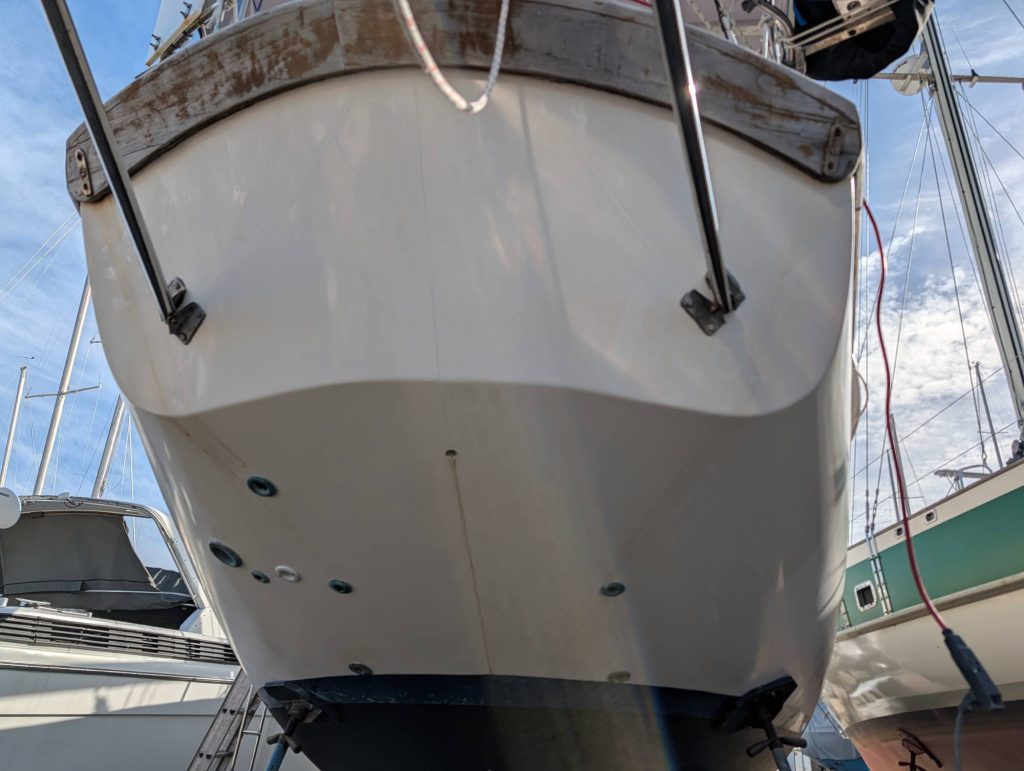
    It took a few days of work dodging the rainy weather, but we eventually had all of the old vinyl removed. The adhesive was persistent, but nothing that acetone and a microfiber cloth couldn’t handle with a little bit of elbow grease.

    New Vinyls

    We used PhotoPea to mock up various font faces before finally settling on a font called Lemonmilk. On 16 May, Noelle made her way across Halifax to HFXVinyl. Despite the limited colour selection we had decided that we were going to choose from the Oracal 751C line of vinyl. We had originally had our hearts set on choosing a grey vinyl but the Oracal 751C grey was too light a shade for the white of the hull. We settled on glossy black instead.

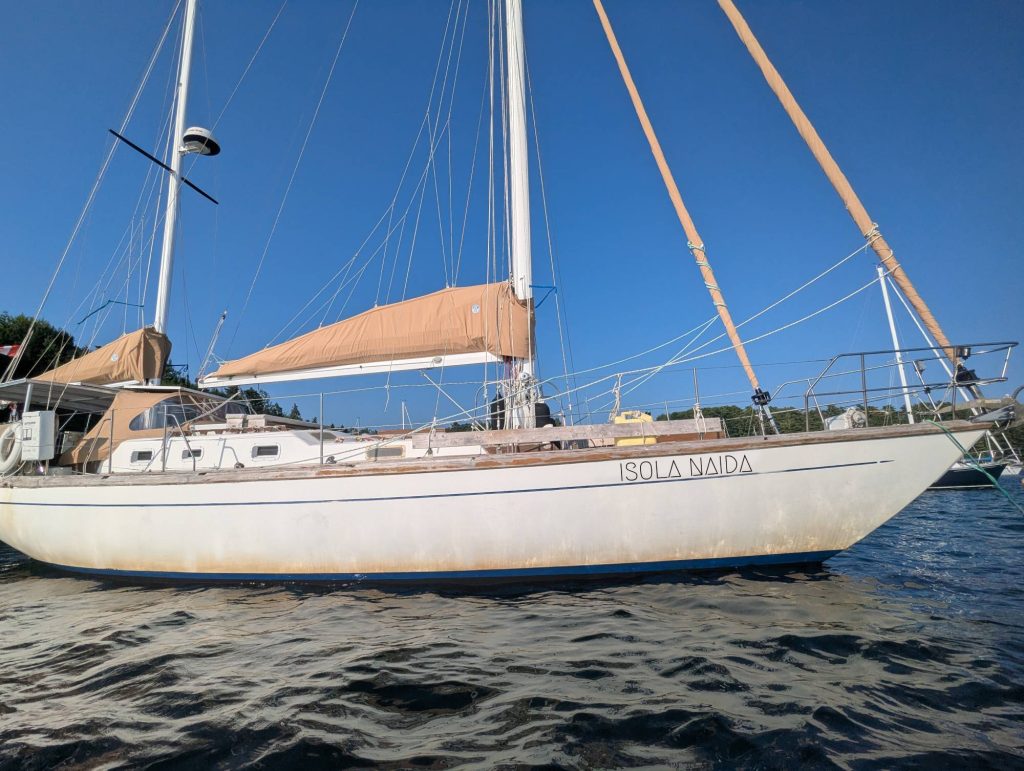
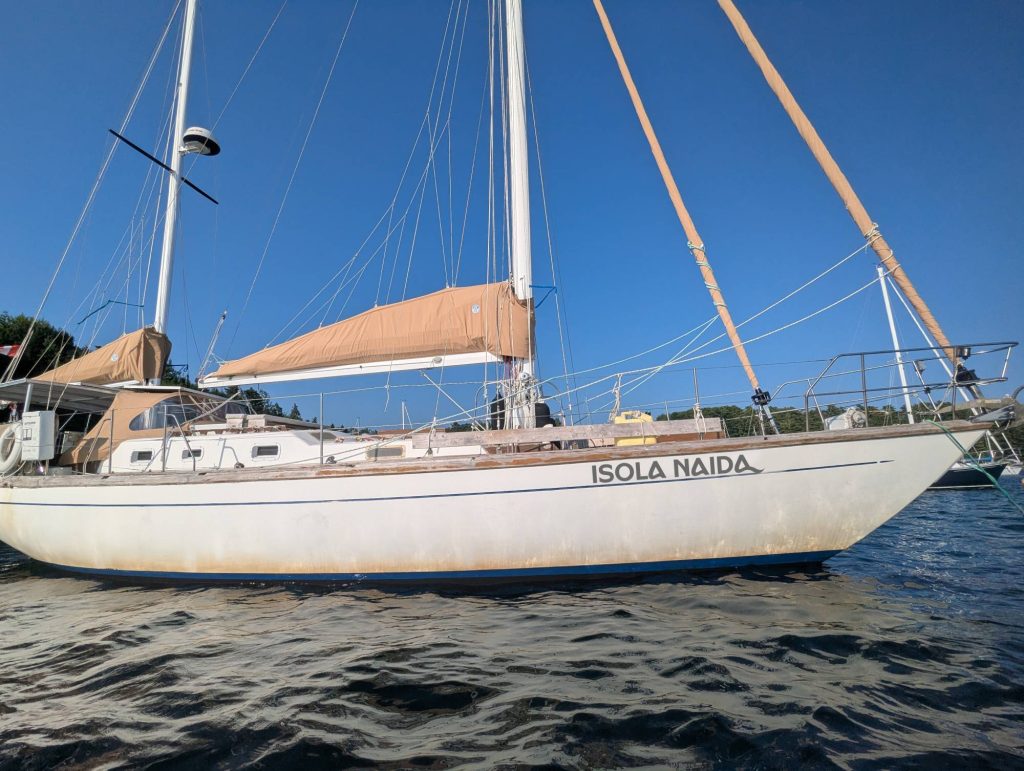
    On 17 May, D’Arcy set up the Cricut on the kitchen island of our apartment and laid out the required cuts before weeding the vinyl and adhering them to the transfer tape.

    Adhering the new vinyls took a lot of patience marking out lines with masking tape, stepping back dozens of times to make sure that the lines appeared straight, despite the complicated compound curves of the hull. Before the vinyls were permanently affixed to the hull the area was cleaned, polished, polished again, and wiped down with acetone to ensure the best possible adhesion. Afterward, the polished area was waxed to protect the sheen and the vinyls while we continued polishing the rest of the hull.

    Near Mirror Finish

    Starting 17 May, D’Arcy began the process of polishing Isola Naida’s hull. We’re not sure when the hull was last polished, but it didn’t take much to get the gel coat gleaming again. Before polishing, the hull was washed with Meguiar’s Boat Wash and rinsed with fresh water. Any staining was treated with CRC’s On & Off.

    We used 3M Perfect-It EX AC Rubbing Compound and a lambswool polishing pad to polish the hull. Isola Naida has a painted cove stripe and boot stripe, so we had to be careful not to polish over the paint with the lambs wool pad. We were able to skip over the cove stripe easily enough. For the boot stripe we needed to mask off the paint, polish to the tape, then pull off the tape and hand buff the boot stripe. We followed polishing the hull with a coat of Meguiar’s Flagship Premium Marine Wax to protect the finish. We’ll re-apply more wax part-way through the season to continue protecting the hull from the elements.

    What’s Next?

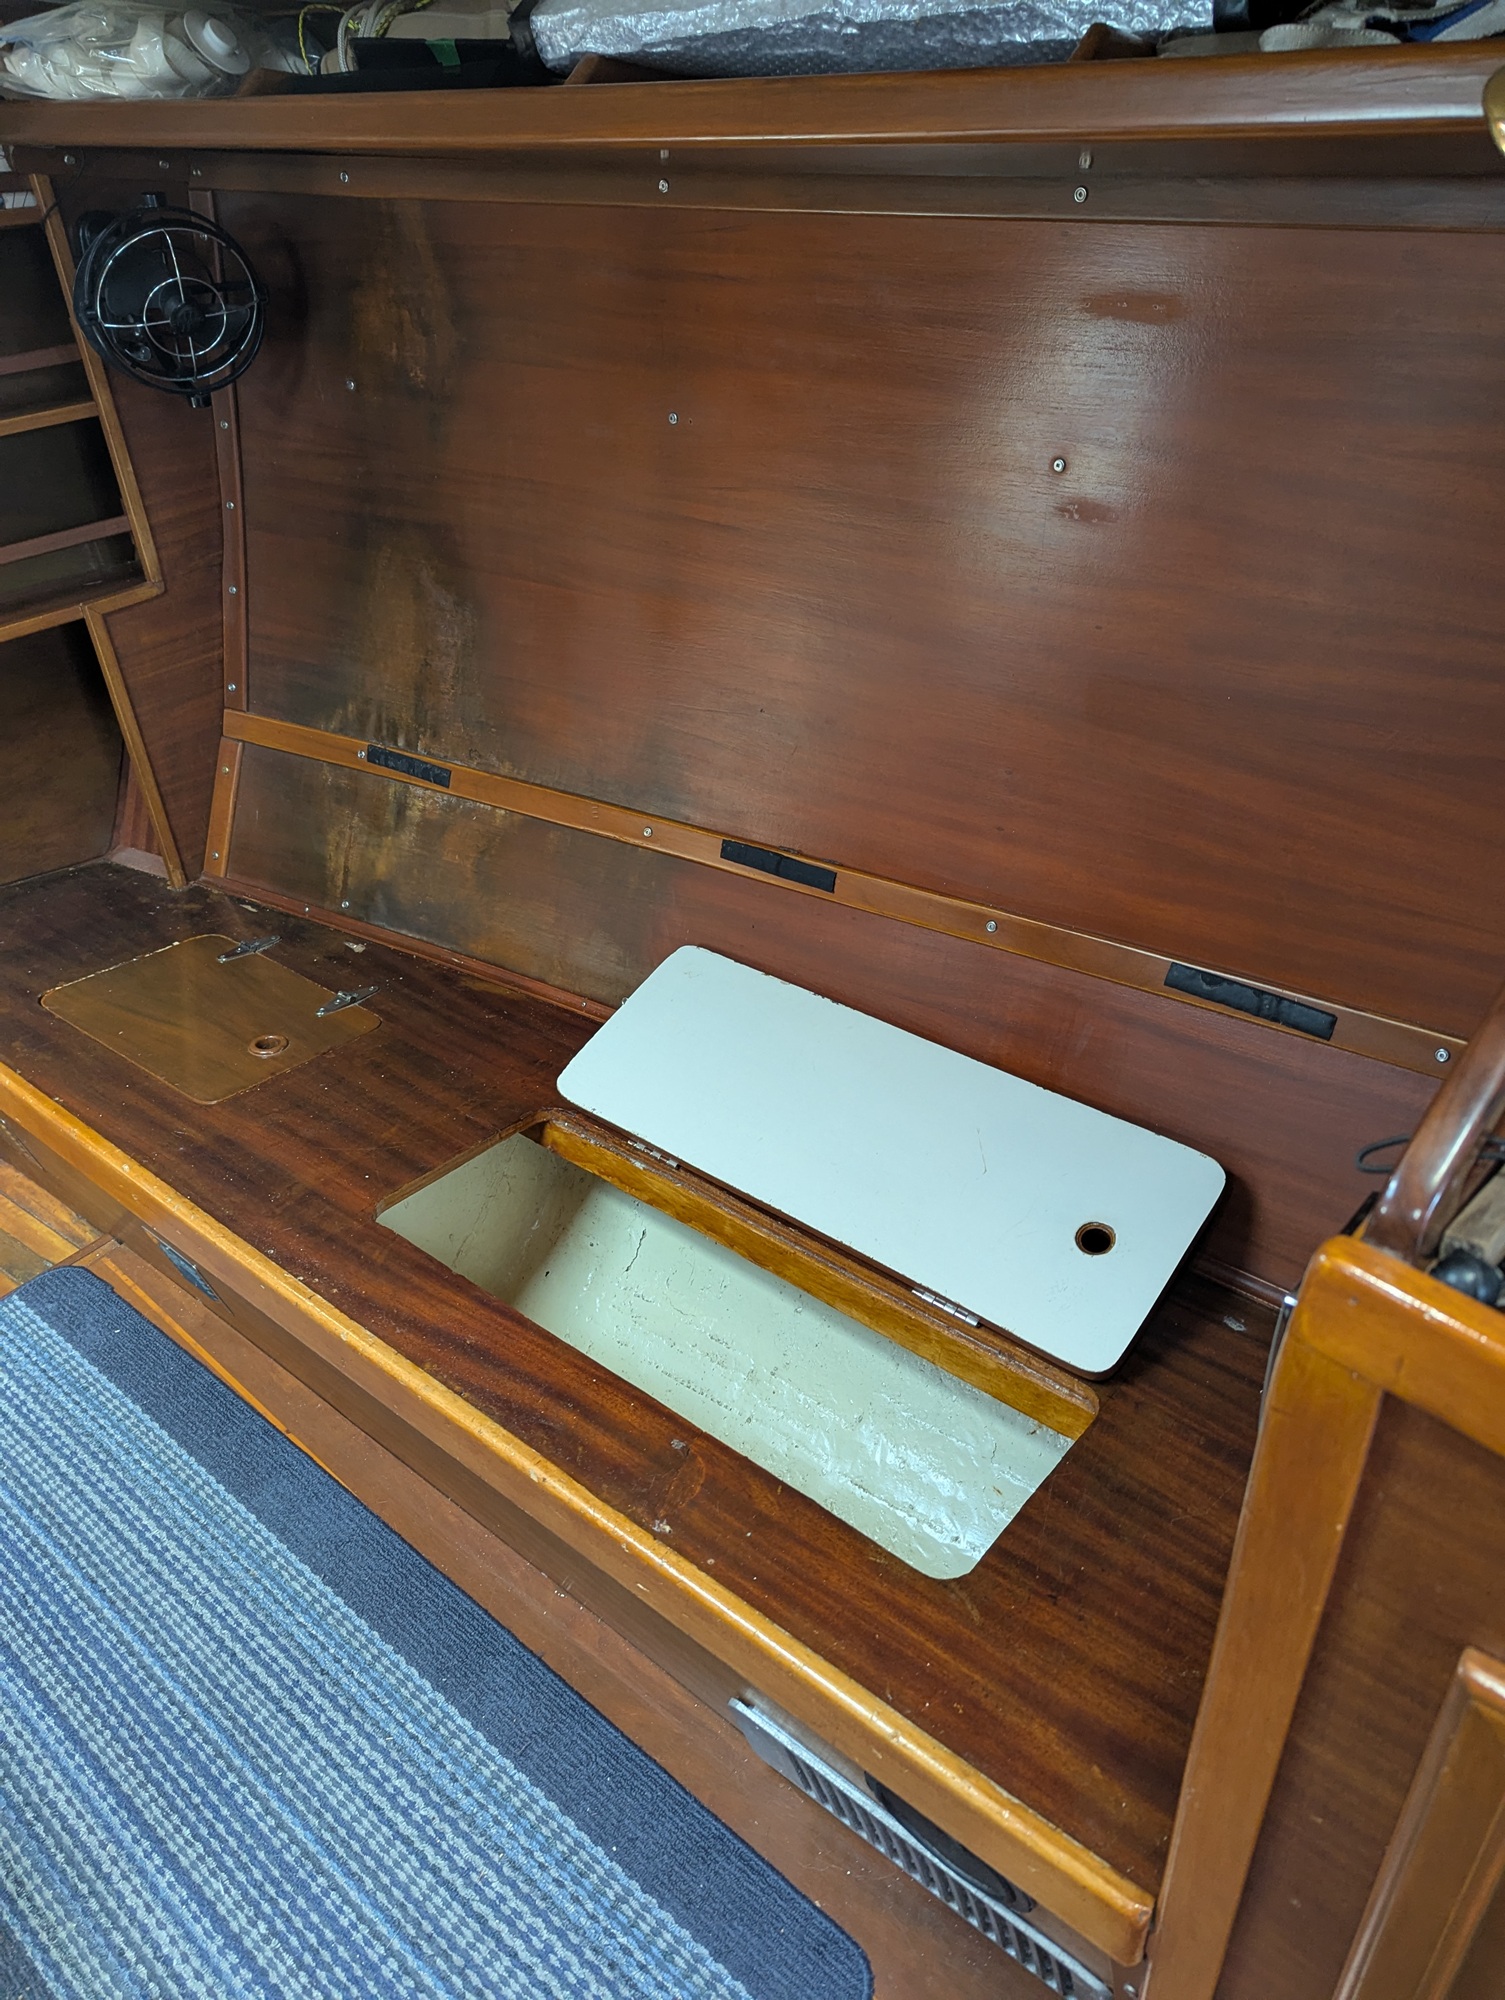
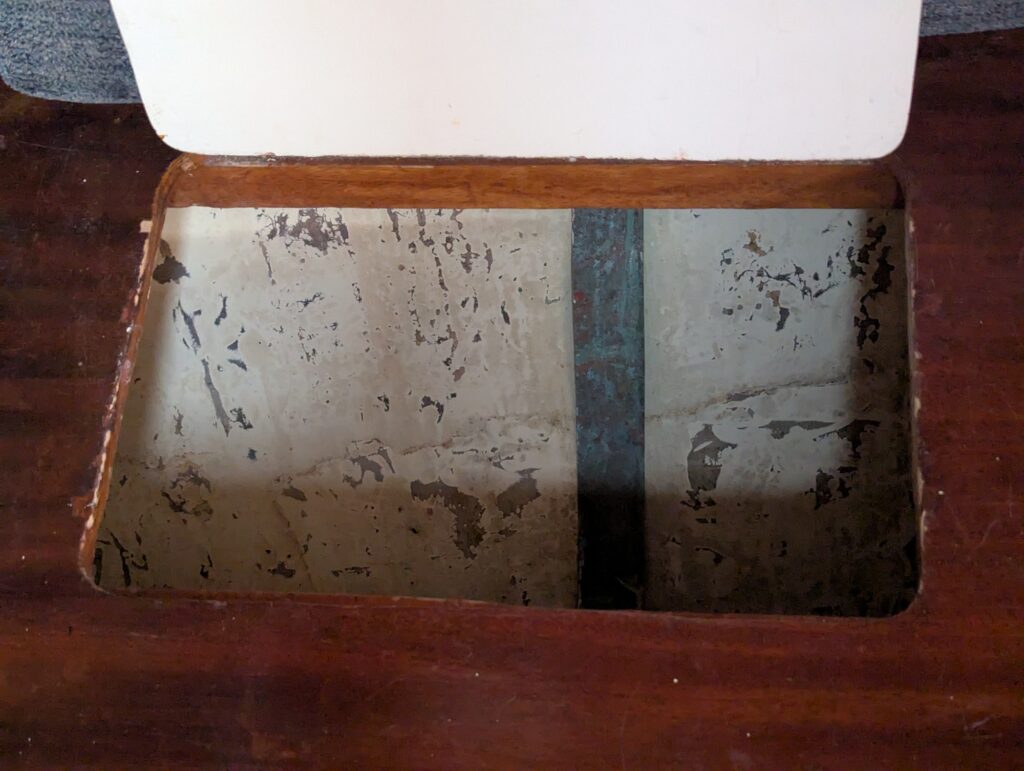
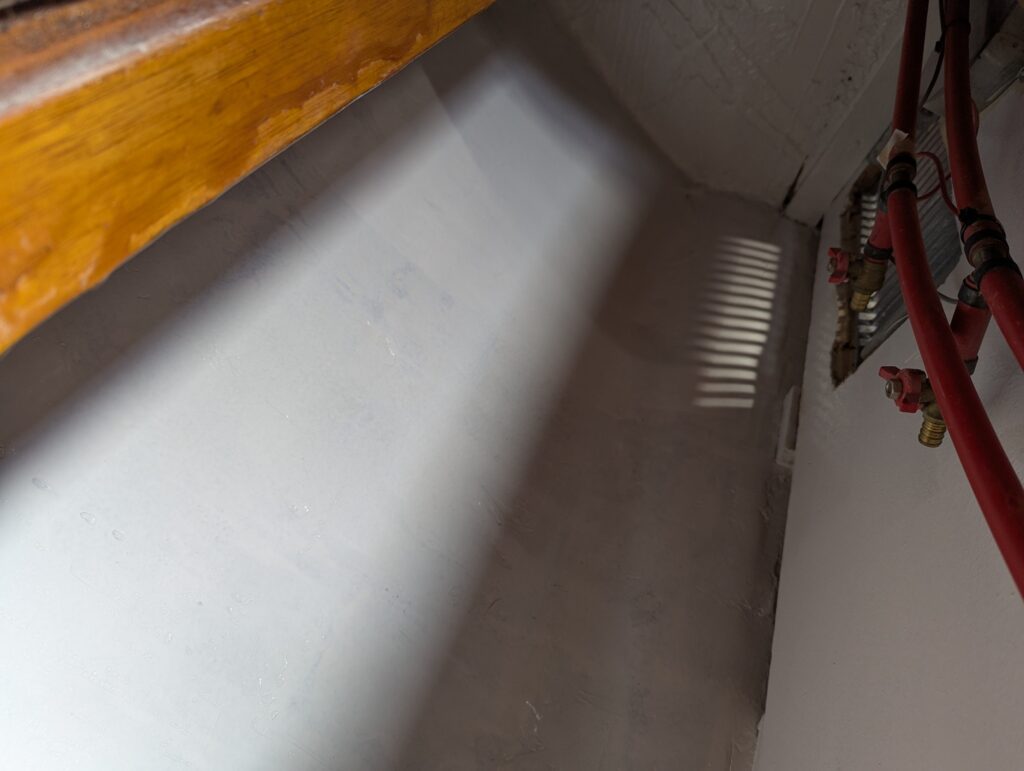
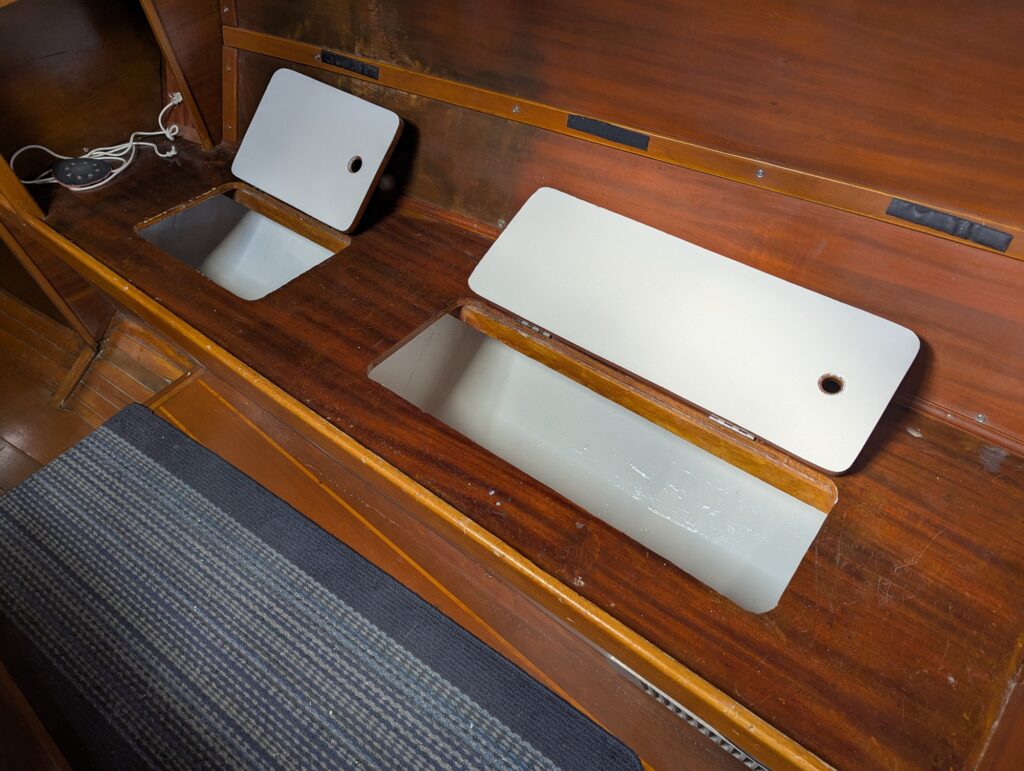
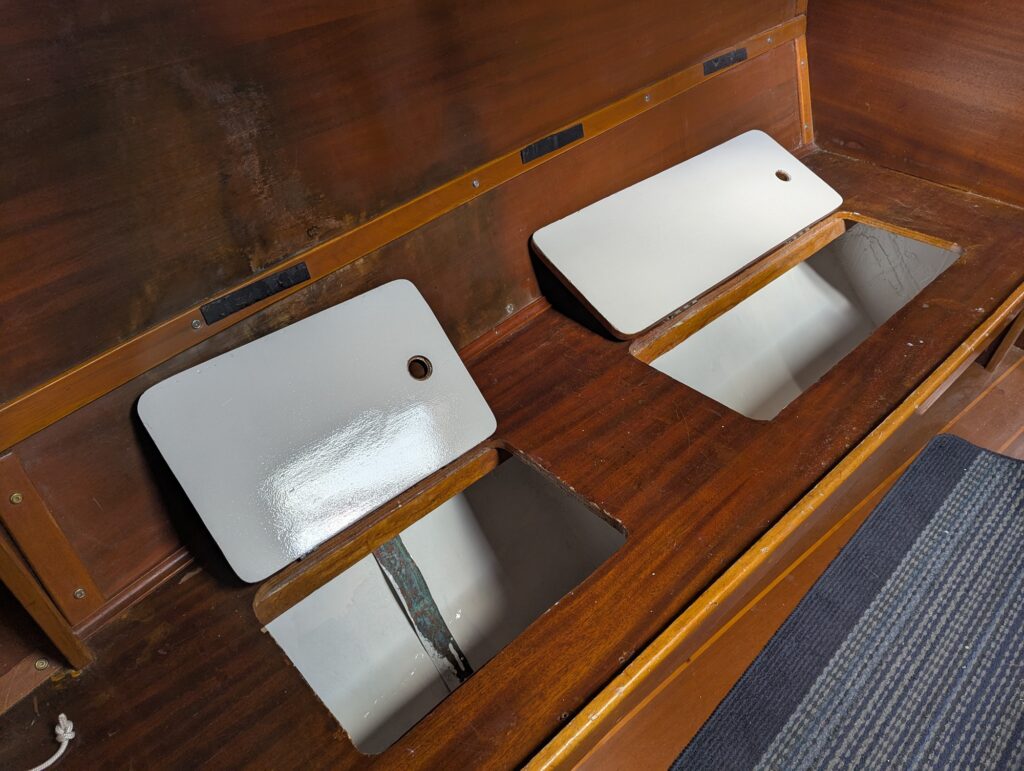
    With the hull work complete we can turn our focus topside and inside. Before we splash we’ll need to give Isola Naida’s standing rigging a thorough inspection as well as finish rigging the main and mizzen sails. We have some mechanical work to do such as installing the new impeller for our engine’s water pump, inspecting hose clamps, re-packing the stuffing box, and completing our survey of seacocks and through-hulls.

    Work won’t stop when we splash either. There’s an extensive list of deck hardware that requires re-seating to eliminate slow leaks and some aesthetic work to complete over the course of the summer.

    Follow along with our progress here! You can also find us on Instagram and Facebook.

  • Shore Life: Spring Maintenance & Preparing Isola Naida for the New Season

    Shore Life: Spring Maintenance & Preparing Isola Naida for the New Season

    Weโ€™re back!
    After a long winter hiatus, weโ€™ve finally returned to the shipyard and to Isola Naida to begin our spring maintenance. Like many boat projects, progress over the winter wasโ€ฆ aspirational at best. Work schedules, weather, and life in general got in the way, so most of our โ€œboat timeโ€ went into planning instead of executing.

    That planning time wasnโ€™t wasted. It made us more eager to get back aboard Isola Naida and start bringing those ideas to life. Now, with spring finally here, the real work begins.

    Winter Break: Lessons Learned the Hard Way

    Our last update was at the end of October. Before stepping away, we tackled a few key jobs. We cleaned the hull, removed the sails, and created a plan to protect Isola Naida through the winter.

    Unfortunately, our winter cover didnโ€™t live up to expectations.

    Within a few weeks, we realized the setup wouldnโ€™t hold up to the elements. It worked temporarily, but we couldnโ€™t rely on it long term. Weโ€™ll treat that as a lesson learned.

    This year, weโ€™re building a proper winter cover. Weโ€™ll document that process in a future post.

    Spring Plans: Spring Maintenance & Refit Checklist

    Instead of tackling projects at random, weโ€™ve divided the work into two groups. Some tasks need to be completed before launch, while others can wait until weโ€™re back in the water.

    Before Splashing

    Before we launch Isola Naida, we have a long list of jobs that require us to stay ashore or are much easier to complete on land.

    Hull Work

    This season is all about giving Isola Naida a refreshed look below and above the waterline. That means prepping and painting the bottom, removing the old vinyl decals, and bringing the hull back to life with a full polish and wax.

    Weโ€™ll be cutting and applying a new set of decals before the hull is waxed. We’re still narrowing down our preferred look, but we have a few weeks left to make that decision.

    Water Systems

    Above all else, we want to make sure the essentials are solid.

    Weโ€™ll be inspecting and cleaning all three water tanks, and refinishing them where needed. Isola Naida has a massive amount of water storage onboard and we want to ensure that it is accessible when required, and safe to consume, and that starts with clean tanks.

    Motor & Drive System

    While we prefer to be under sail, the reality is that nobody wants to be caught out without a reliable motor. Our Yanmar 4JH4E is one of the most reliable motors out there and we want to do everything we can to keep it that way.

    Weโ€™ll be getting the motor ready for the season, checking the packing, and replacing anything that looks questionable. Itโ€™s much easier to deal with these things at the dock than out at sea.

    After Splashing

    A few of our projects this year can don’t need to be completed before we’re in the water. In fact, some of these projects may take most of the year to actually accomplish, but that’s okay because we get to make our own timeline with these projects!

    Fuel Systems

    The Reliance 44’s primary fuel tank is integrated into the fiberglass structure of the keel. Isola Naida’s keel tank has a history of water contamination which her previous owners were unable to mitigate successfully. As such, her keel tank has gone unused for some time.

    We intend to flush and isolate the keel tank before refilling it with biodegradable antifreeze to provide the intended ballast and to provide colour indicator incase we find that the tank is compromised.

    We’ll also be replacing the fuel pump which feeds the liquid pre-heater in order to provide on-demand heat throughout the boat.

    Topsides

    Weโ€™ll be sanding and refinishing the toe rails, hatches, and cockpit brightwork, followed by multiple coats of varnish to bring everything back to life. Thereโ€™s nothing quite like freshly varnished wood to make a boat feel cared for again.

    Weโ€™re also planning to pattern and sew custom hatch covers to help deflect rain weather and protect the brightwork of the hatches over time – and don’t worry, we won’t be completely preventing air flow with these covers, we’ll share more about the design of these covers in a future post.

    Salon

    Inside Isola Naida, our focus is on making the space more comfortable, functional, and bright.

    Not only is a deep-clean in order, we’ll also be progressing storage improvements and refreshing the look and feel of the interior by making all new salon cushions using a light-coloured, durable canvas material to really help brighten the space.

    Looking Ahead

    Thereโ€™s no shortage of work ahead of us this season. Some of it is routine, some of it is long overdue, and some of it will almost certainly take more time and effort than we expect. Thatโ€™s all just part of the adventure.

    Weโ€™ve already started making progress on a few of these projects, and weโ€™ll be sharing those updates in upcoming posts as we go. Thereโ€™s something satisfying about finally moving from planning into executing, and it feels good to be back aboard again.

    This will be our first full season with Isola Naida, and weโ€™re looking forward to making the most of it!

    If youโ€™d like to follow along in real time, you can find us on Instagram and Facebook, where we share more frequent updates from the yard and beyond. And if you havenโ€™t already, consider joining our growing community! Weโ€™re glad to have you along for the journey.

  • Boat Work: Caribe RHIB Repair Project

    Boat Work: Caribe RHIB Repair Project

    When we took stewardship of Isola Naida, we also adopted her tender, a Caribe Nautica MVPL-10 Rigid Hull Inflatable Boat (RHIB). Caribe has long been known for their quality inflatable boats and we were excited to have a RHIB as a tender – their stability and carrying capacity is unmatched. Now that we have the boat out of the water for the season we’re able to address the leaks and prepare the tender for next season.

    Before

    We knew at the time we bought Isola Naida that the starboard and bow sponsons of our RHIB each suffered a slow leak. This meant that we’ve had to reinflate two of the three sponsons daily. The previous owners hadn’t had the opportunity to haul her our and go on a leak-finding mission.

    Step 1: Soap Wash

    On 27 September, D’Arcy took advantage of the tender being our of the water to begin cleaning the boat and finding leaks. Using a spray bottle with a 1:4 mixture of Dawn dish soap to water, he began spraying sections of the sponsons and used a stiff bristle brush to help remove dirt and lather the soap. Lathering the soap helps to create an even distribution of bubbles which further helps the larger bubbles formed by air leaks to stand out.

    We quickly discovered five leaks – four were pinhole leaks and one was a very fine slice. All of the leaks were located on the starboard bow of the boat. This bit of information immediately exposed the culprit: Isola Naida’s boarding ladder!

    Isola Naida’s ladder swings over the port side toe-rail and hinges at the midpoint. When the lower half of the ladder is in the upright position instead of lowered into the water, the ends of the stainless steel tubing that makes up the ladder is exposed. This happens to be the perfect height for making contact with the RHIB’s sponsons. This was a known issue which we had discussed with Isola Nadia’s previous owners.

    Step 2: Degreasing

    On 5 October, D’Arcy returned to degrease the tender and perform a deeper cleaning. This also ensured that we hadn’t missed any leaks in our original search. We used Marine Spray Nine Heavy Duty cleaner to degrease the Hypalon sponsons and the interior hull.

    In the process, we removed the old North Carolina registration plates that had been affixed to the port and starboard side sponsons. This exposed some more spots where the neoprene outer layer of material had been separated from the Hypalon backing. We’ll reinforce these areas when we patch the leaks to help protect the sponsons as much as possible.

    We won’t be able to reinforce the handles at this point. Structurally they are fine, repairs to the handles are purely cosmetic. We’ve made a note to address the handles in the future.

    Step 3 & 4: Sand Surface, Acetone repair site

    We ran out of warm weather in October, so it didn’t make sense to continue the dinghy project at that time. On 23 May, we finally had a weather window with acceptable temperatures for the two part epoxy adhesive to cure. The sponsons were reinflated to confirm the locations of the leaks before being deflated slightly to prevent excessive outward pressure building beneath the patches.

    D’Arcy carefully taped a perimeter around each repair site using the patch material as a guide. He then used a Dremel tool with a spherical sandpaper flap wheel (the stone bit wouldn’t fit onto the tool) to prepare the surface of the sponsons. After the surface material was removed entirely, a quick hand sanding with 180 grit sandpaper ensured the surface had enough tooth for the adhesive to adhere properly. The Hypalon side of the patch material was also sanded with 180 grit sandpaper.

    A light wipe with acetone over the exposed Hypalon fabric ensured that the surface was clean and dry. Acetone will damage the PVC exterior layer, so it’s important not to wipe beyond the repair site.

    Step 5: Two Part Adhesive

    With everything sanded and prepared, the two part epoxy resin was mixed with 5% hardener. After the adhesive was thoroughly mixed a thin layer of the adhesive was applied to the repair sites and to the back of the patches. This layer of adhesive was left to dry for 10 minutes. This allows the adhesive to secure itself to the material itself.

    The final step was to apply the patches one at a time. A second layer of adhesive was applied to the repair site (the tape was removed at this point) and a layer of adhesive was applied to the reverse of the patch. The patch was then pressed onto the surface of the repair site. The tip of a large marker was used to press the material from the middle outward ensuring full spread and adhesion.

    The patches were then carefully covered to prevent exposure to direct sunlight.

    Step 6: Inflate and Test

    The sponson won’t be pressurized for more 24 hours after the repairs, so we’ll have to wait to confirm that there are no more leaks. We’ll update this part of the post when we have more information about the success of the repairs.

  • Boat Work: Starboard Settee Storage Project

    Boat Work: Starboard Settee Storage Project

    When we first saw Isola Naida, we were quite content with the finishes and workmanship onboard. Is she the most beautiful boat in the world? No, but she was in good shape that and just needed to be maintained. We’ve had Isola Naida for a few months now and just like owning a home, we’ve found some things that we would like to improve upon to make her our own. The first project on our list of boat work cleaning and refinishing under the salon settee. This is the Starboard Settee Storage Project.

    Before

    Under Isola Naida’s salon settee, like many boats, is a storage space directly on top of the interior of the hull. Hull interiors are often left in a state of finish that is livable but not refined. The inner layer of fiberglass cloth tends to cure with dimples. The builder may have spilled resin that cured in globs and were never sanded smooth. None of this is an actual concern – it’s not meant to be seen, so who cares, right?

    Step 1: Sanding

    On 15 August, D’Arcy was aboard Isola Naida to being the process of sanding. Being on the mooring ball and having to rely on the house batteries and solar system, we hoped that we would be able to avoid needing power sanders to complete this project. Hand sanding did surprisingly well, but the process would have taken multiple days to get anywhere near the finish we would like. To make matters worse, the small Shop-Vac was onboard didn’t contain a filter – something we should have checked for before using it – causing the vacuum to blast sanding dust throughout Isola Naida.

    D’Arcy returned a few days later with with a random orbital sander and a his personal shop vacuum. We weren’t sure how much the vacuum or the sander would draw on the electrical system, all we could do was monitor the use and stop if required.

    We quickly discovered that the shop vacuum and the orbital sander combined caused too much draw causing the breaker to the inverter to trip. So began the process of running the sander then quickly switching to the vacuum to collect as much dust out of the air as possible.

    Step 2: Fairing

    It took a few days to get back to the project between working, racing, and other responsibilities. On 29 August, D’Arcy returned to Isola Naida to apply fairing compound to the inside of the hull in the storage lockers. We decided to use 3M Marine Premium Filler, both due to its availability locally and based on the recommendations from professionals.

    The filler is a two part mixture consisting of the filler product and a hardener cream, mixed in a roughly 50:1 ratio. Working time is less than 10 minutes, so it is important to only mix as much as you can apply quickly. We found that 200ml was pushing the limits for our application. The filler mixes up green hardens to a lighter shade of green when applied. We applied the filler with a hand spreader. This filler is ready to sand within 30 minutes, but it would be a few days before we could get back aboard to continue working.

    Steps 3 & 4: Sand, Rinse, Repeat

    D’Arcy was aboard again on 31 August to sand, touchup fairing and paint the storage lockers. After sanding the fairing with 60 grit sandpaper to knock down imperfections and high spots, the whole surface was sanded with 120 grit sandpaper to give the surface a tooth for the paint to grip onto. The surface was vacuumed and given wipe down with acetone. Sanding exposed a few spots that needed more attention, so new fairing was applied in these spots. The 3M Marine Premium Filler has a 30 minute set up time, which was perfect for a lunch break before sanding once more.

    Step 5: Painting

    After vacuuming as much of the dust as possible, and wiping down all surfaces with a acetone, a coat of white Interlux Bilgekote was applied. Bilgekote is an enamel paint designed to protect against water, oil and other contaminates from damaging the wood or fiberglass. The paint was applied using a wool roller wherever possible to achieve a consistent finish. In some of the nooks and crannies, it was necessary to use a brush. In these locations care was taken to apply the paint as smoothly as possible.

    It wasn’t possible to get coverage on every surface due to space restrictions, so we’ll need to revisit painting to touch-up those surfaces.

    Steps 5 Continued

    A quick stop aboard Isola Naida on 8 September provided the perfect opportunity to do some touch-up painting and apply a second coat of Bilgekote to the inside of the storage lockers. The previous coat didn’t provide great coverage in all areas, and some of the upper corners needed to be painted by hand.

    Step 6: Mounting & Wiring

    It’s been a busy few weeks since we were last able to focus on this project. We were able to run the wiring from the electrical panel to the settee on a previous visit. We made as many wiring connections as we could during that visit. On 2 November, D’Arcy was back on Isola Naida to finish off the installation of the lights, magnetic reed switches, and do some cable management.

    The LED strip arrived with a connector wired to the leading end of the strip which made the first length of lights an easy installation. Heat-shrink wire connectors were used to connect the positive and negative leads to the magnetic read switch and the negative wire heading back to the panel.

    The smaller locker proved to be a bit more of an undertaking. We opted to solder directly to the LED strip instead of ordering strip connectors. It took more attempts that D’Arcy would like to admit, but eventually we had a working circuit. To help ensure that everything stays in place, we applied a spot of hot glue over the soldered connections and between the wires to both strengthen the connection and prevent leverage being applied to the soldered points. Finally, a piece of heat-shrink tubing was applied over everything; really solidifying the connection.

    The final step was to install everything to the underside of the settee. Small screws were used to hold the switches in place. The LED strip was stuck on using the 3M Adhesive backing (which we are expecting to fail in the future, at which point we will explore other solutions). For cable management, D’Arcy 3D printed cable clips to hold the wires in place. These were screwed in as necessary to tidy everything up.


    With that, the Starboard Settee Storage Project is complete! In the future, we’re hoping to add the same lighting feature to the Port Settee. Thanks for following along with this project. The next big project will be to patch our Caribe RHIB.