Category: Boat Work

  • Boat Work: Auxiliary Fuel Tank Diesel Bug

    Boat Work: Auxiliary Fuel Tank Diesel Bug

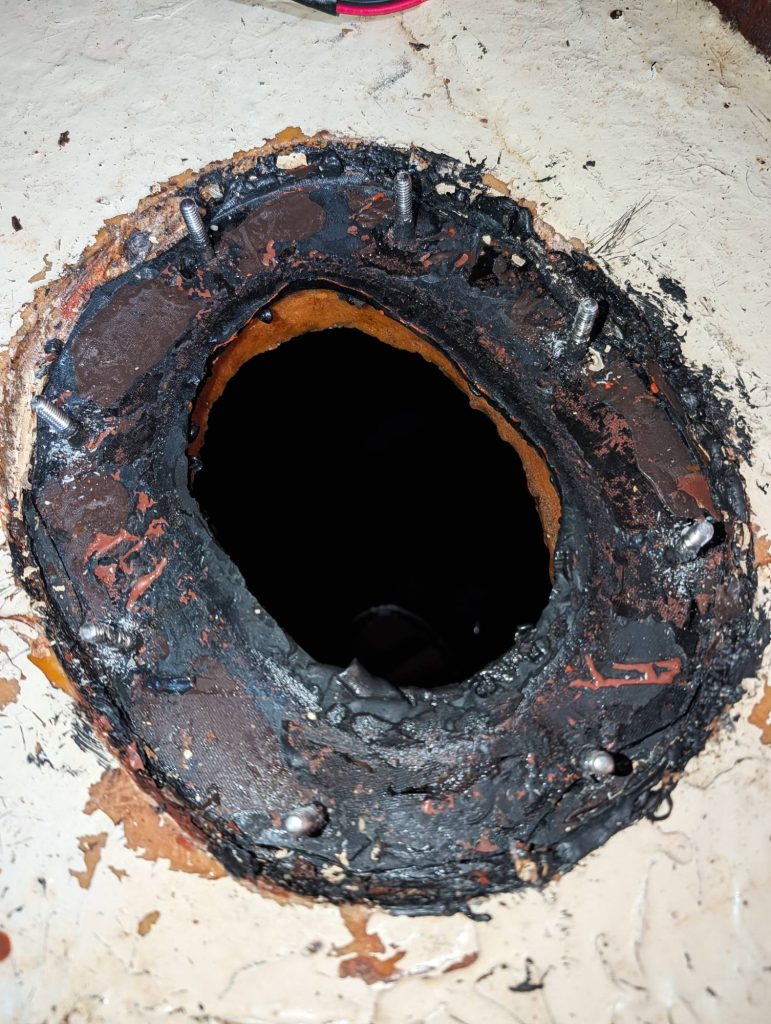
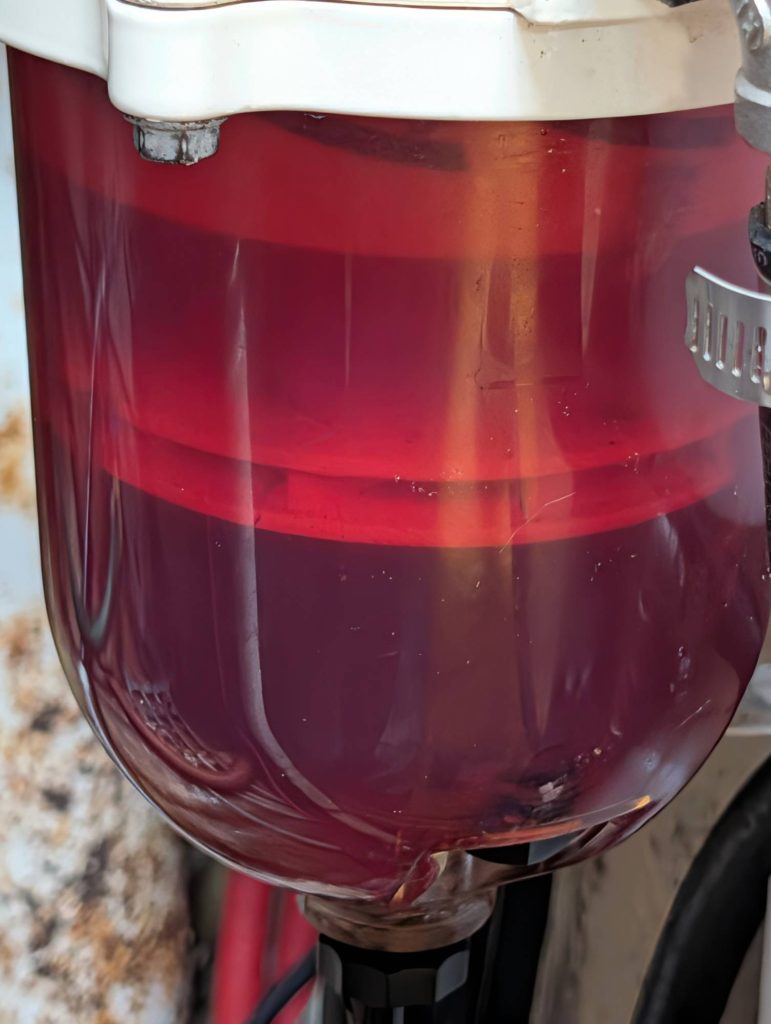
    As we departed from East River Shipyard on 6 June, we never expected to run into engine trouble. We certainly weren’t expecting that trouble to be diesel bug in our auxiliary fuel tank!

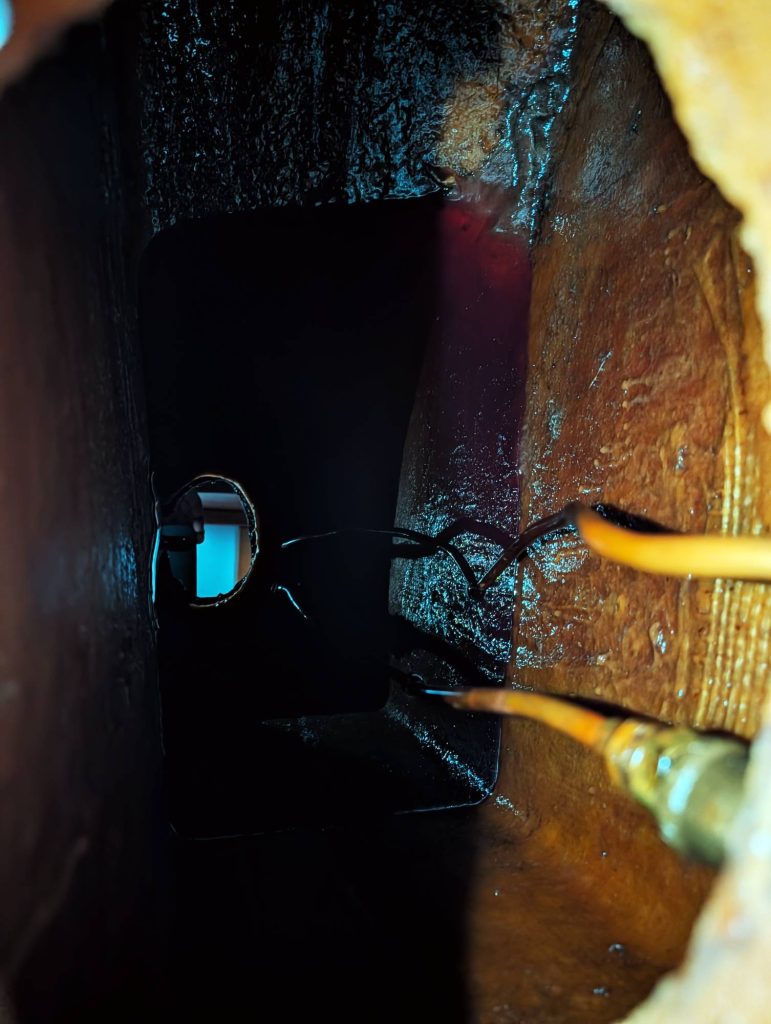
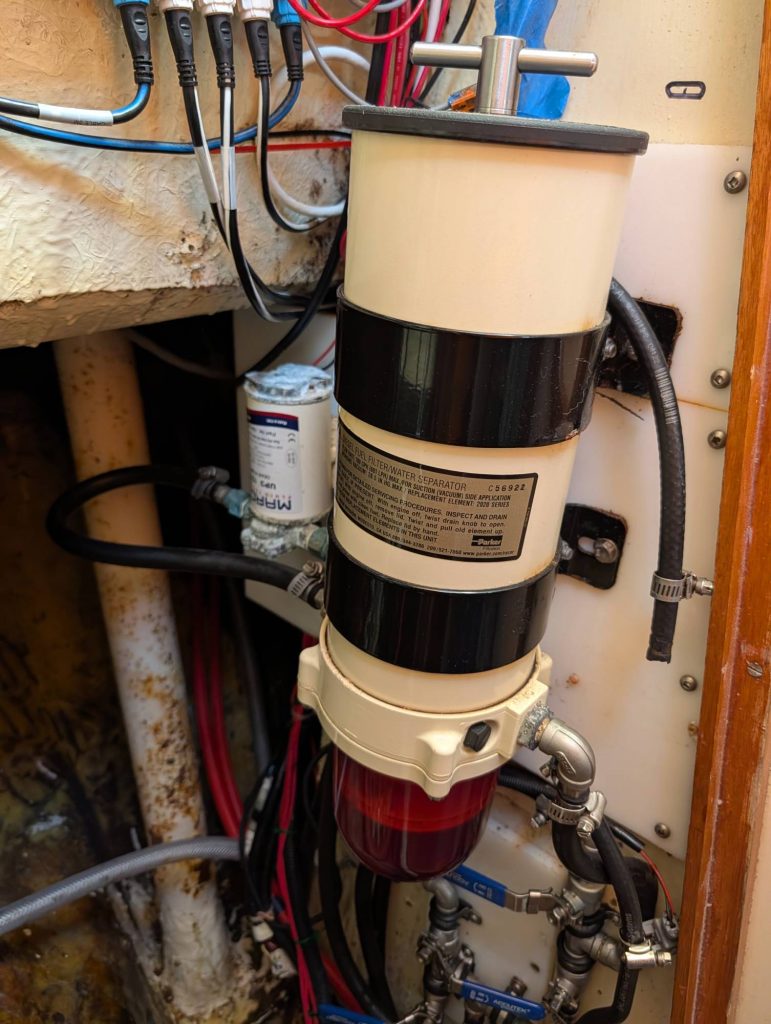
    It never occurred to us that, since Isola Naida was first constructed, no one had ever laid eyes on the inside of her auxiliary fuel tank. How do we know that? Simple. It would have been practically impossible. The six-foot-long, approximately 70-gallon tank was constructed with a single inspection port. That port only provided access to the first of five baffled sections and was barely large enough to get an arm through, let alone clean the tank.

    Unfortunately, we were about to discover exactly why that was a problem.

    What are our options?

    Once we knew we were dealing with diesel bug, we really had two options.

    Option 1

    Empty the tank, measure exactly how much fuel we have, refill the tank and treat the diesel with biocide. Once the diesel is shock treated we could continually filter it through our fuel polisher until the diesel ran clear.

    This may have worked, however, biocide is harsh on engine components and there is a good chance that we wouldn’t completely resolve the issue. It would also have cost a fair amount in filters. Ultimately, we didn’t like not knowing if we’ve take care of the issue entirely and worried we’d find ourselves constantly fighting back the diesel bug.

    Option 2

    Empty the tank, cut new inspection ports, de-grease and dry out the tank entirely, make new lids for the inspection ports, refill the tank and treat the fuel with a maintenance dose of biocide.

    For us, this was the obvious choice.
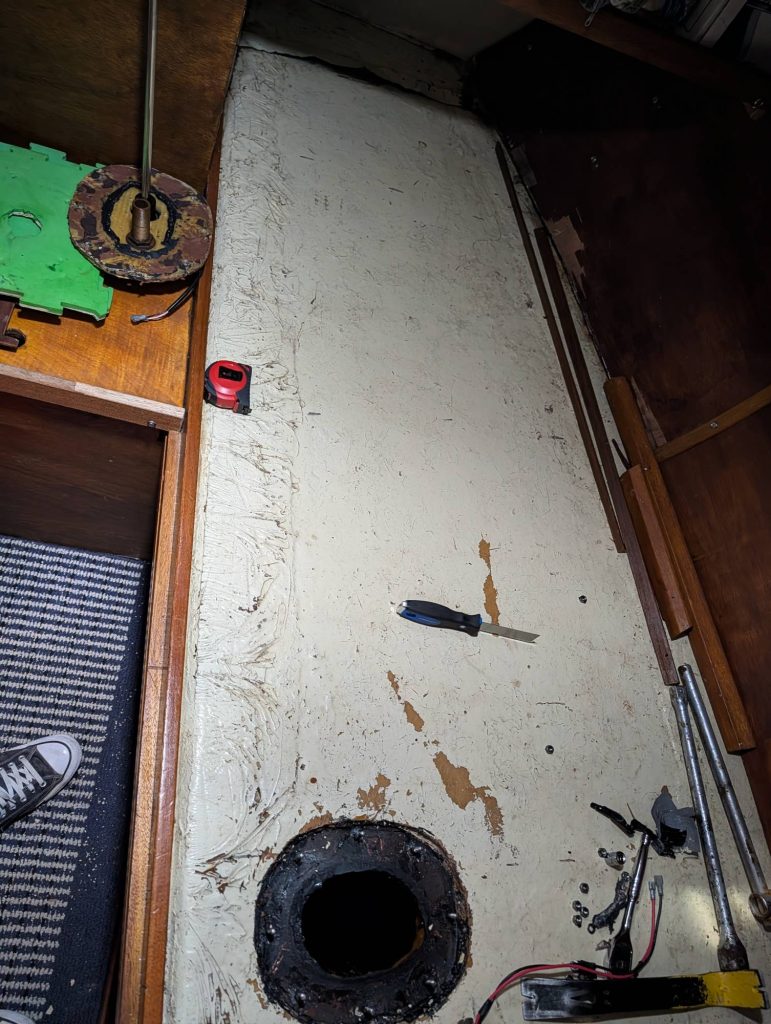
    Step 1: Empty the Tank

    On 11 June, D’Arcy and Noelle arrived at Isola Naida with a bunch of jerry cans and a plan.

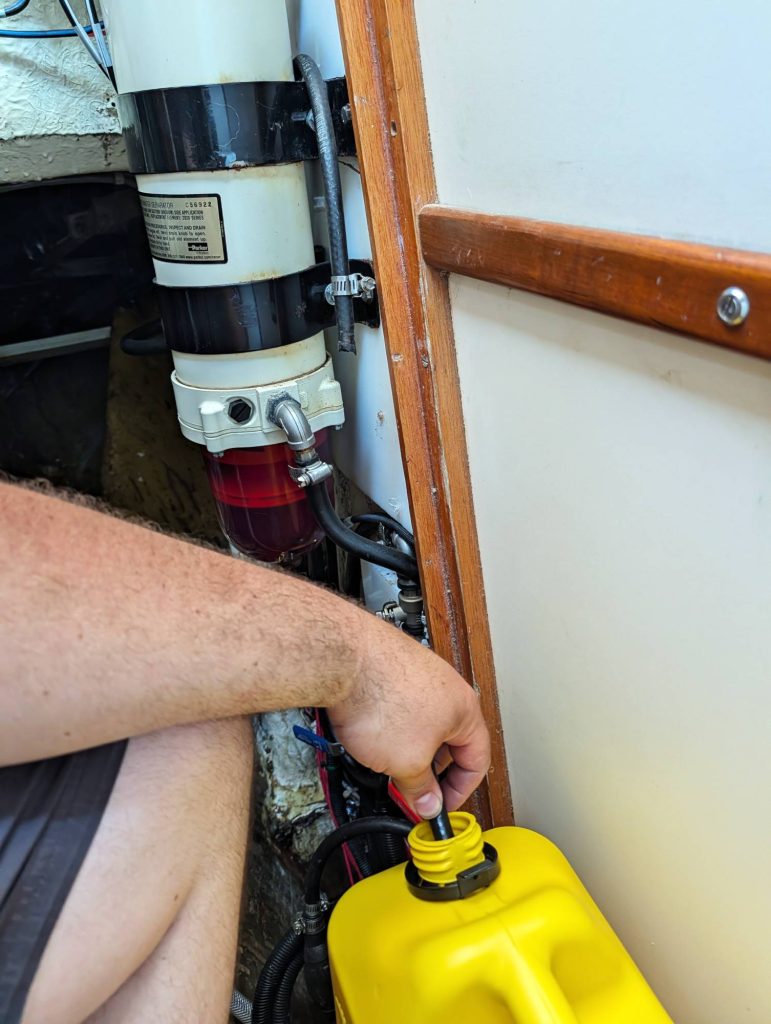
    The fuel pump to the Autoterm diesel heater was disconnected, which provided us with an outlet on the filtered side of the fuel polishing system. By turning on the fuel polisher, we could divert the fuel to the jerry can instead of routing it back to the tank. This allowed us to provide an initial cleaning pass to the diesel as it was being removed from the tank.

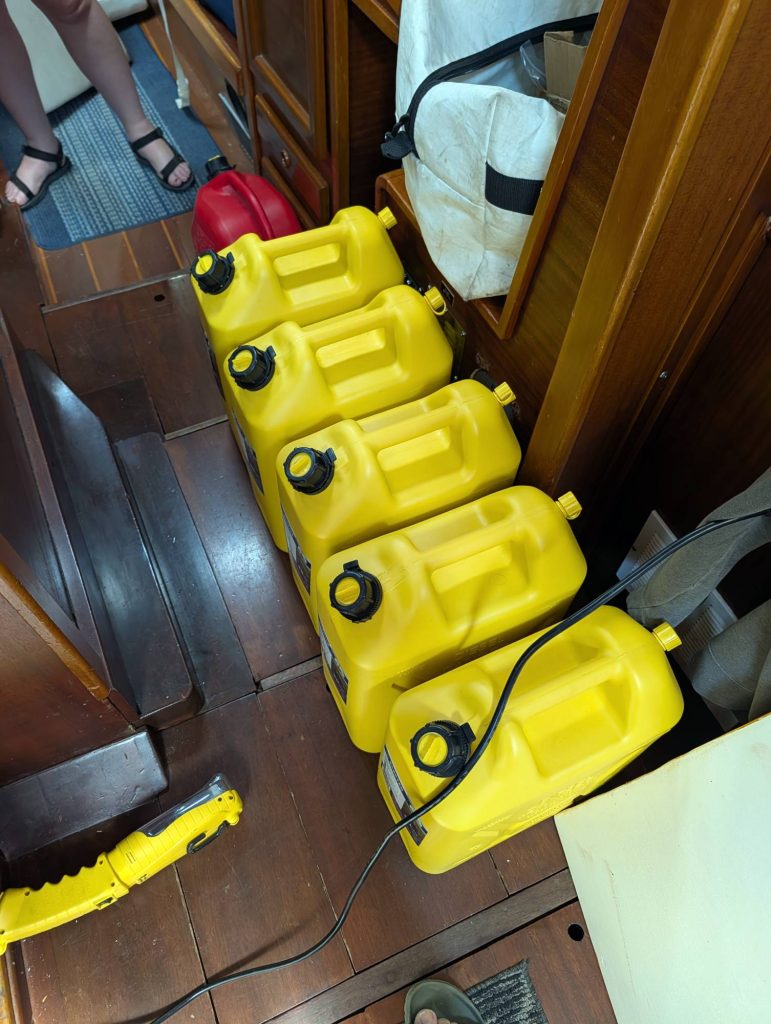
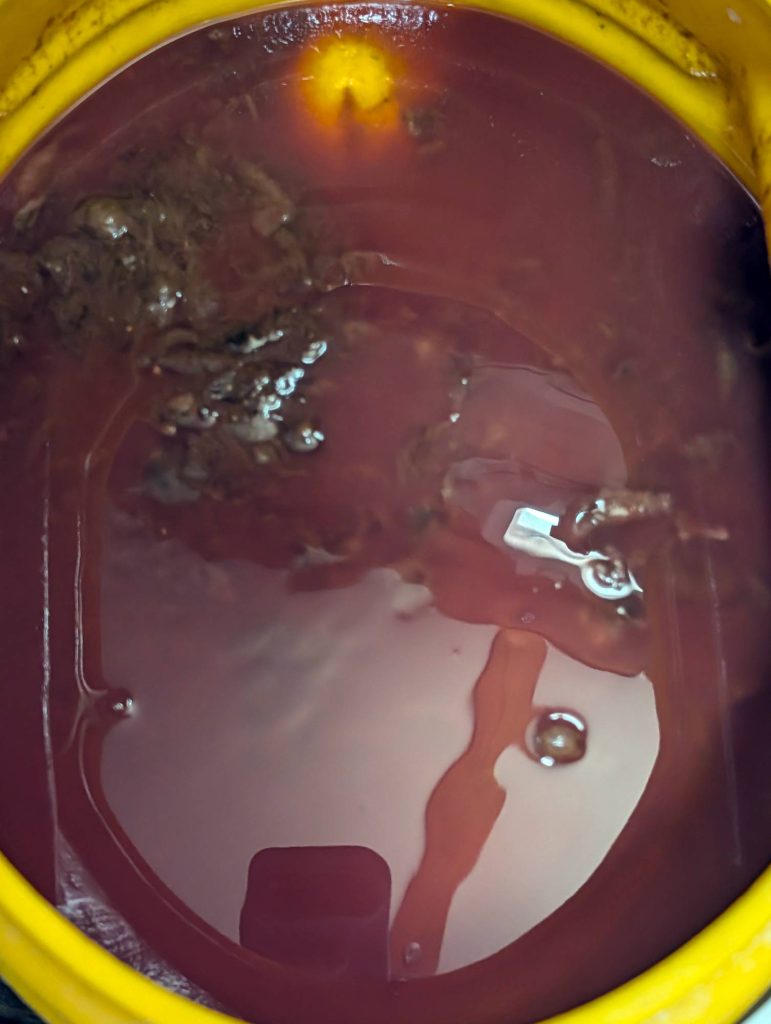
    We wildly underestimated the amount of fuel we had in the tank and had to make multiple trips to Princess Auto to purchase more jerry cans. By the time the tank was empty we had eleven 5-gallon (20 L) jerry cans full of filtered diesel, plus a twelfth containing the questionable discharge at the end of the pumping process.

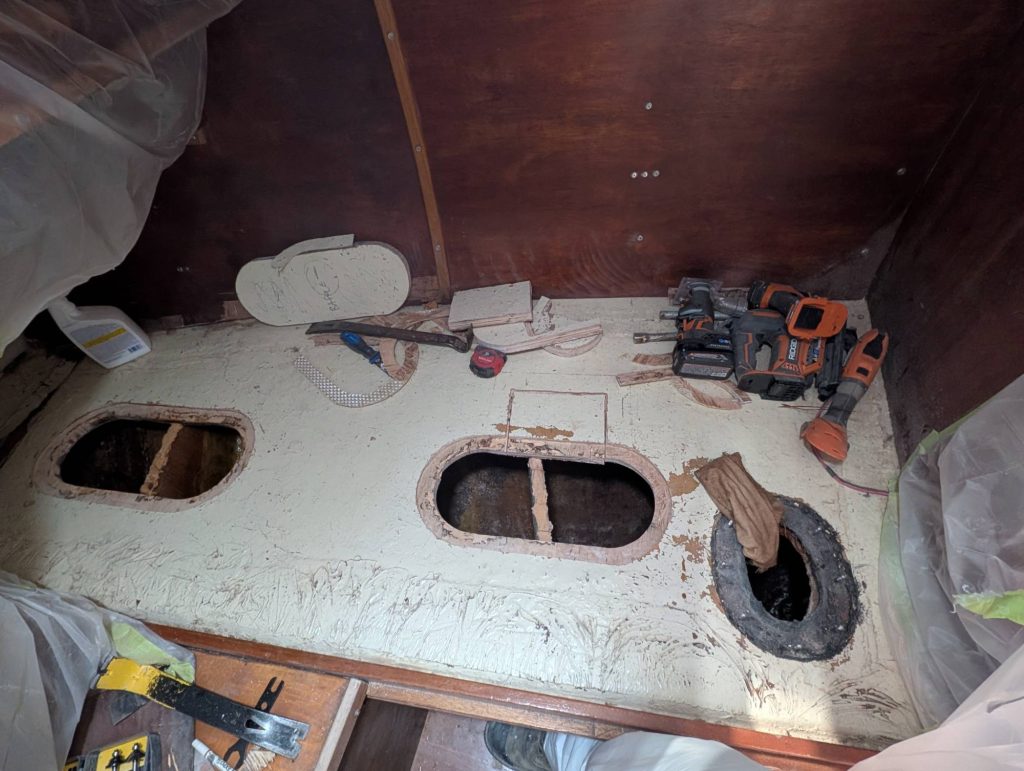
    With the 55 gallons of fuel removed from the tank, work could begin on isolating the quarterberth with plastic sheeting to attempt to contain the mess that would follow.
    Step 2 & 3: Cutting

    On 13 June, D’Arcy arrived at Isola Naida to come up with a cutting plan.

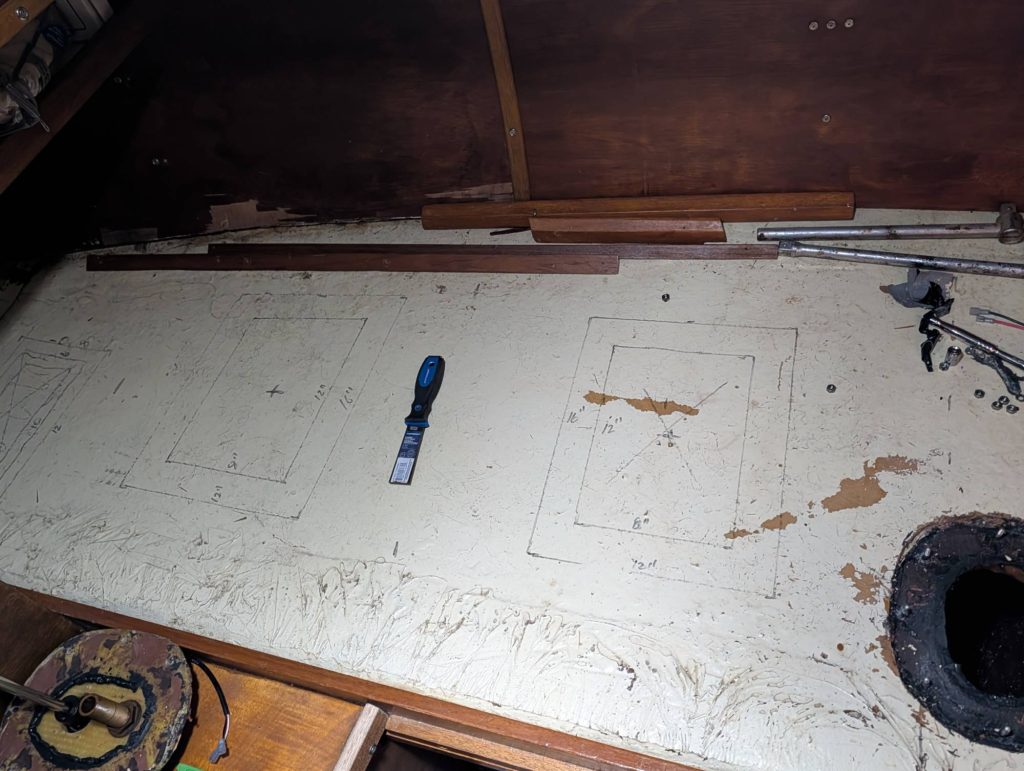
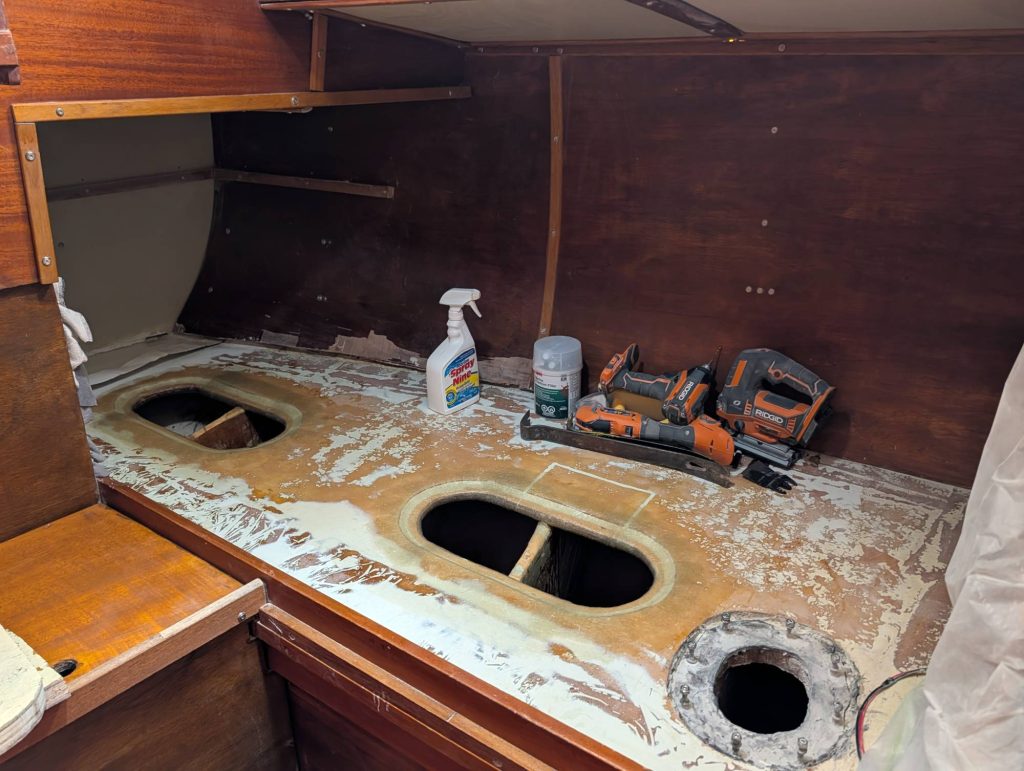
    We attempted to determine the locations of the baffles using a tapping test on the top surface of the tank. The results seemed promising, and we thought we had located the baffles. Based on those results, D’Arcy sketched out three large rectangular inspection ports to be cut into the tank.

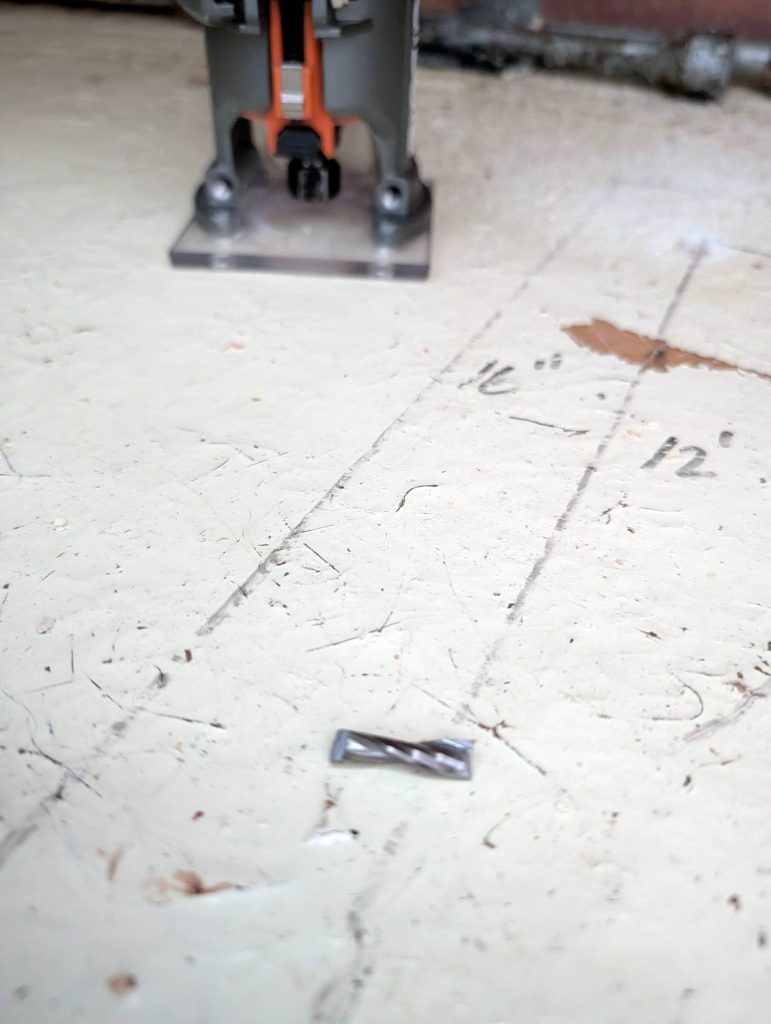
    On 19 June, D’Arcy returned with a router to attempt to route out the borders of the new inspection ports. It turned out that the router bits were no match for the dense fiberglass – two of them broke within the first 30 minutes cutting the day short.

    A week later, D’Arcy returned to Isola Naida with a circular saw and an oscillating multi-tool complete with a diamond blade.

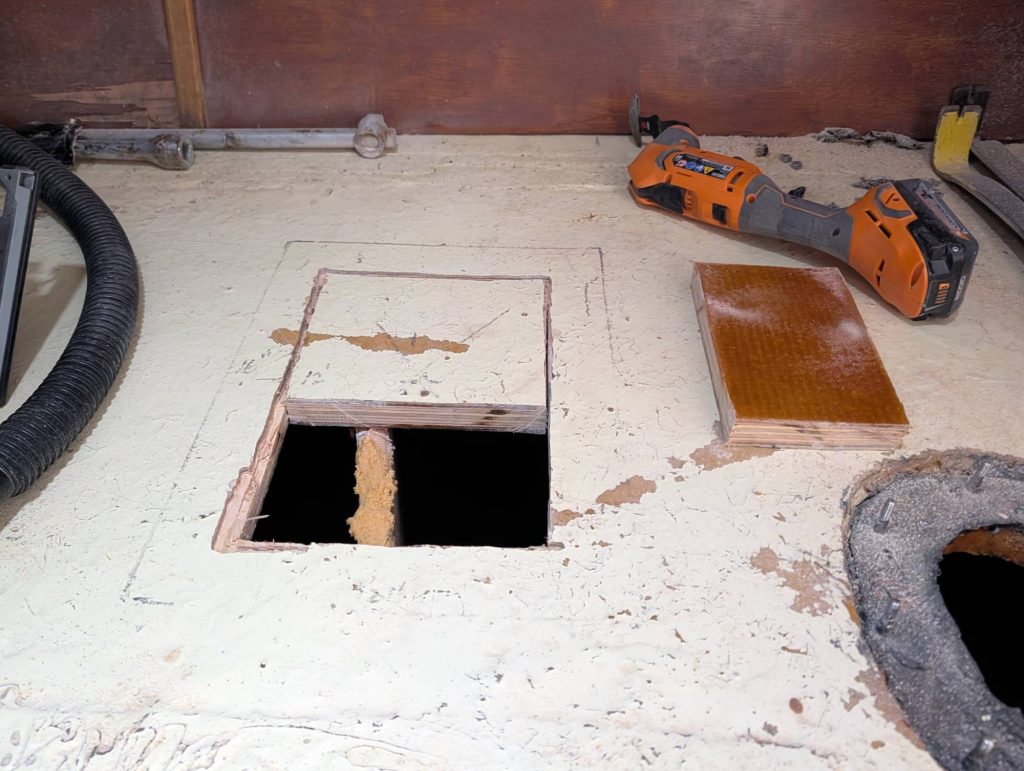
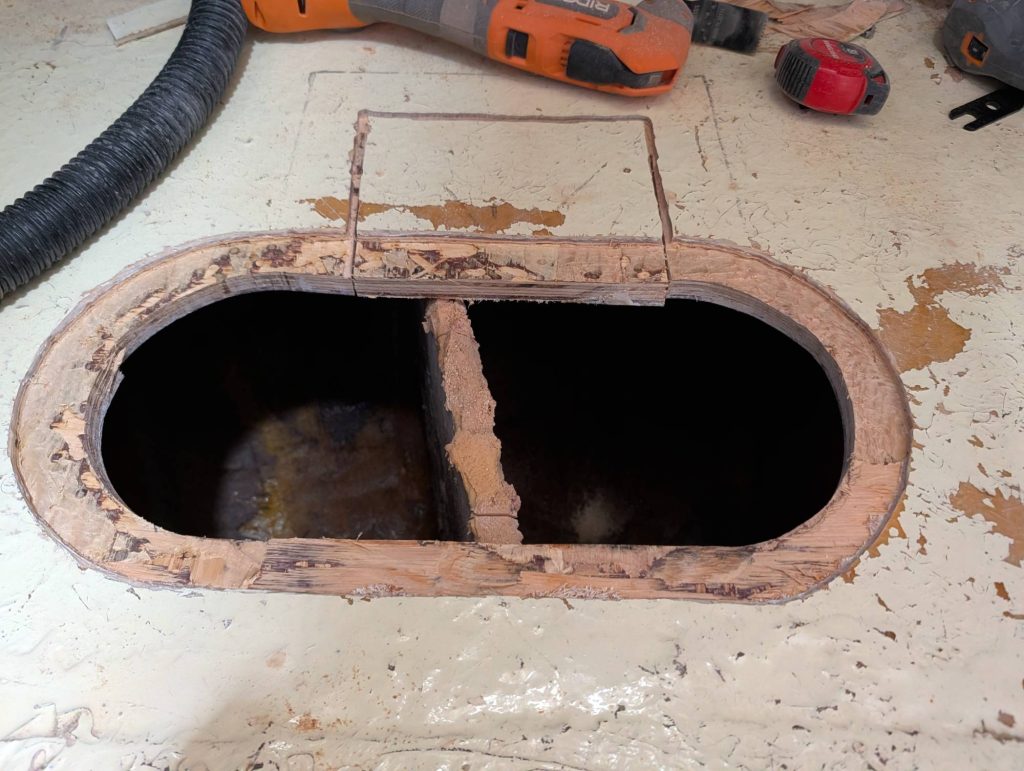
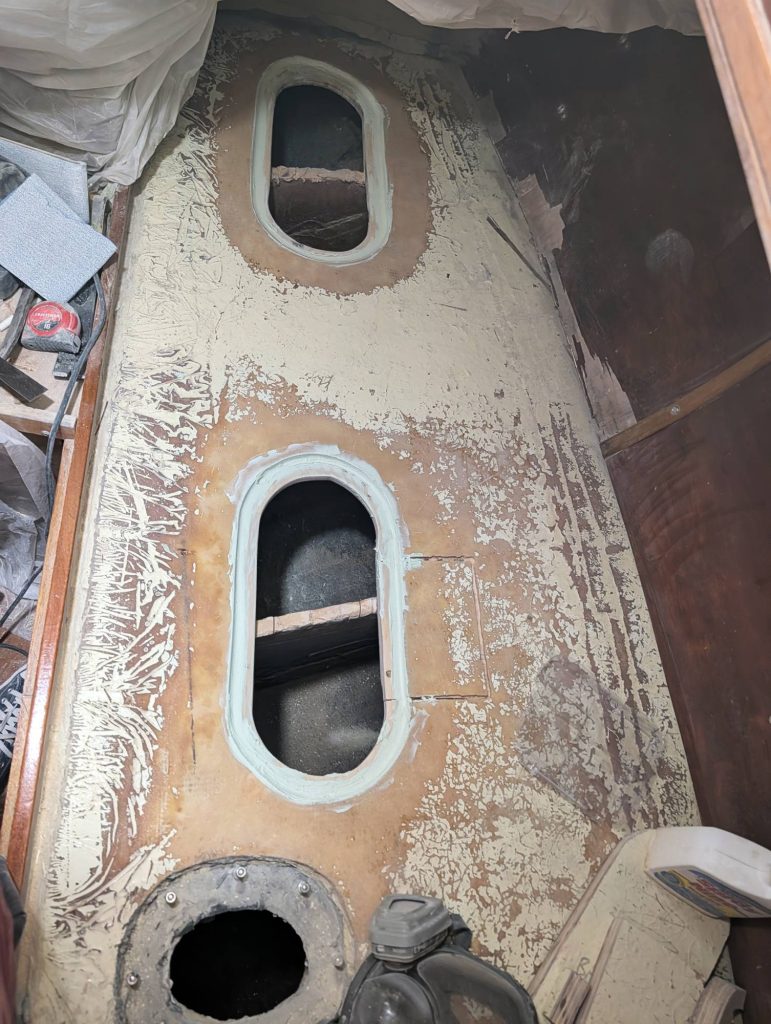
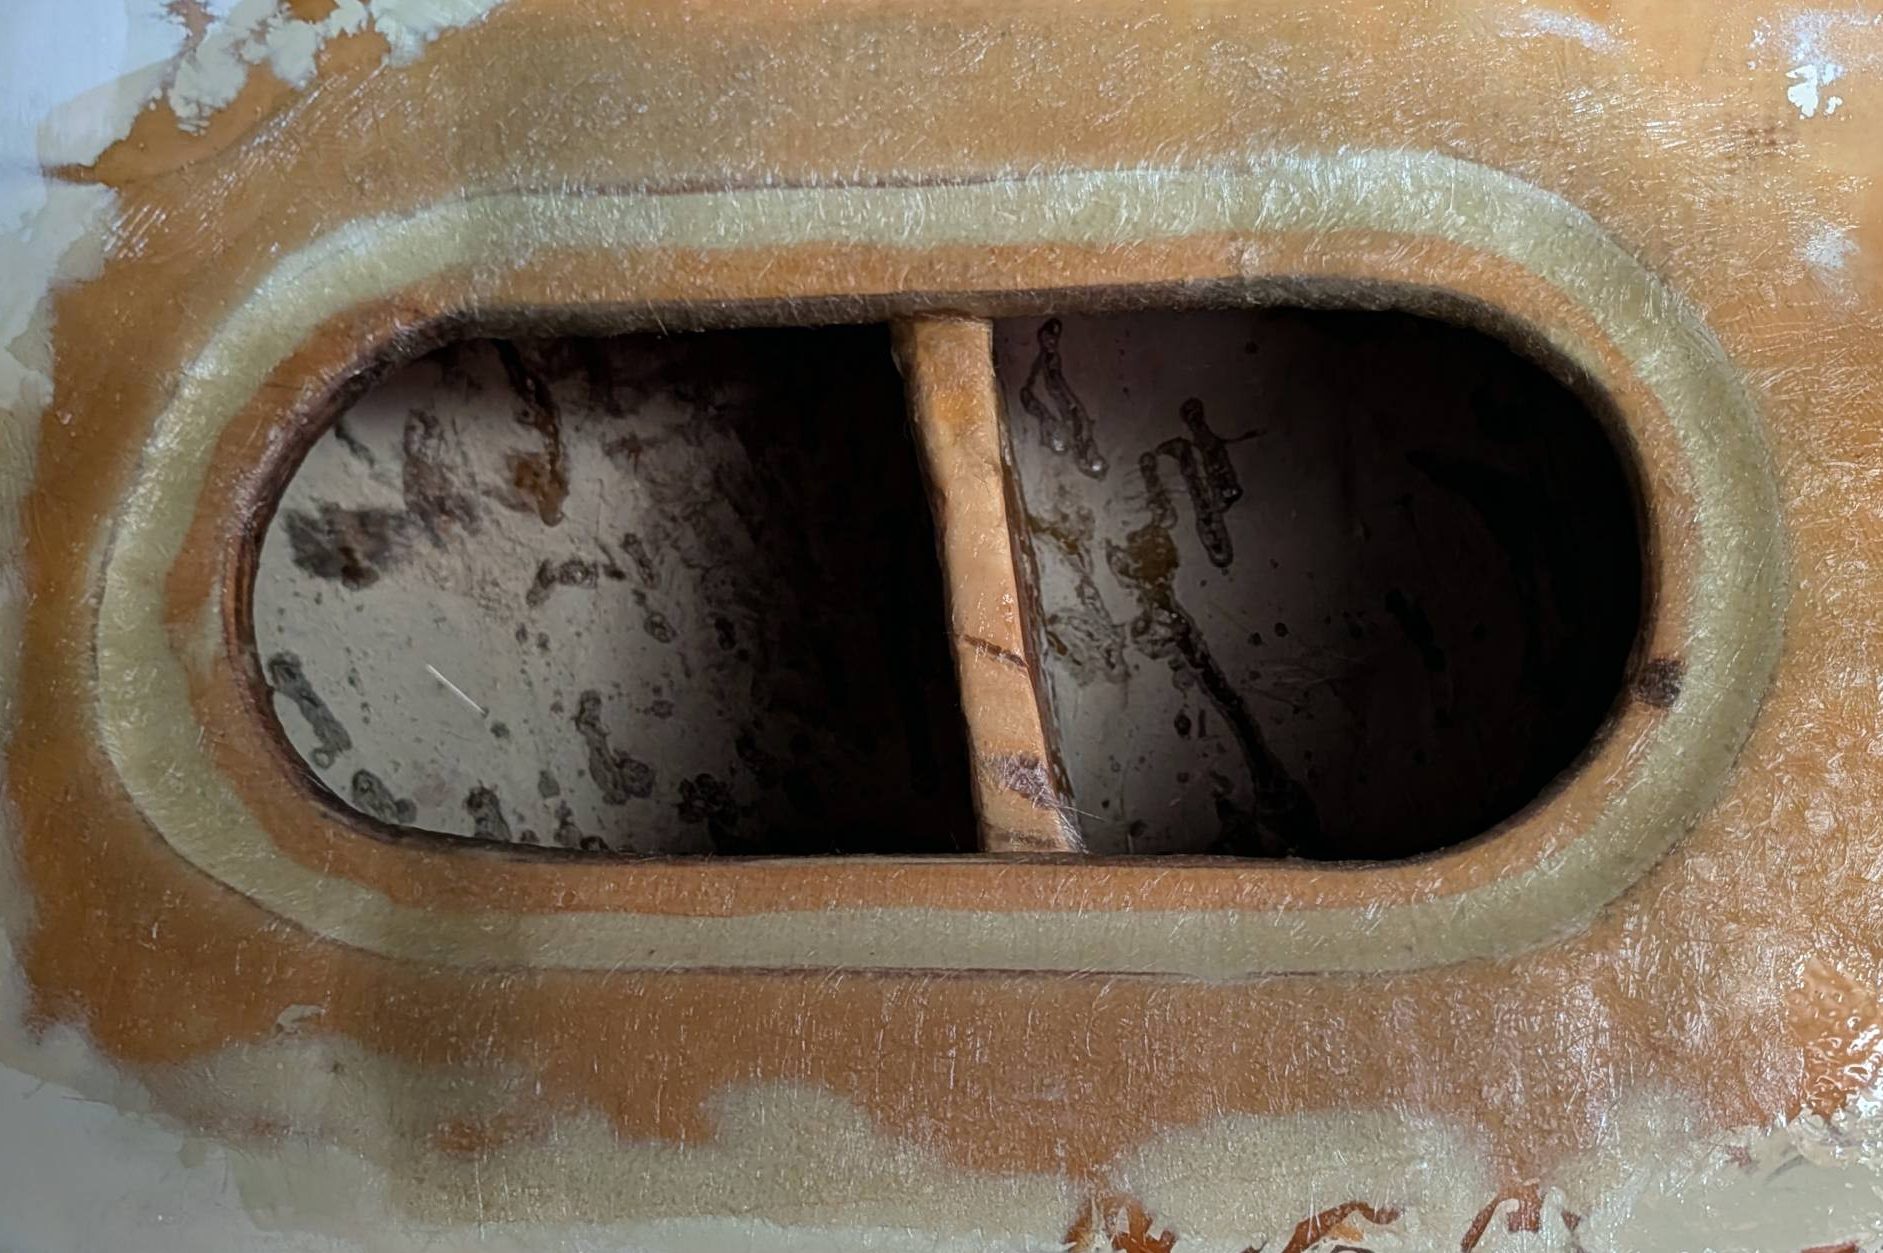
    The first cuts made with the circular saw revealed something unexpected: a baffle, right in the middle of the new inspection port!

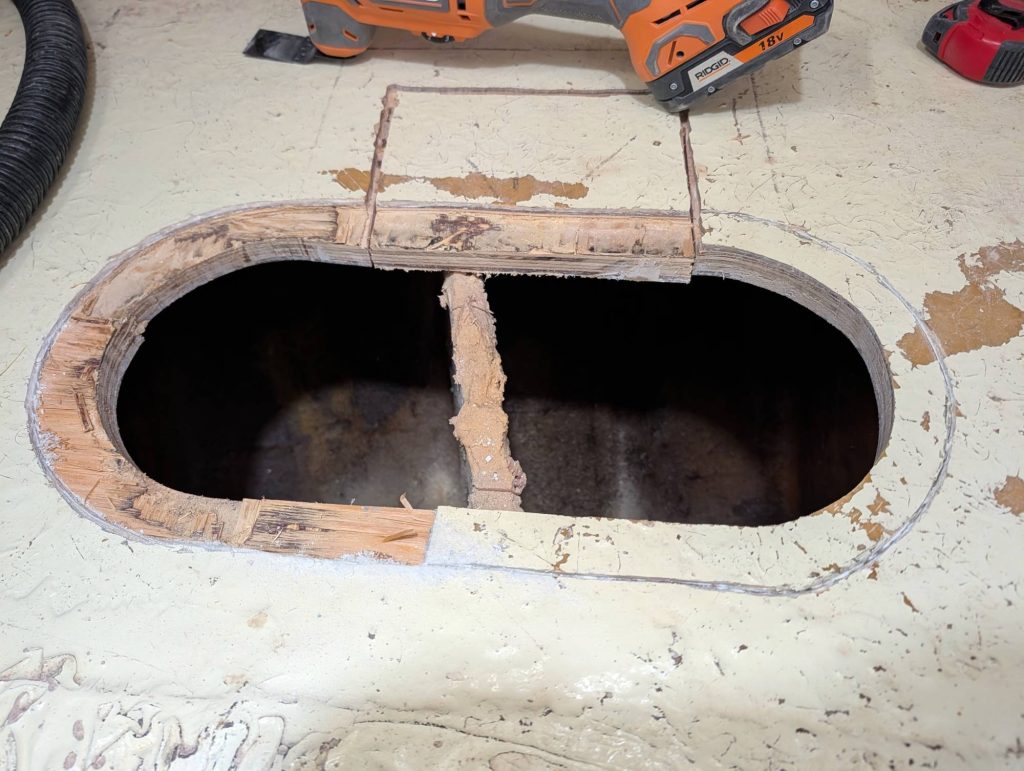
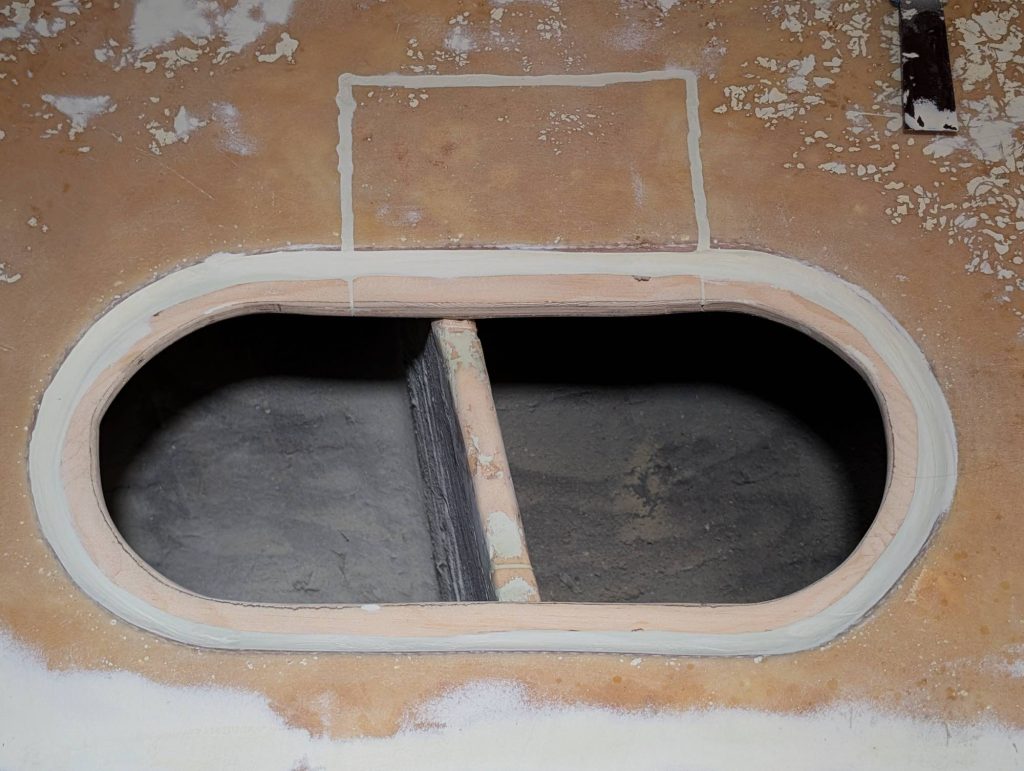
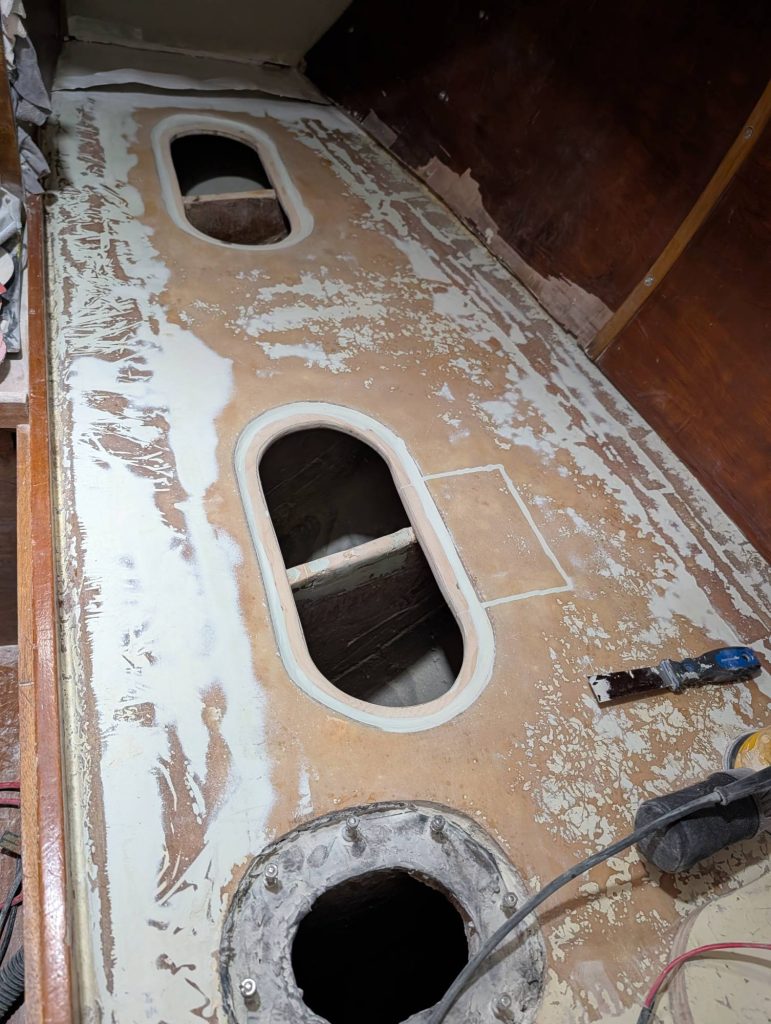
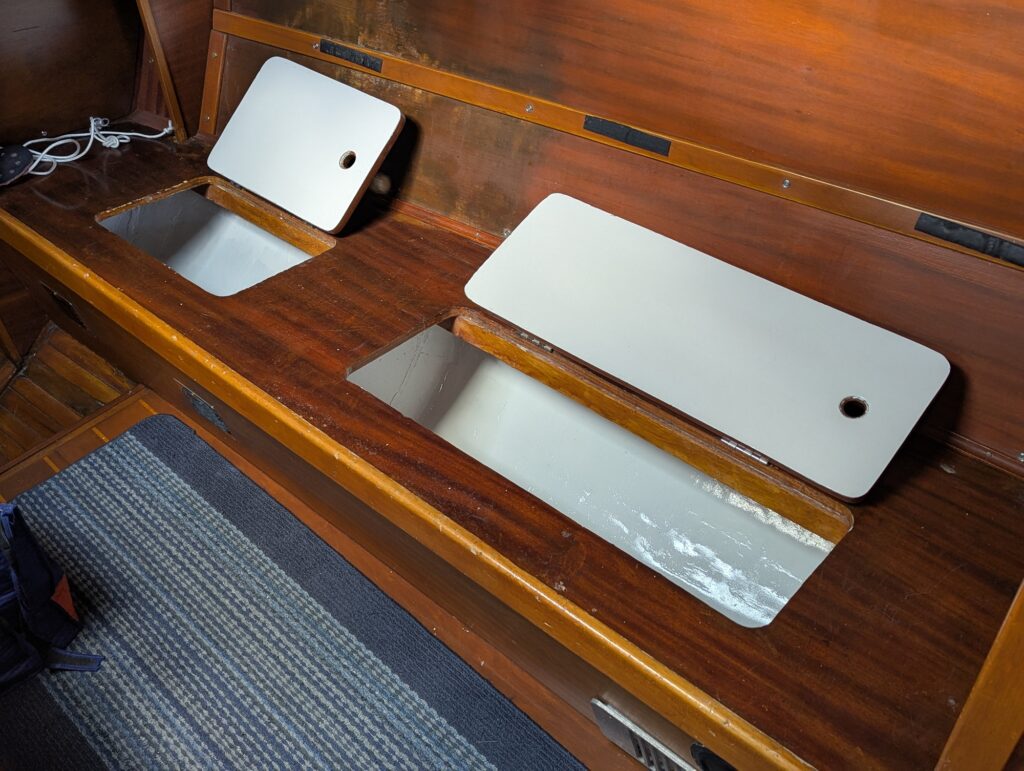
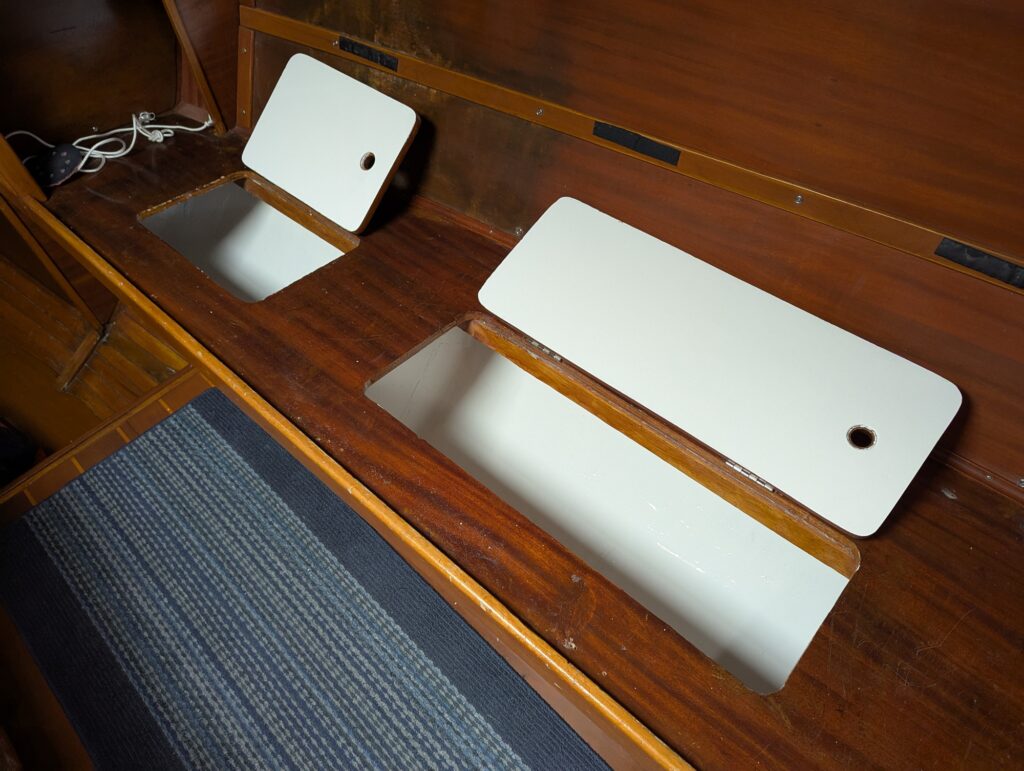
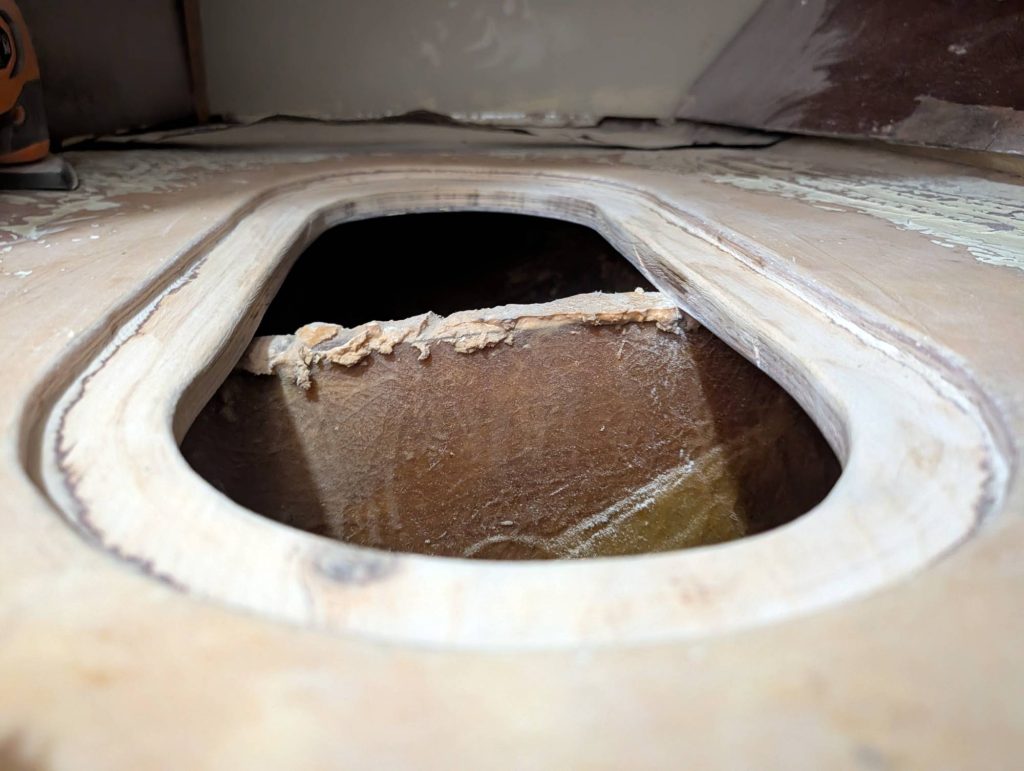
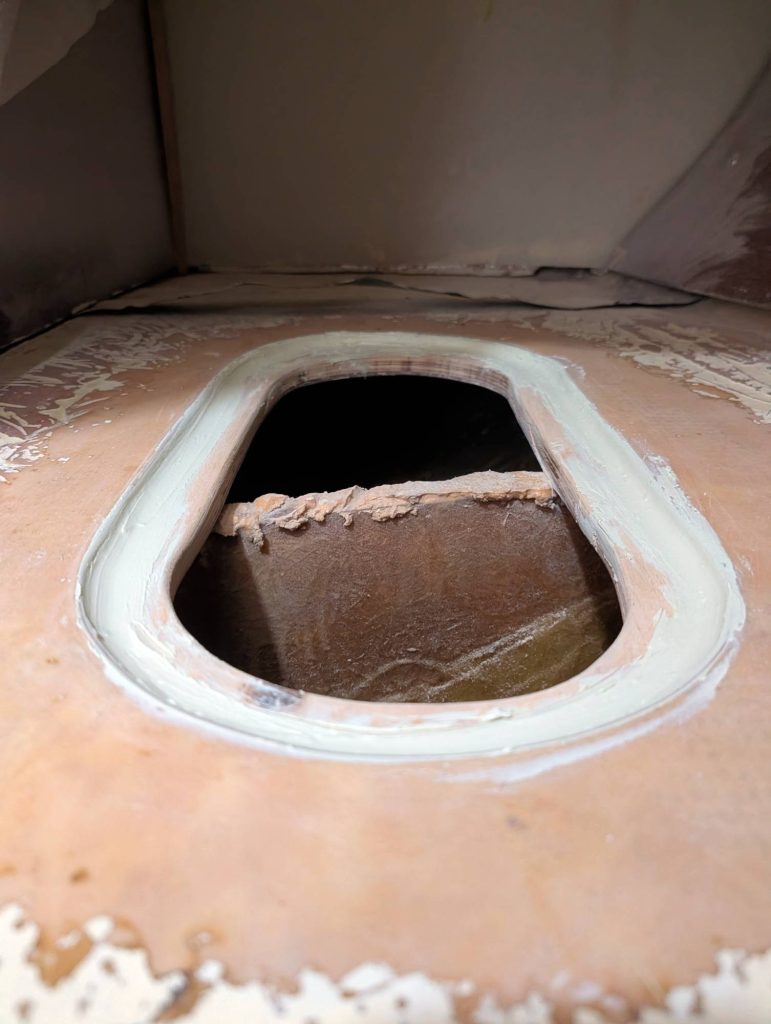
    With some access to the tank, D’Arcy was able to measure out exactly where the next two baffles aft were located. The plan was altered and we decided to cut two pill-shaped inspection ports instead.

    Sometimes the best-laid plans only last until the first cut.

    Step 4: Fill, Fair and Sand

    On 1 August, D’Arcy was back on board Isola Naida sanding, filling, fairing and sanding some more.

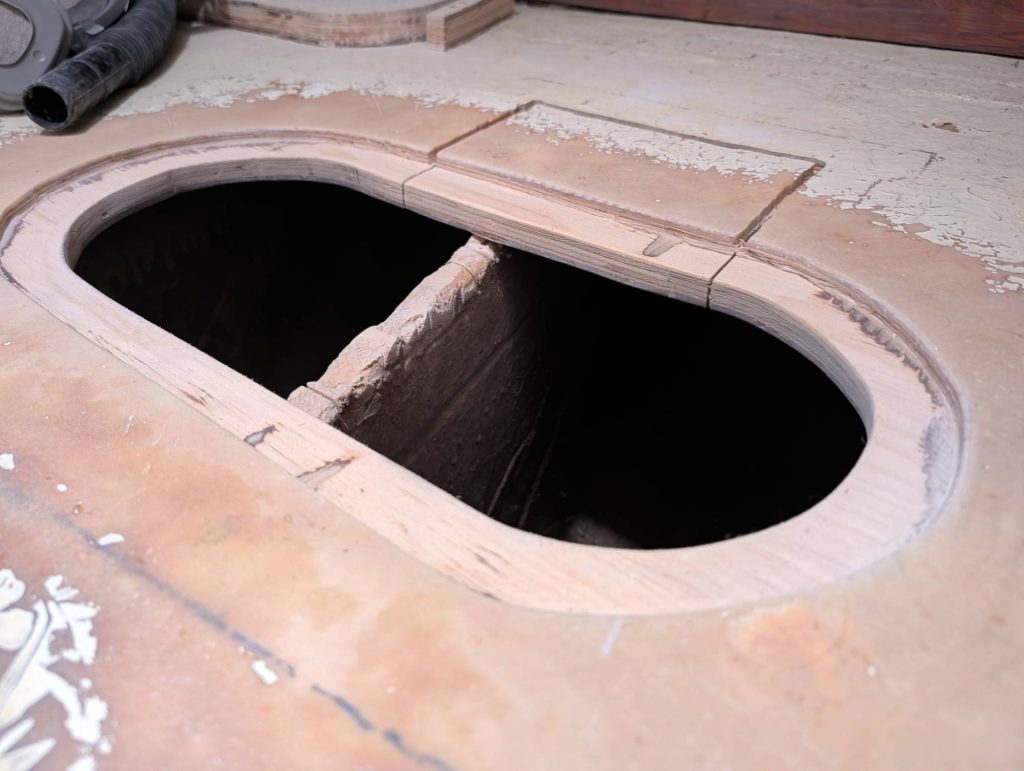
    The first step was to sand the marine-ply core that was now exposed. This plywood would become the lip that the new lids would eventually secure to. To achieve the best possible seal when the gasket and lid were installed, we wanted the top edge to be as even and consistent as possible.

    Once the plywood was sanded as evenly as possible, Dโ€™Arcy changed his focus to rounding any hard edges. This would make it less likely that the fiberglass would lift and form an air pocket when it was applied around the edges of the inspection ports.

    To eliminate the hard angle between the sanded plywood and the top layer of fiberglass, 3M Marine Premium Filler was applied and pressed into the corner.

    Dโ€™Arcy came back to complete the fairing and sanding on 15 August. Fairing was applied to the original cuts that had been abandoned in favour of the pill-shaped inspection ports, as well as to the top surface of the tank.

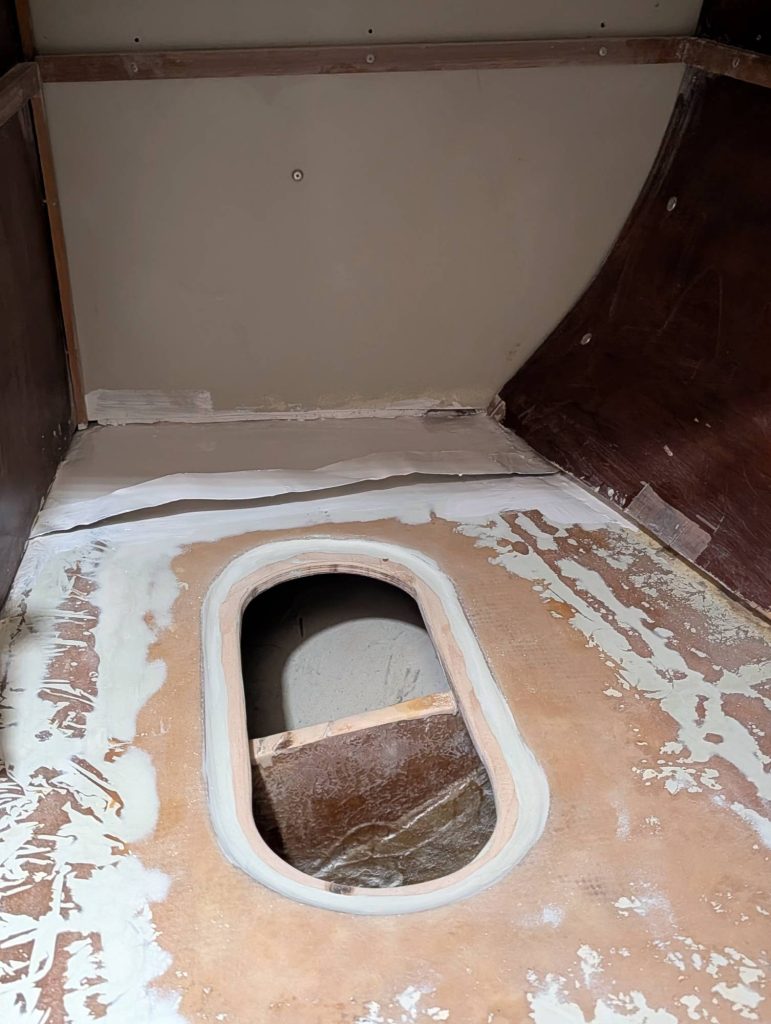
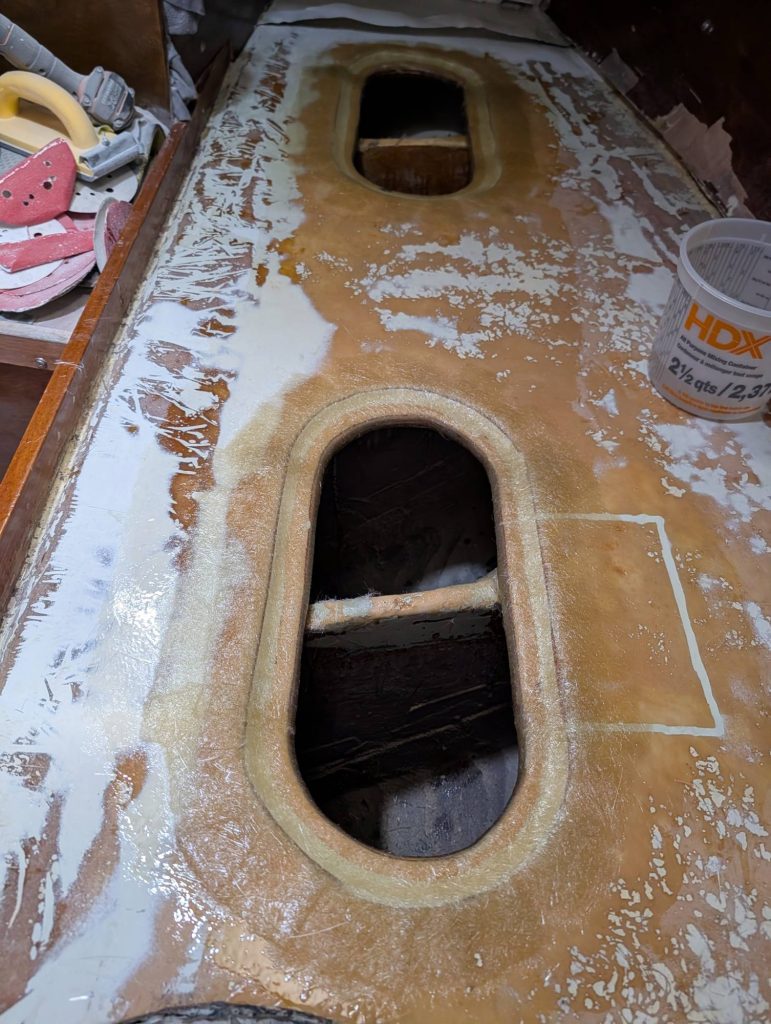
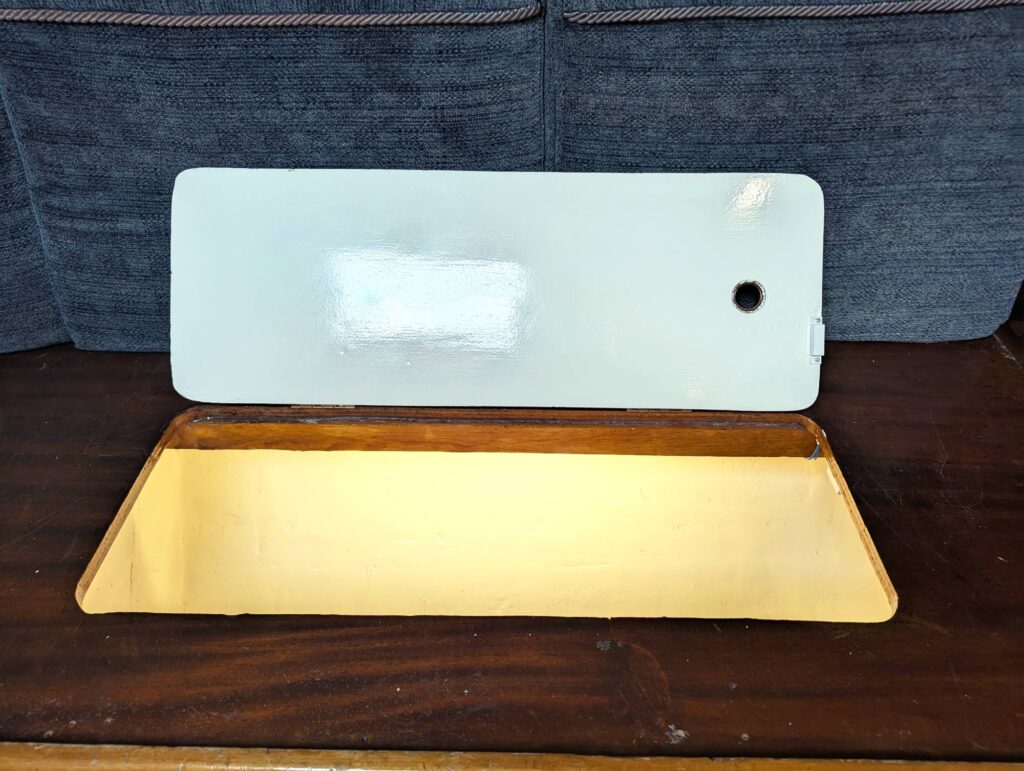
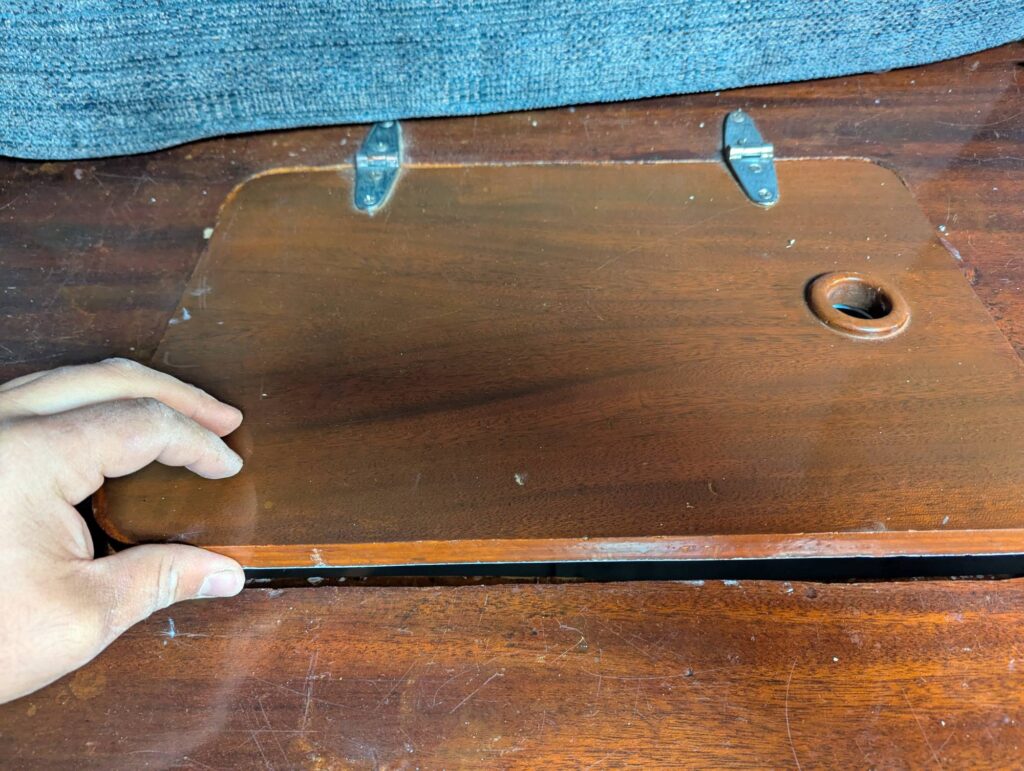
    Before the lids are installed, the top surface will be painted with white Interlux Bilgekote to protect the surface and make it easier to clean and maintain. This space doubles as the quarterberth, so being able to easily clean underneath the mattress is important.
    Step 5: Fiberglass

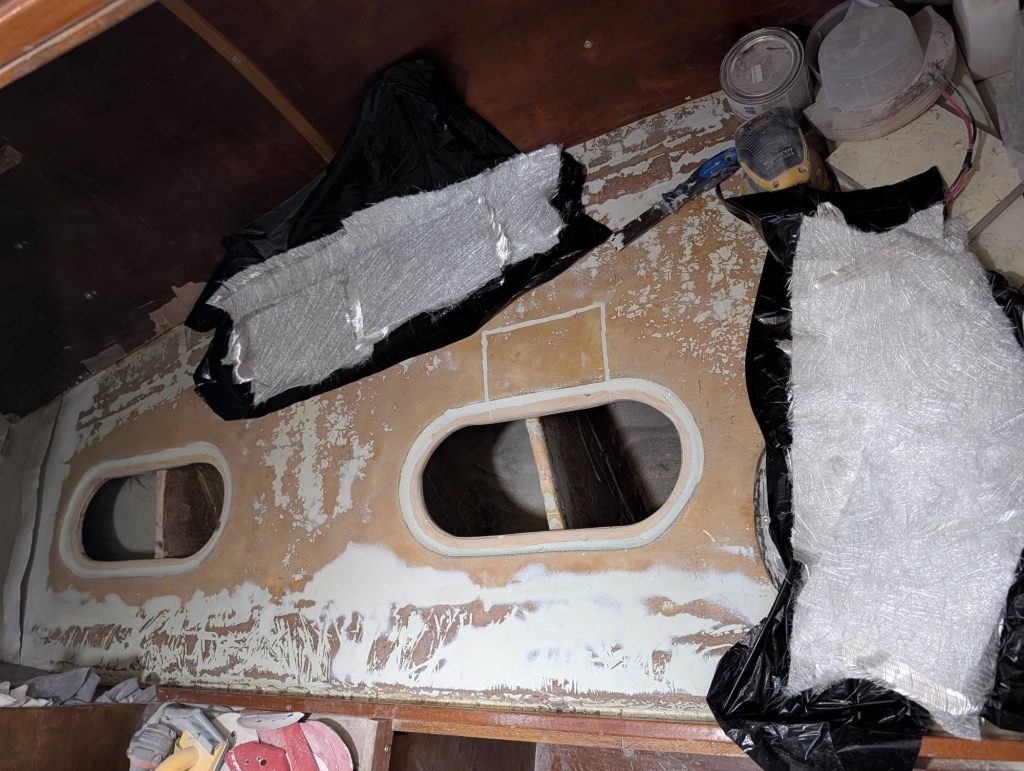
    On 29 August, Dโ€™Arcy arrived at Isola Naida with fresh rolls of fiberglass chopped strand mat, 1708 biaxial cloth, a gallon of vinyl ester resin, methyl ethyl ketone peroxide (MEKP), rollers, brushes, mixing cups and plenty of extra acetone.

    It took a few hours of preparation to cut and prepare the fiberglass pieces, ensuring appropriate overlap between the layers. With everything cut roughly to fit, the pieces were organized and the first 500 mL of resin was mixed with 5 mL of MEKP hardener.

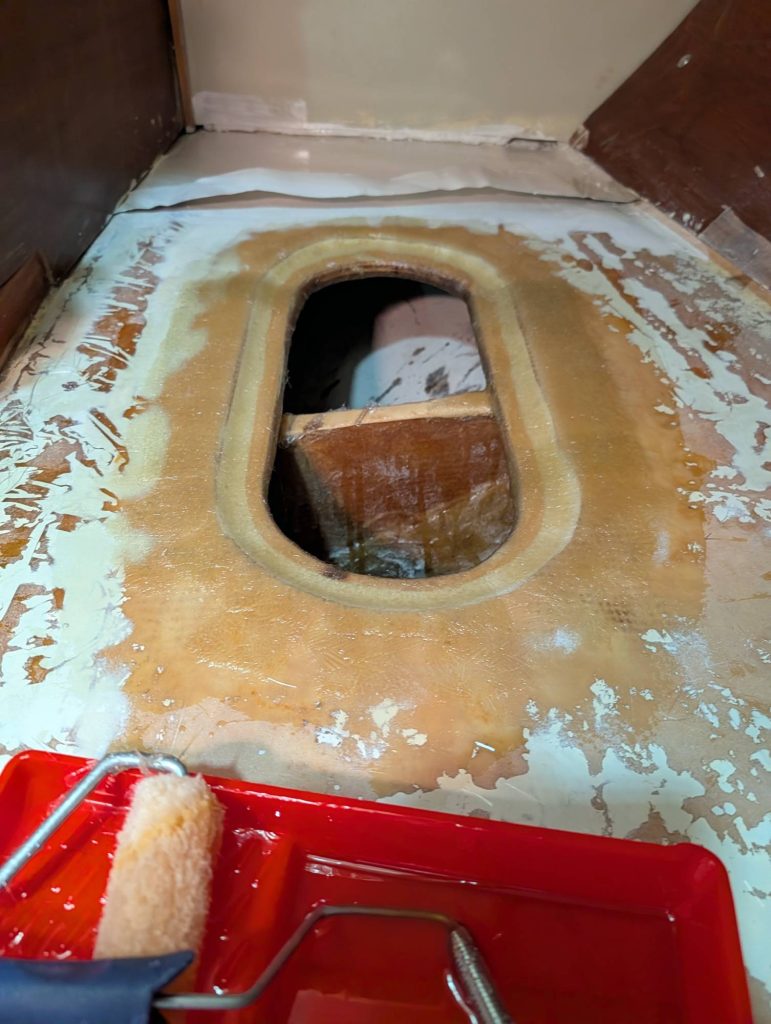
    The aft inspection port was worked on first. Despite the warm weather we were experiencing, the temperature inside the tank was relatively cool, extending the working time of the resin significantly.

    It took some tricky roller work to get the fiberglass to stick to the inside of the tank. In total, three layers were applied to each inspection port: a layer of CSM first, followed by a layer of 1708 biaxial cloth, and finally another layer of CSM.

    Any visible air pockets were rolled out toward the edge of the fiberglass before progressing to the next layer.

    With all of the fiberglass applied, all that was left to do was dust and wait.

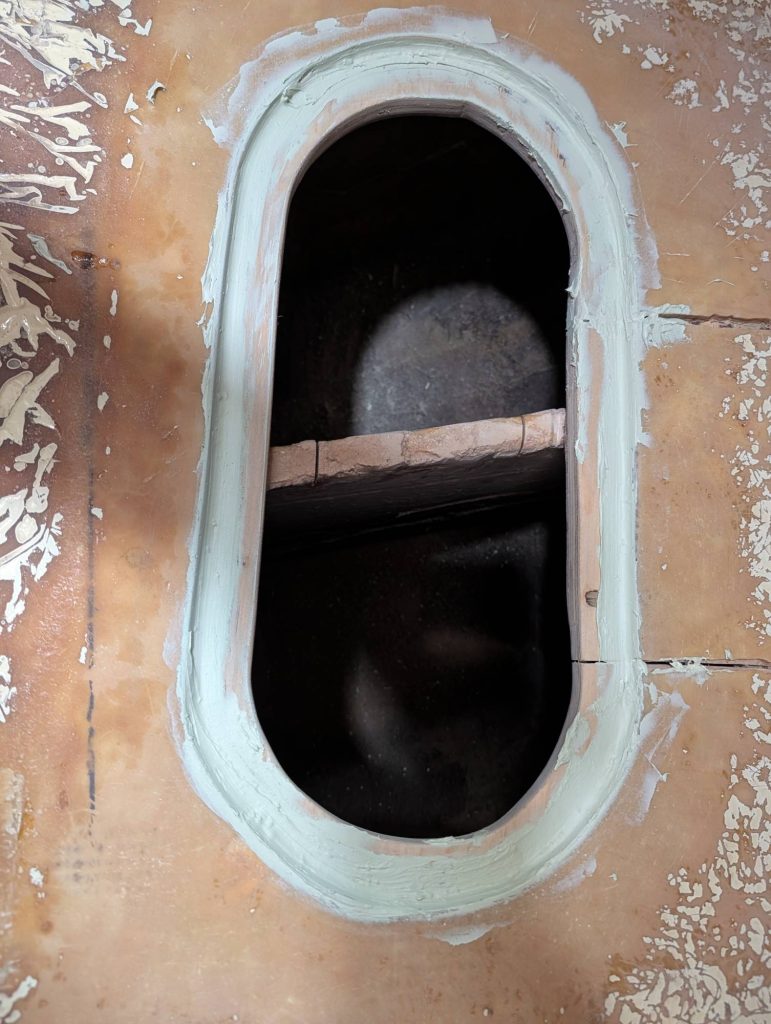
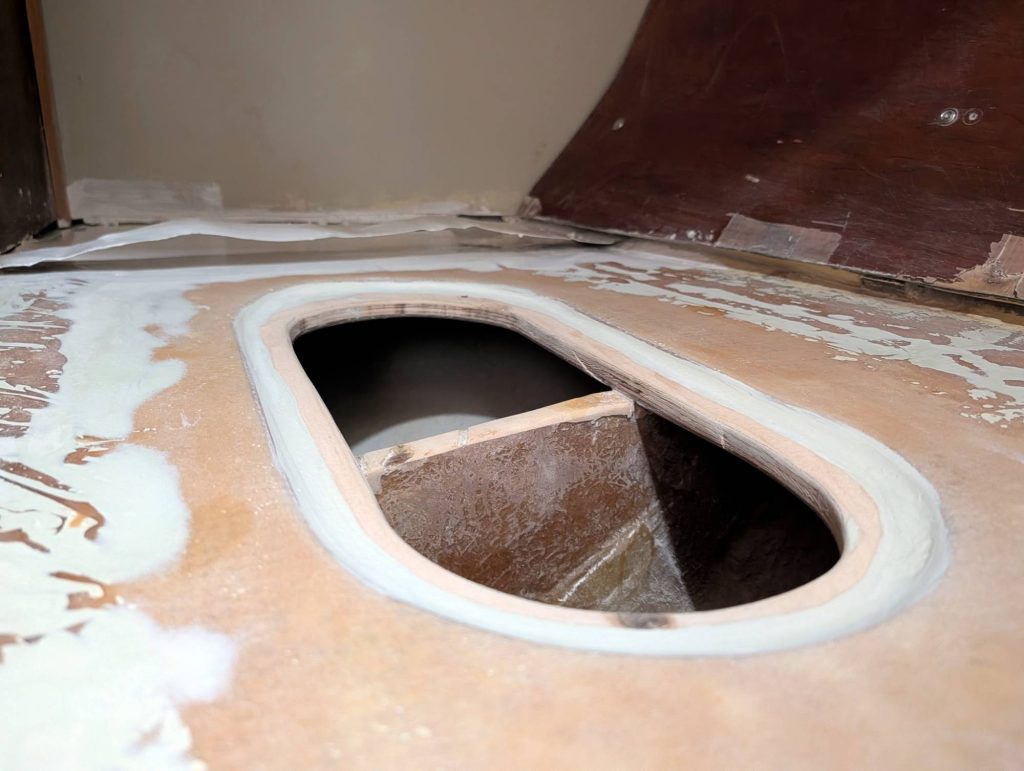
    On 30 August, Dโ€™Arcy returned to finish the fiberglass work. The errant fibers inside the tank were sanded away, and the topside of the tank was smoothed out. A fairing coat of 3M Marine Premium Filler was then applied to feather out any imperfections before being sanded smooth.

    Step 6: Clean

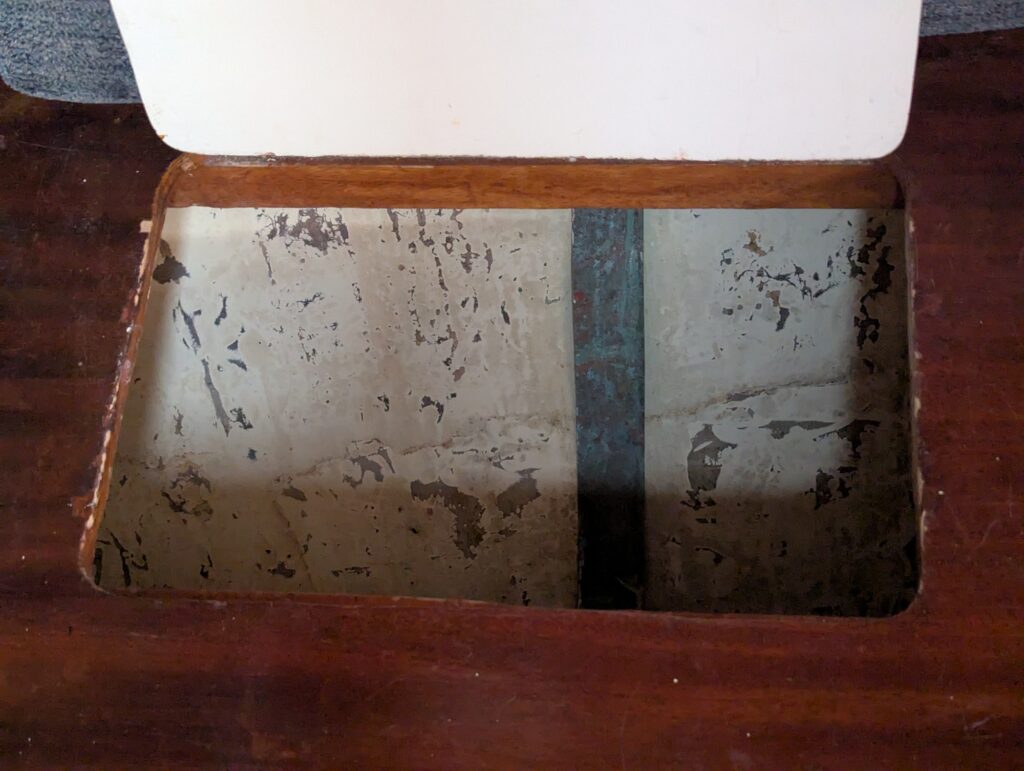
    The tank had been sitting open for a few months and, with the exception of the lowest point in the tank, was dry to the touch.

    With all of the sanding that had taken place, the tank was now full of dust. Once the fiberglass work was complete and the plywood core protected, the next step was to vacuum as much of the sanding dust from inside the tank as possible before rinsing it in preparation for degreasing.

    Dโ€™Arcy used a manual pump sprayer and plenty of degreaser to ensure thorough coverage throughout the interior of the tank. After the degreaser was applied, the tank was scrubbed by hand with a stiff brush and wiped down with a damp rag.

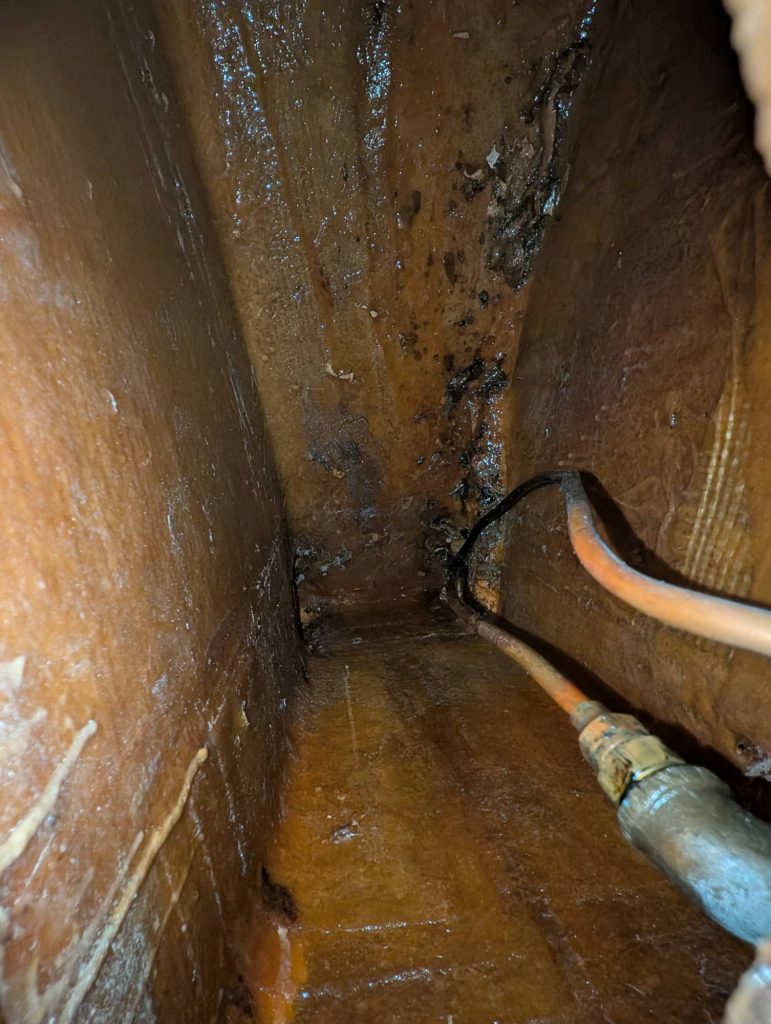
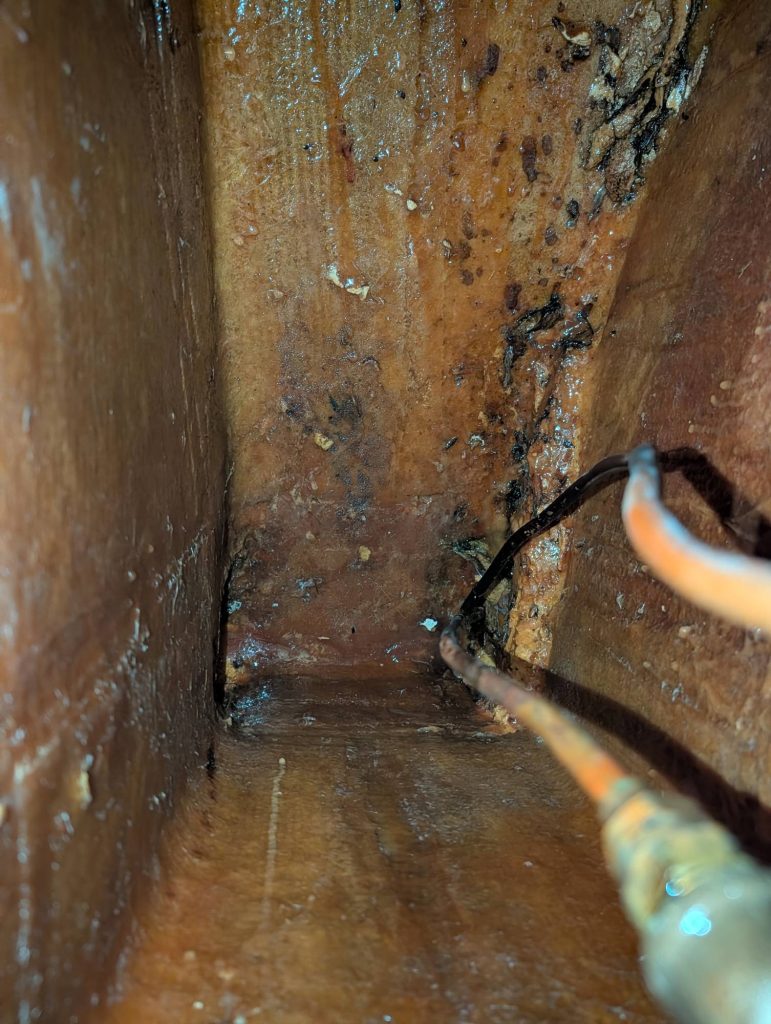
    Once each baffled section had been degreased and scrubbed, the manual pump sprayer was filled with fresh water and used to rinse the tank. The remaining water was left to pool before being vacuumed out, and the tank was left to dry.

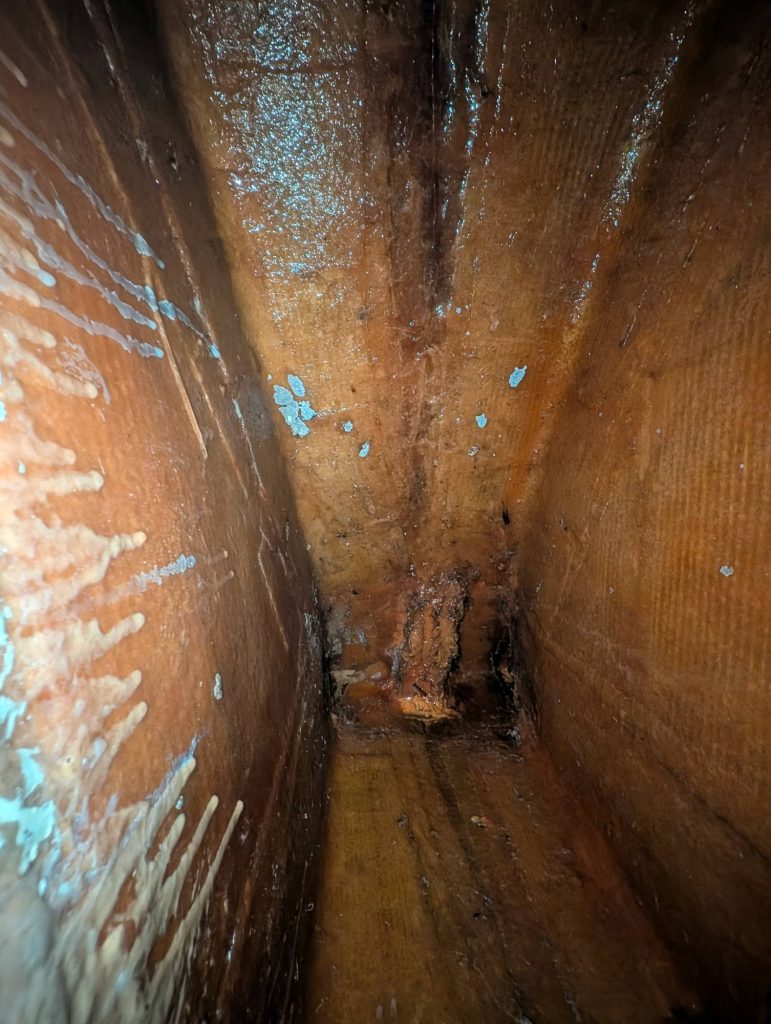
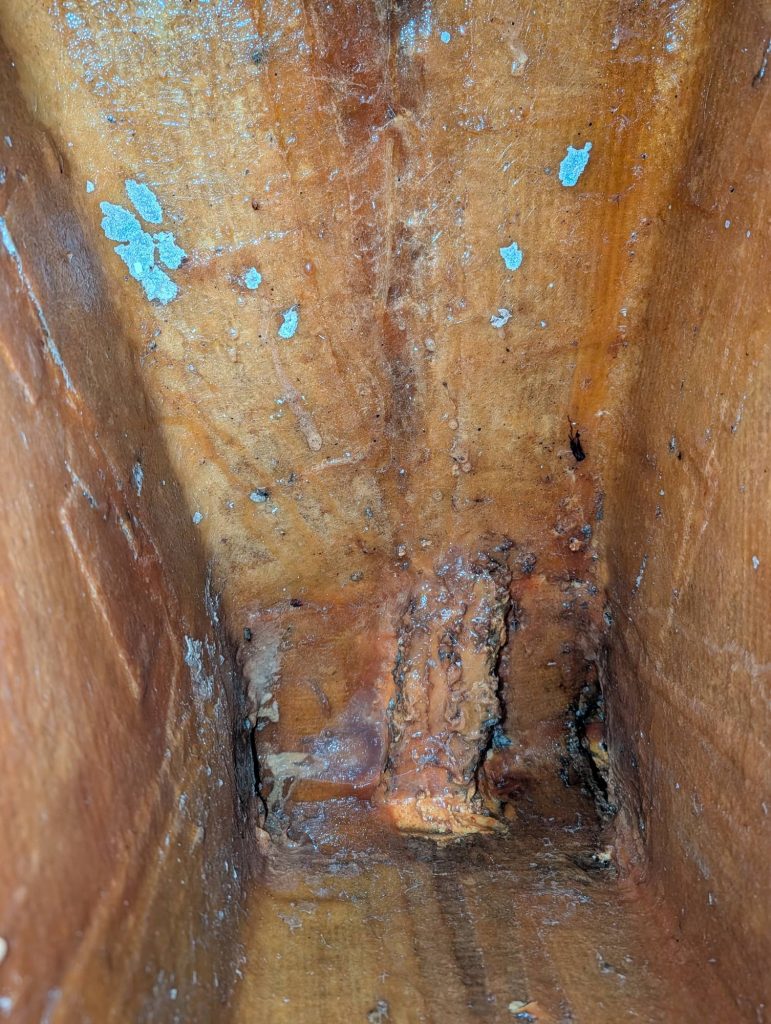
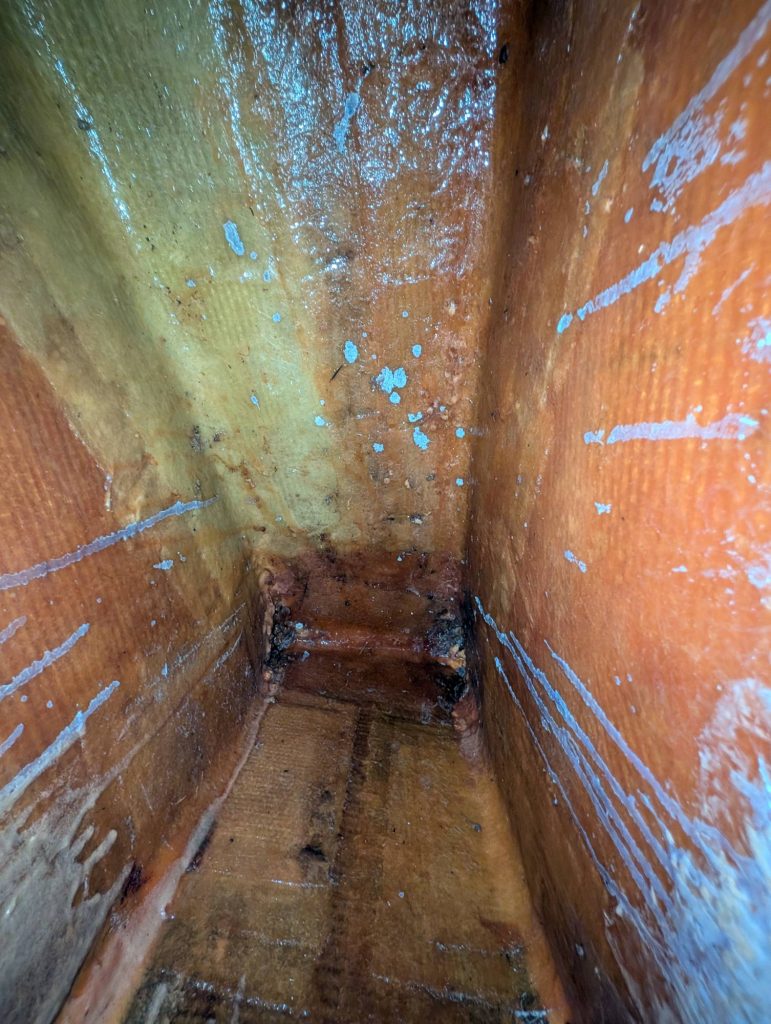
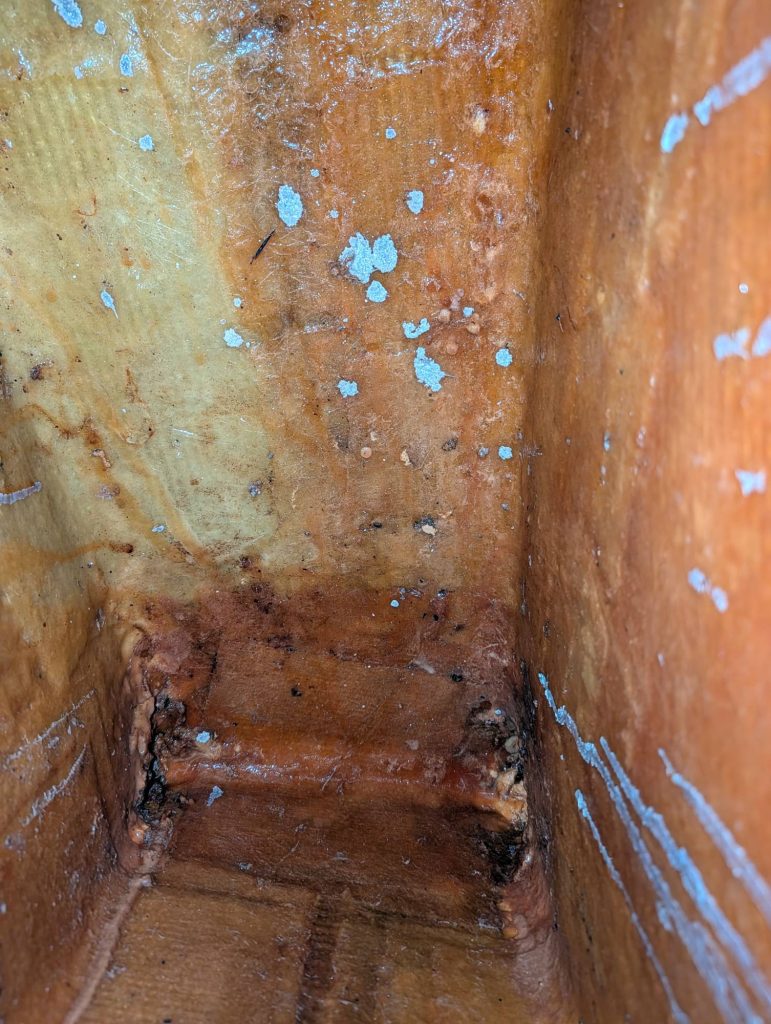
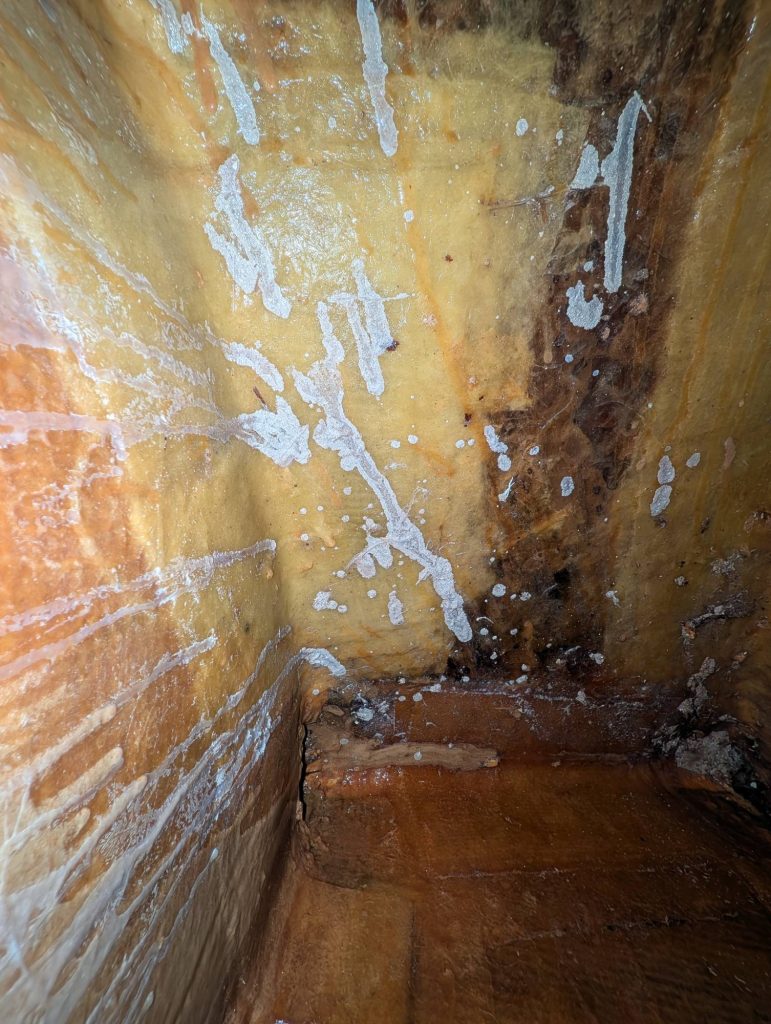
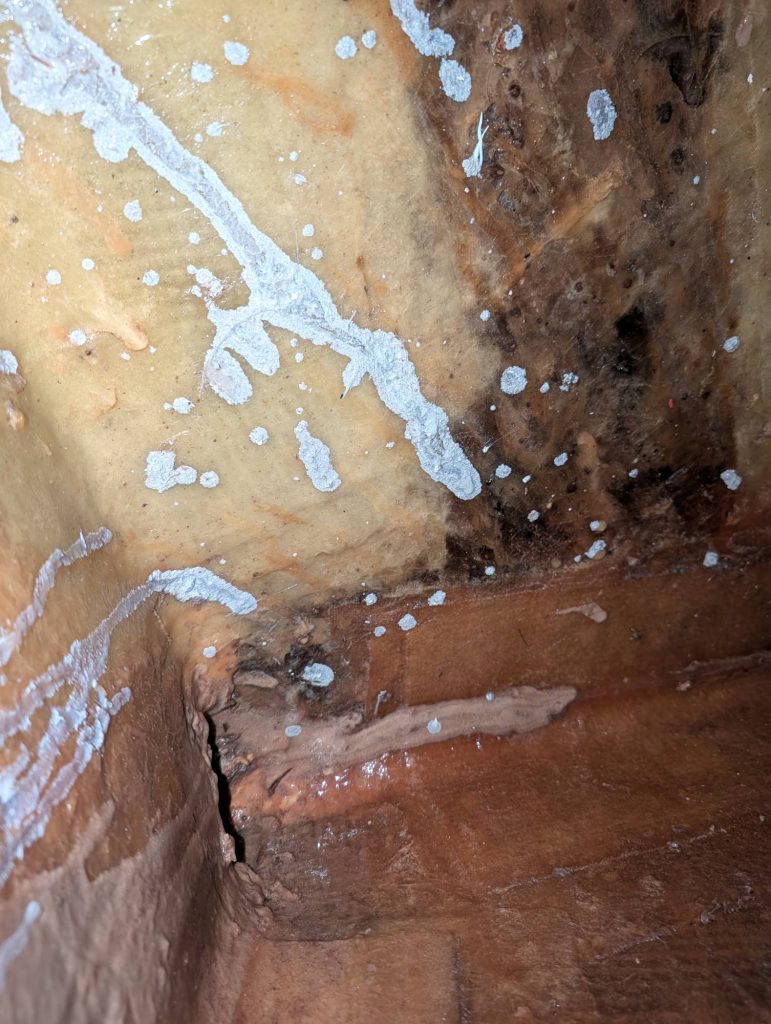
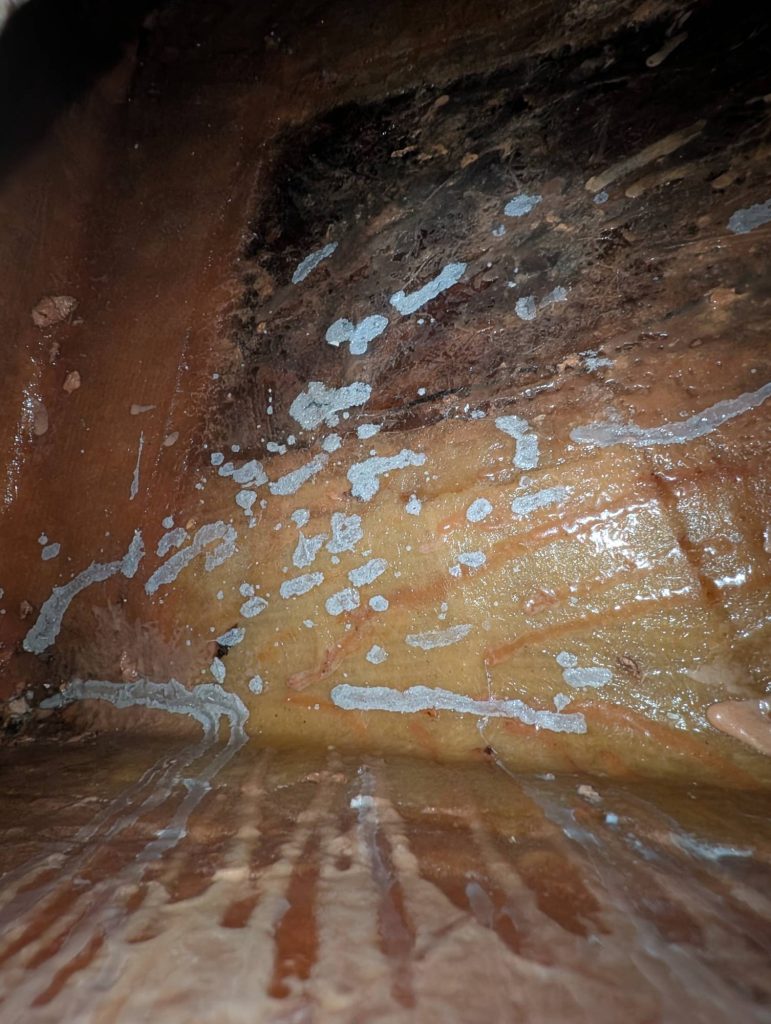
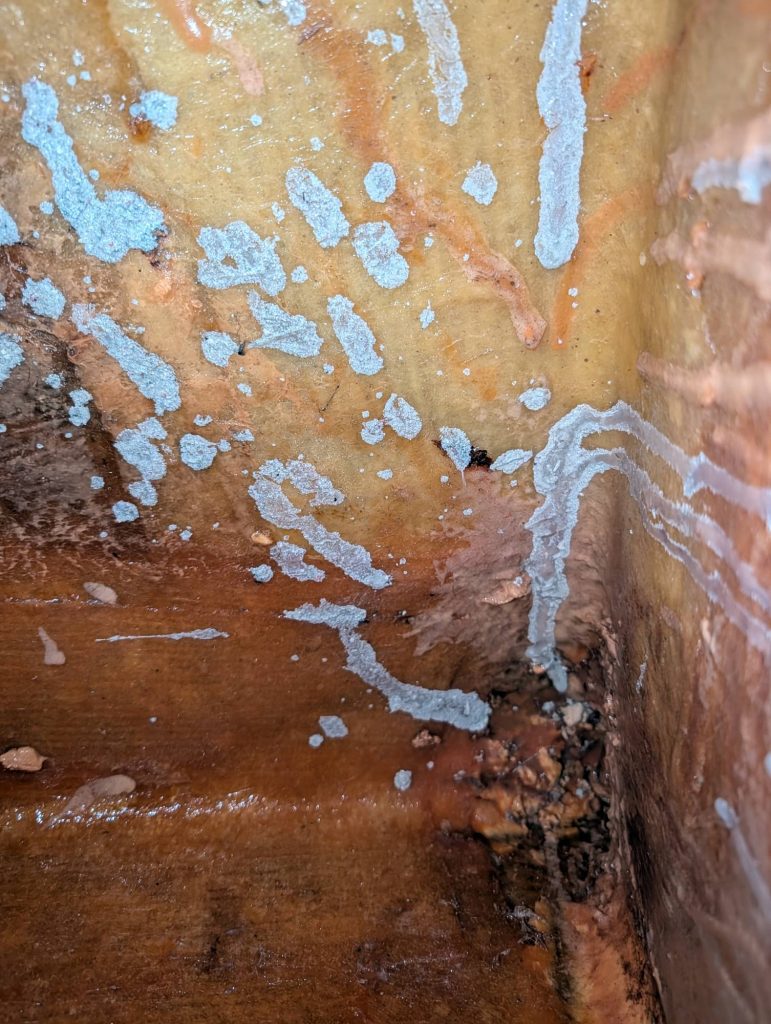
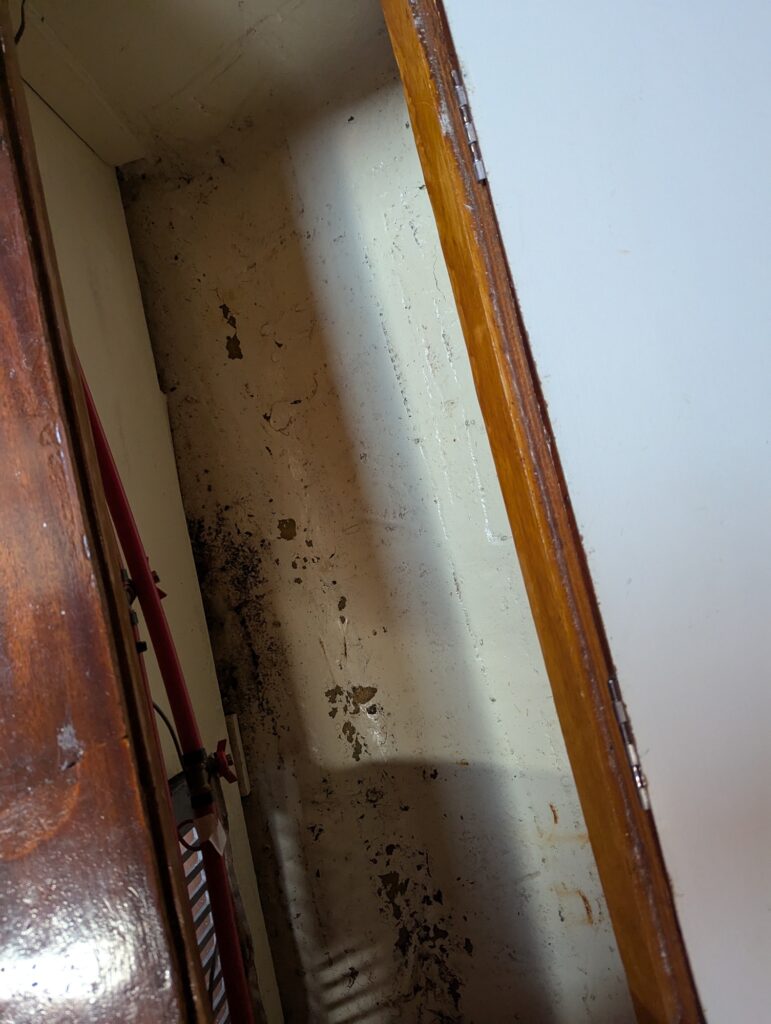
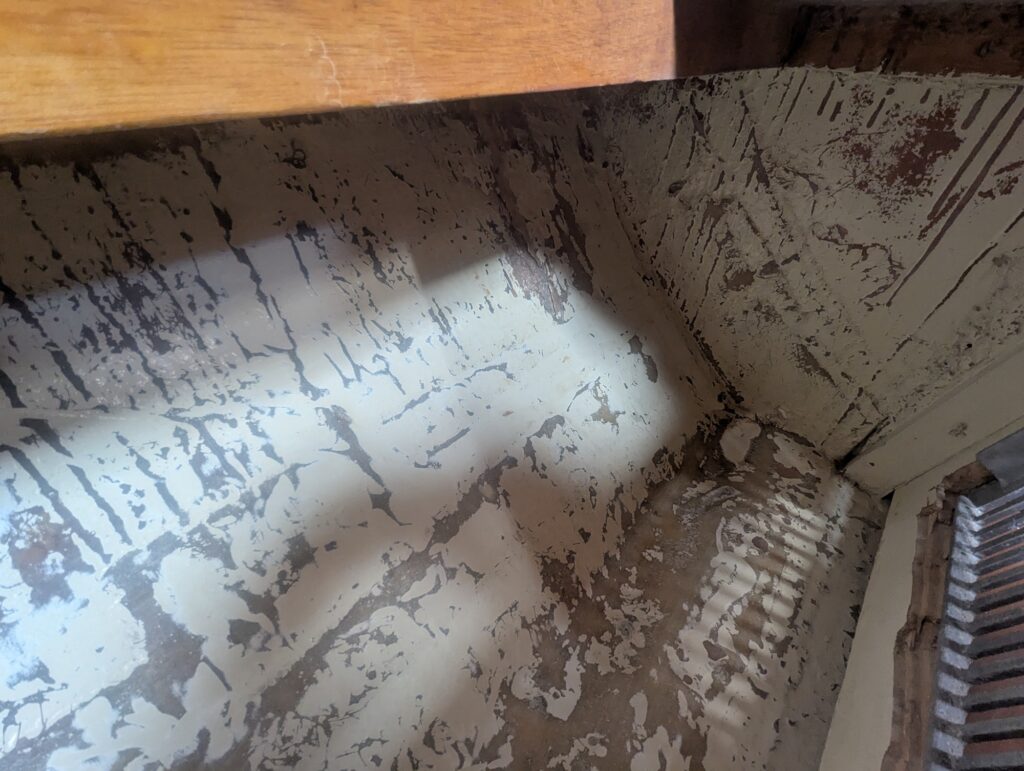
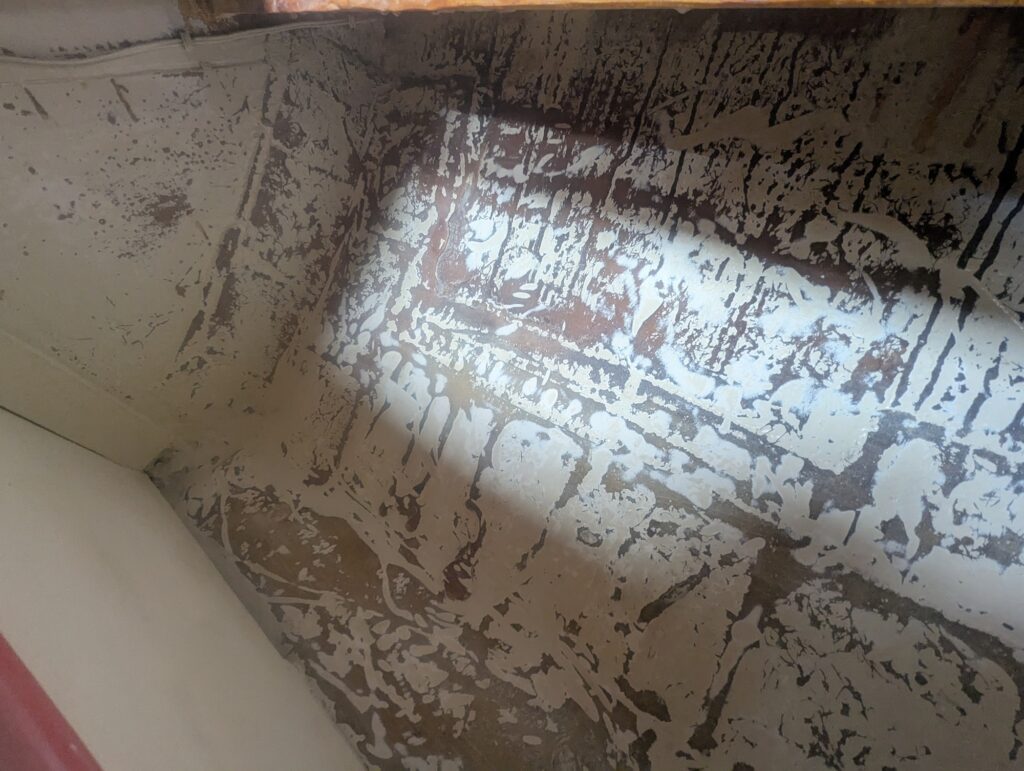
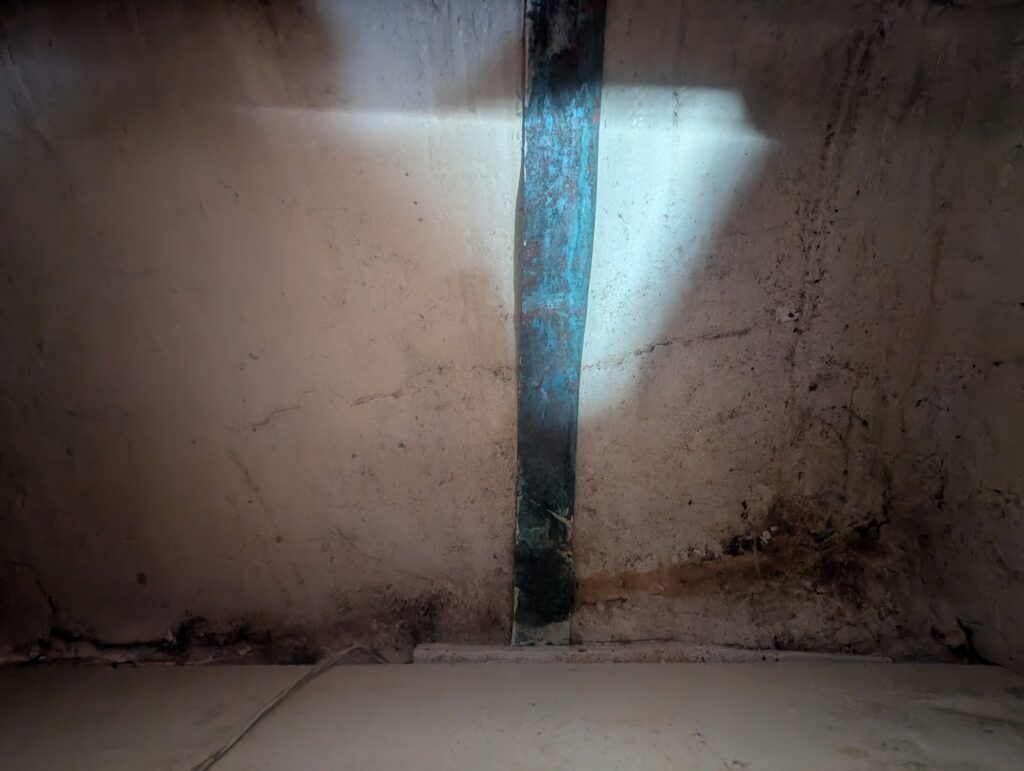
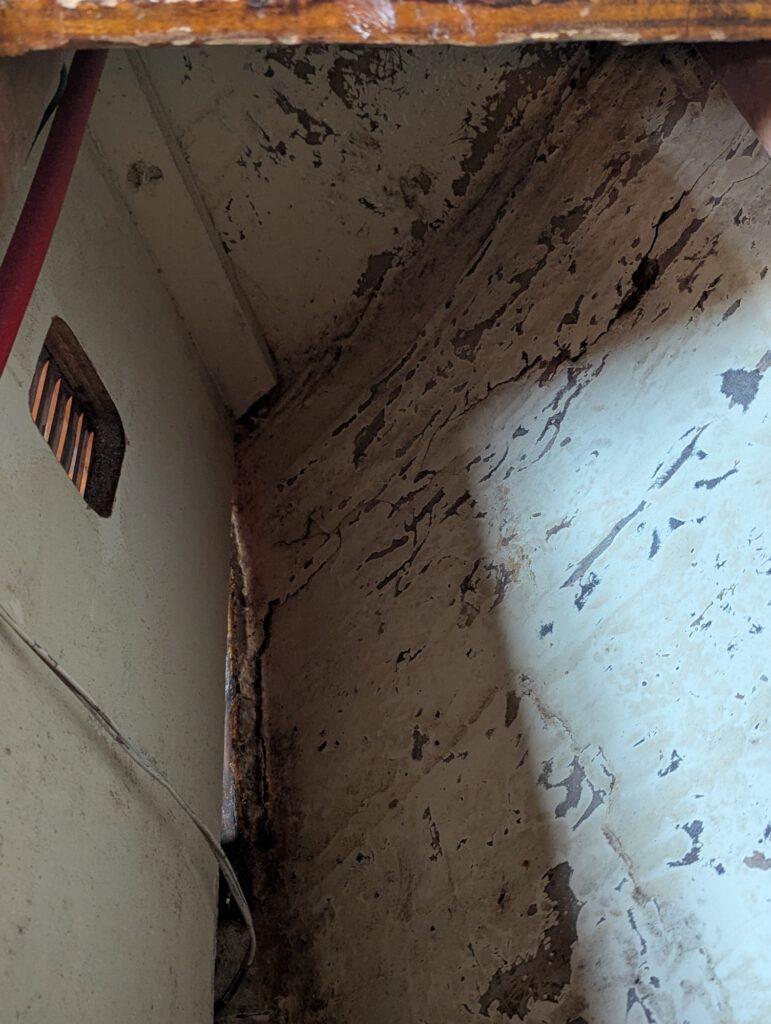
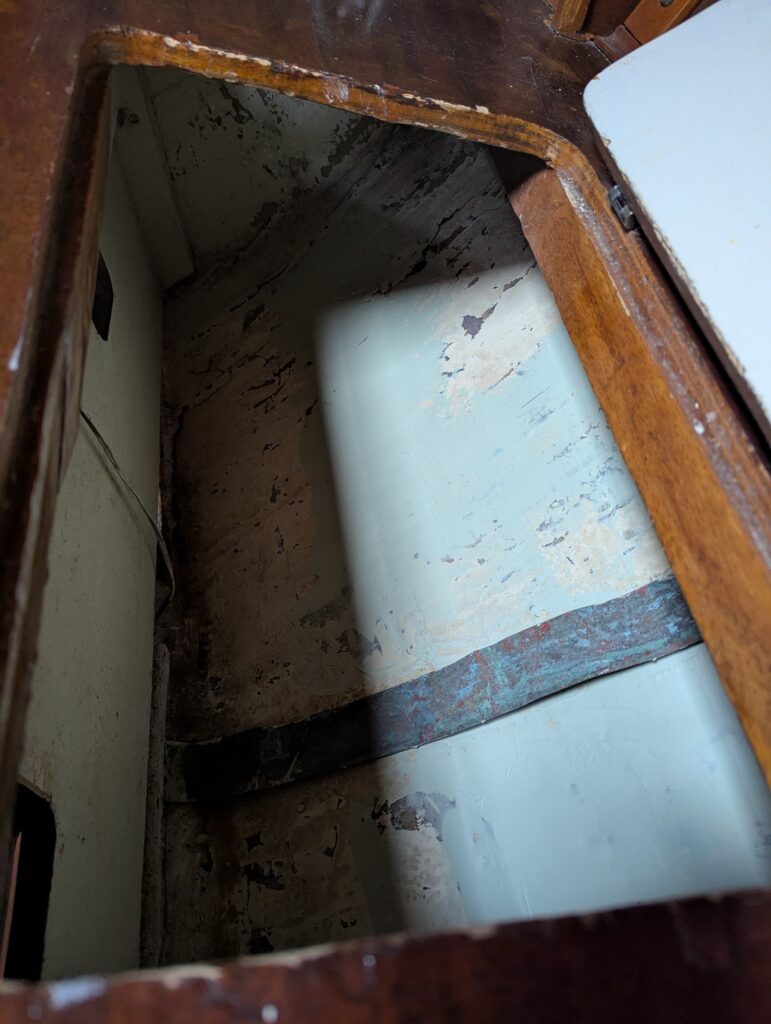
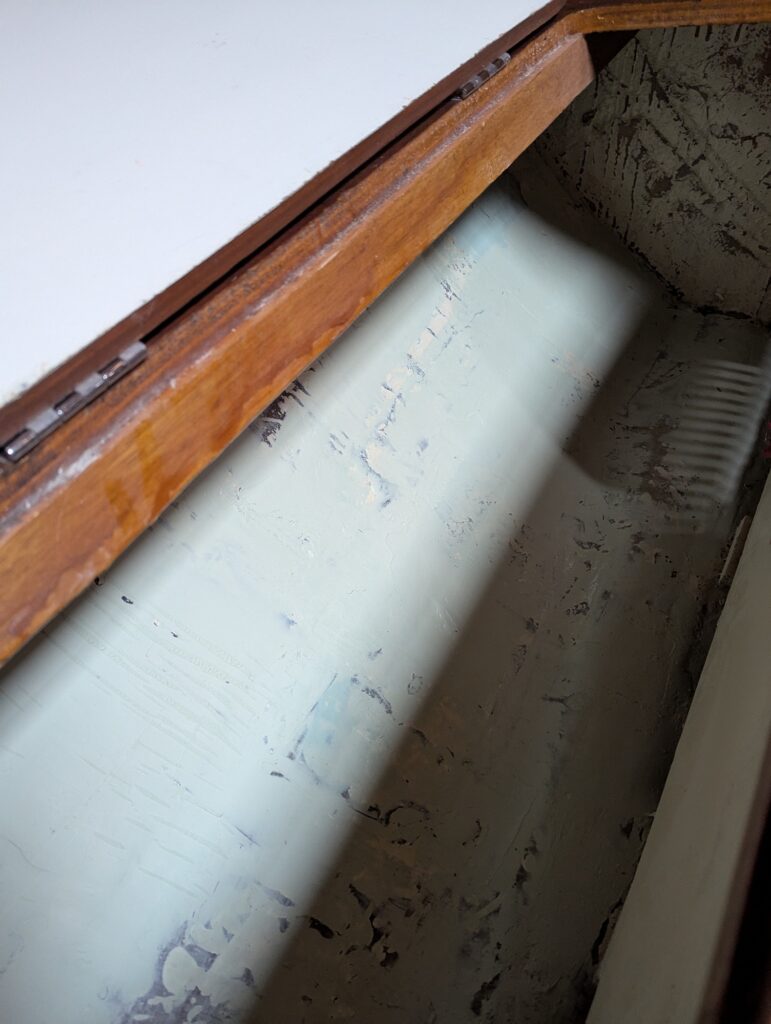
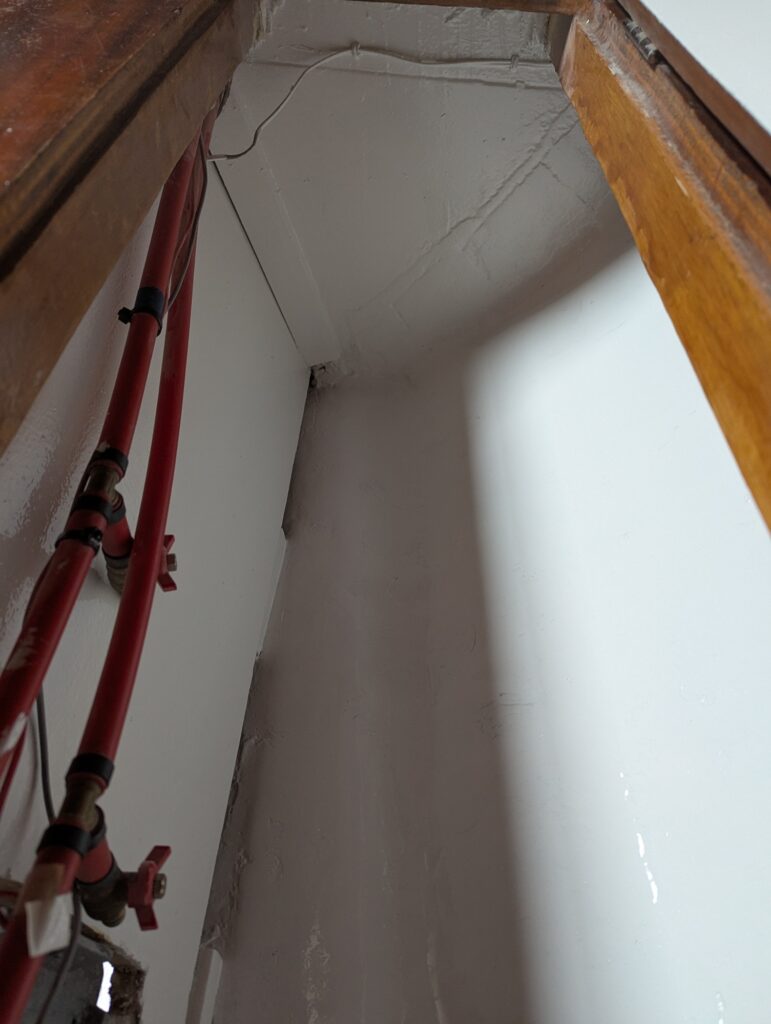
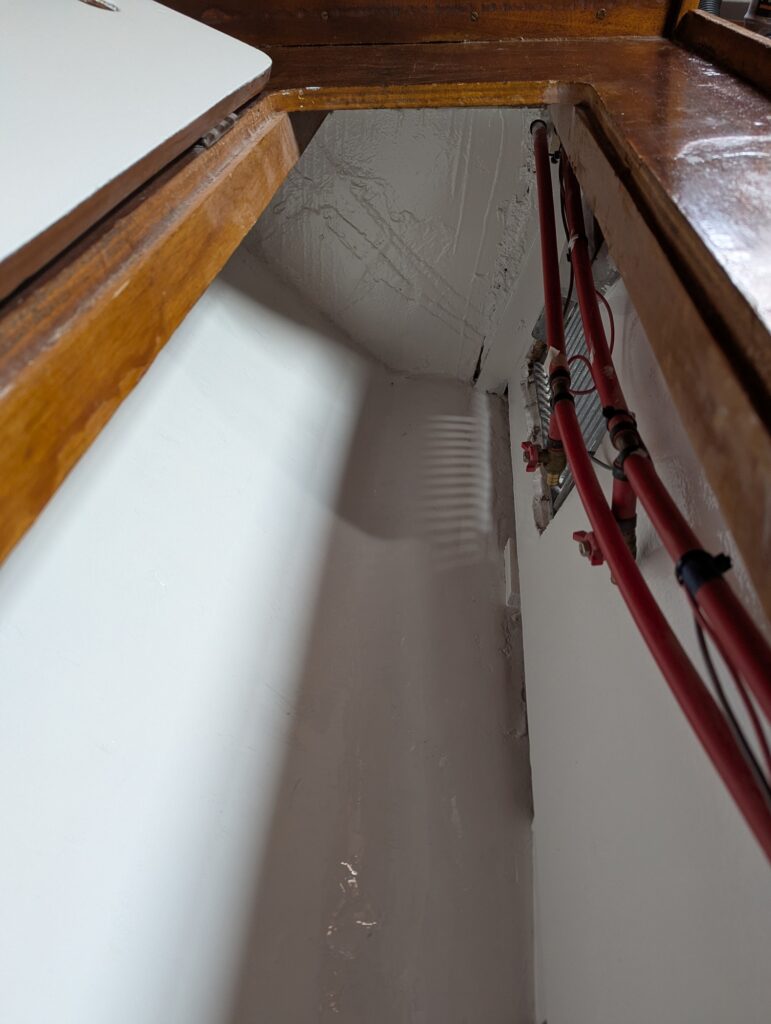
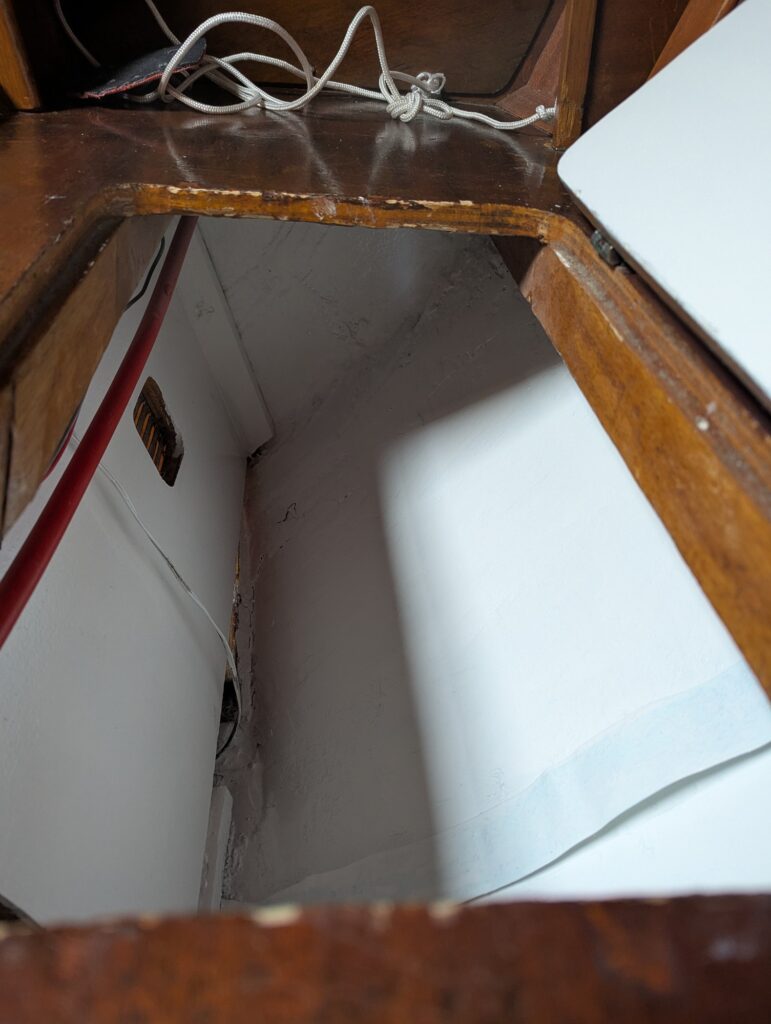
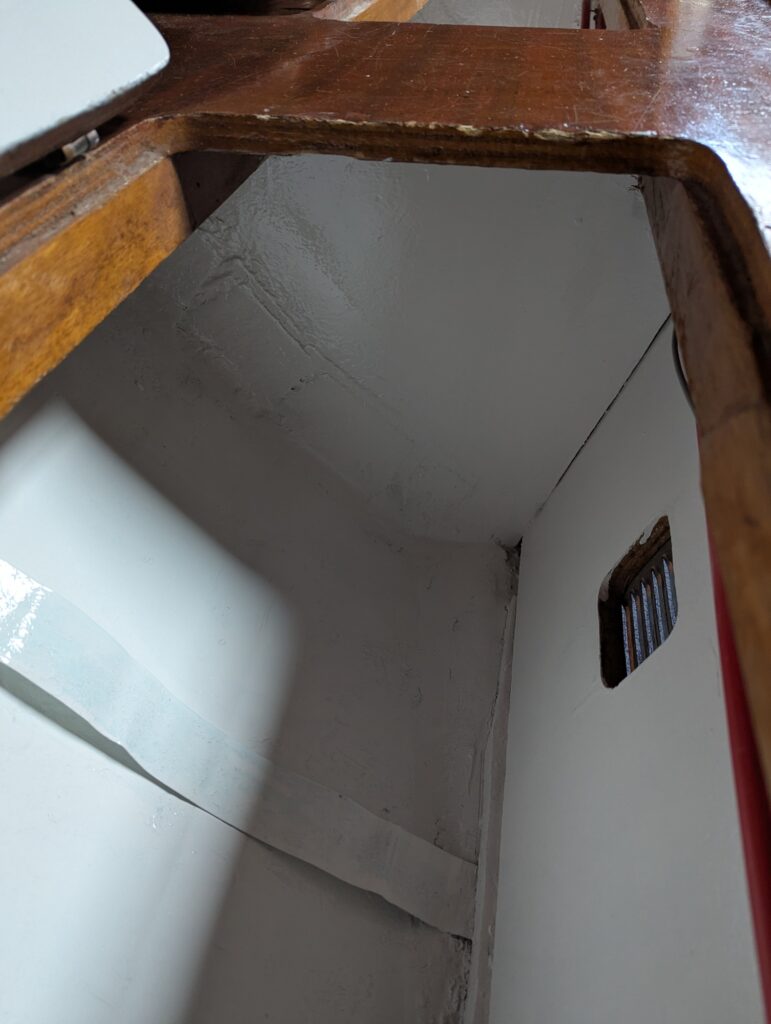
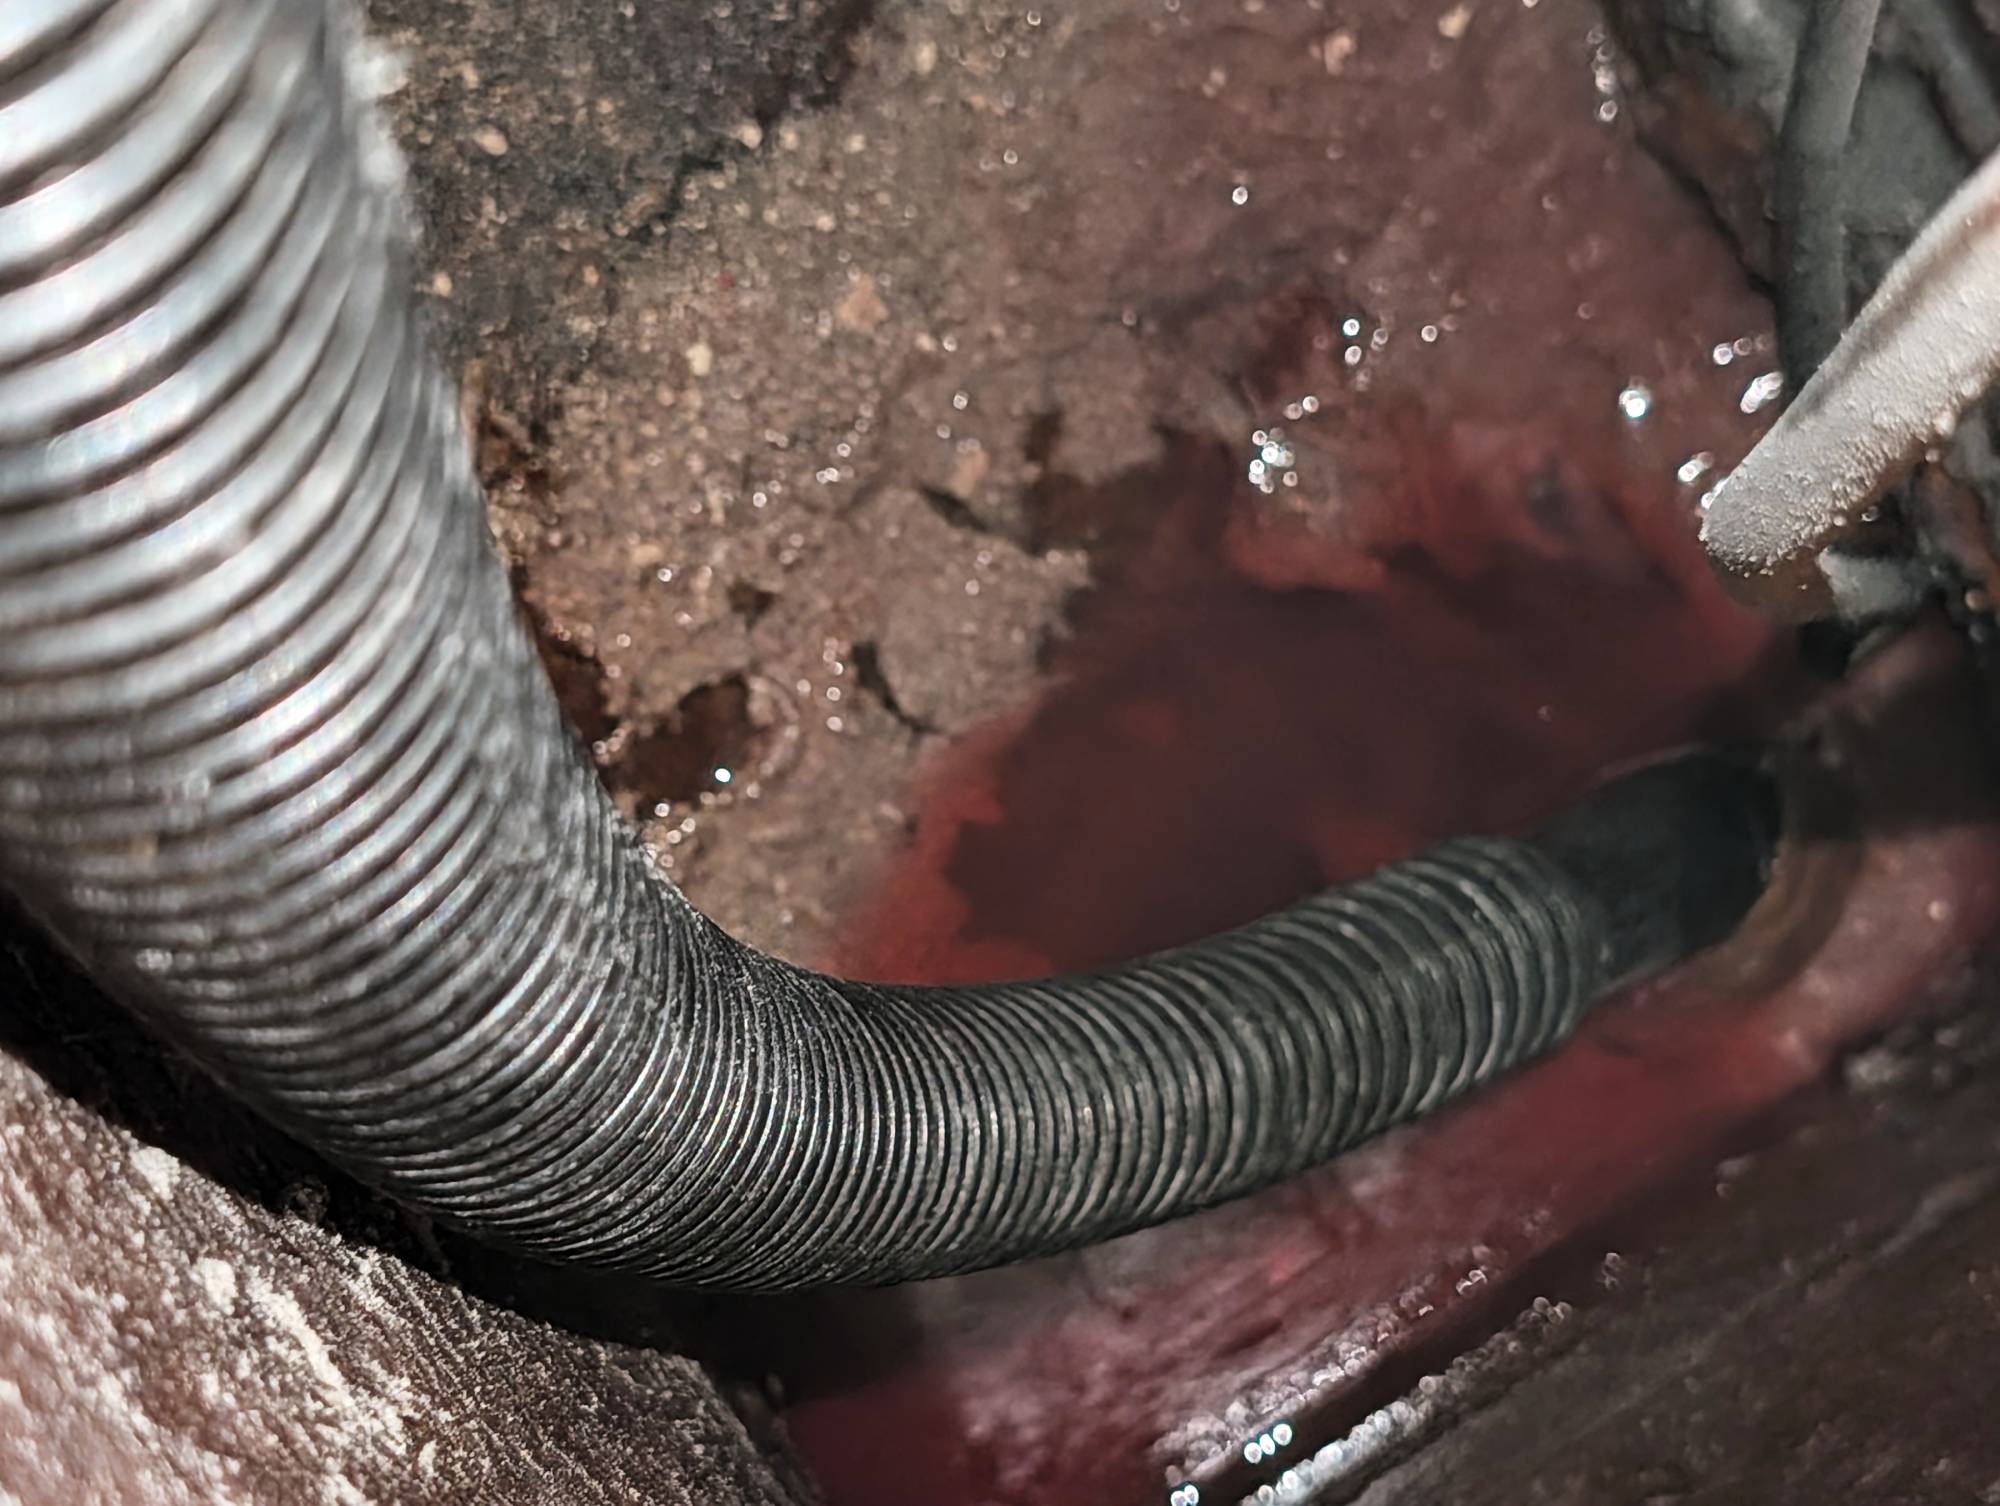
    It took several passes to remove the majority of the diesel bug from the tank. The aft sections werenโ€™t nearly as affected as the forward sections.

    Itโ€™s difficult to tell from the photographs that one section is any cleaner than another, but the difference in person was significant.

    Unfortunately, there is one limitation we canโ€™t easily overcome. Given the age of the boat, diesel has permeated the resin used in the construction of the tank. There really isnโ€™t any practical solution for that beyond removing the tank entirely and replacing it.

    That may be a consideration in the future, but it is well outside the scope of this project.
    Step 7: Lids

    Coming soon…

    Step 8: Refill

    Coming soon…

    Cleaning a contaminated fuel tank has certainly been more work than we expected when we left East River Shipyard in June. But once the project is complete, weโ€™ll have something we didnโ€™t have before: proper access to the inside of our auxiliary fuel tank.

    If nothing else, weโ€™ll never again have to wonder whatโ€™s happening inside those five baffled sections.
  • Boat Work: Caribe RHIB Repair Project

    Boat Work: Caribe RHIB Repair Project

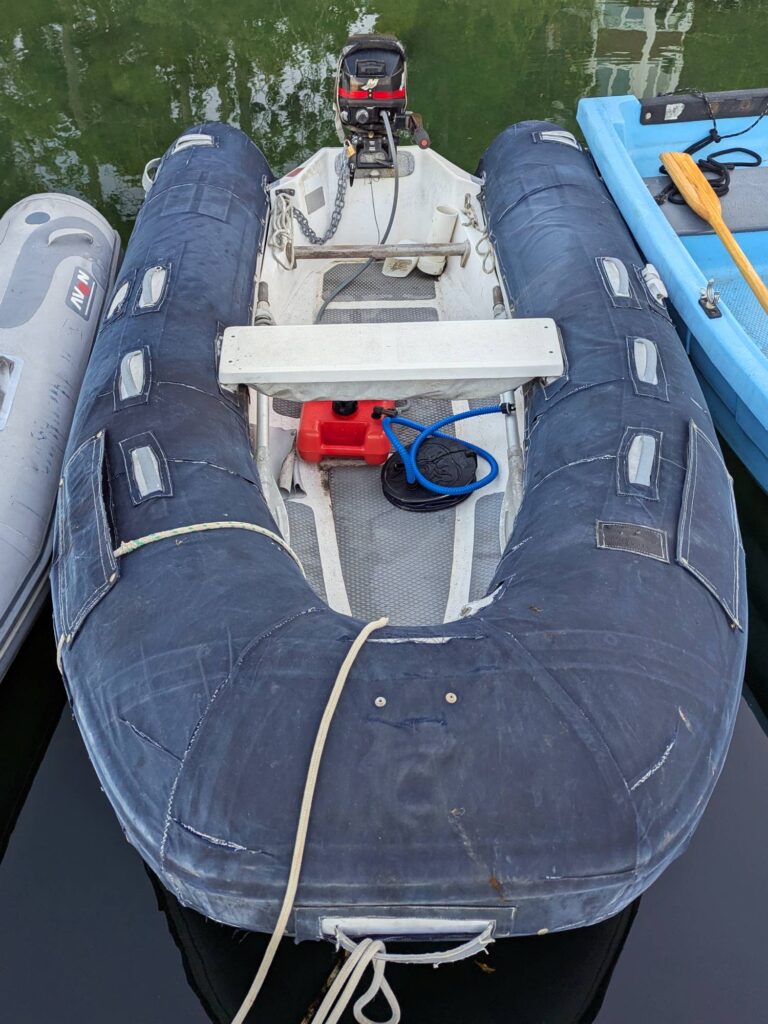
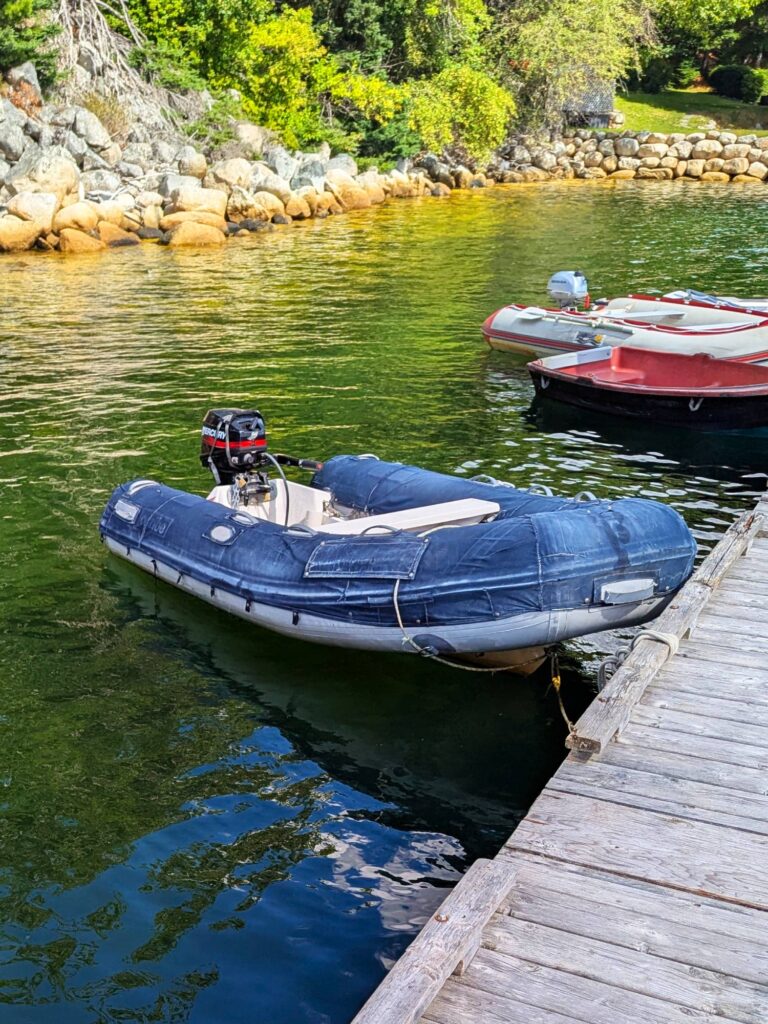
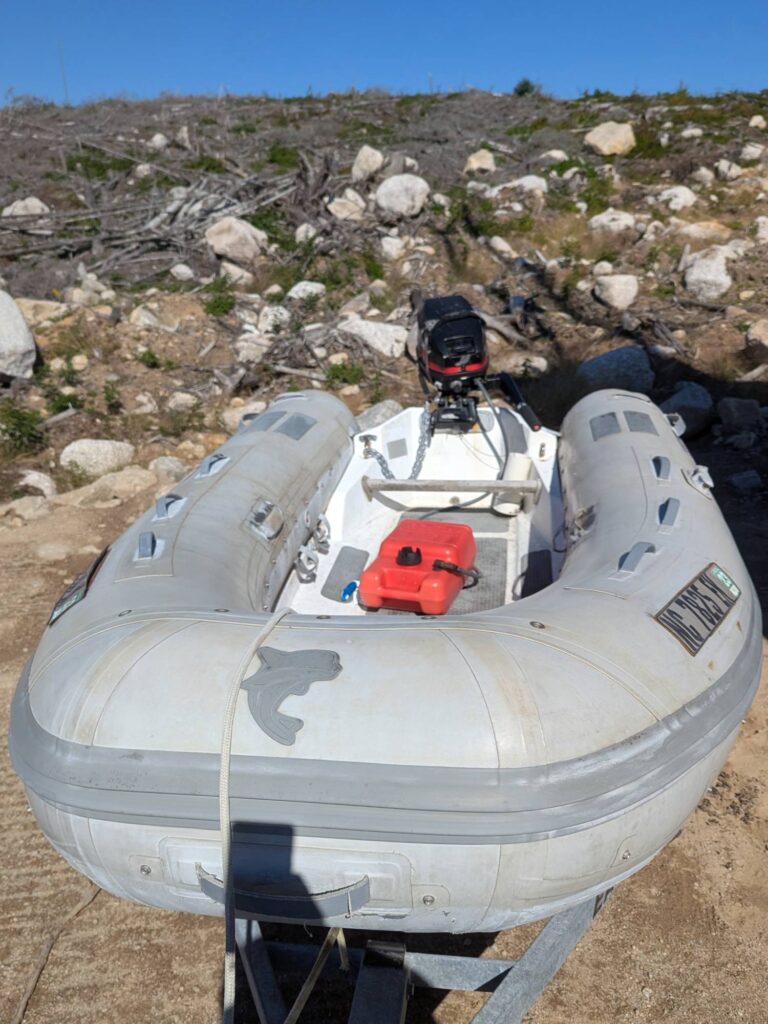
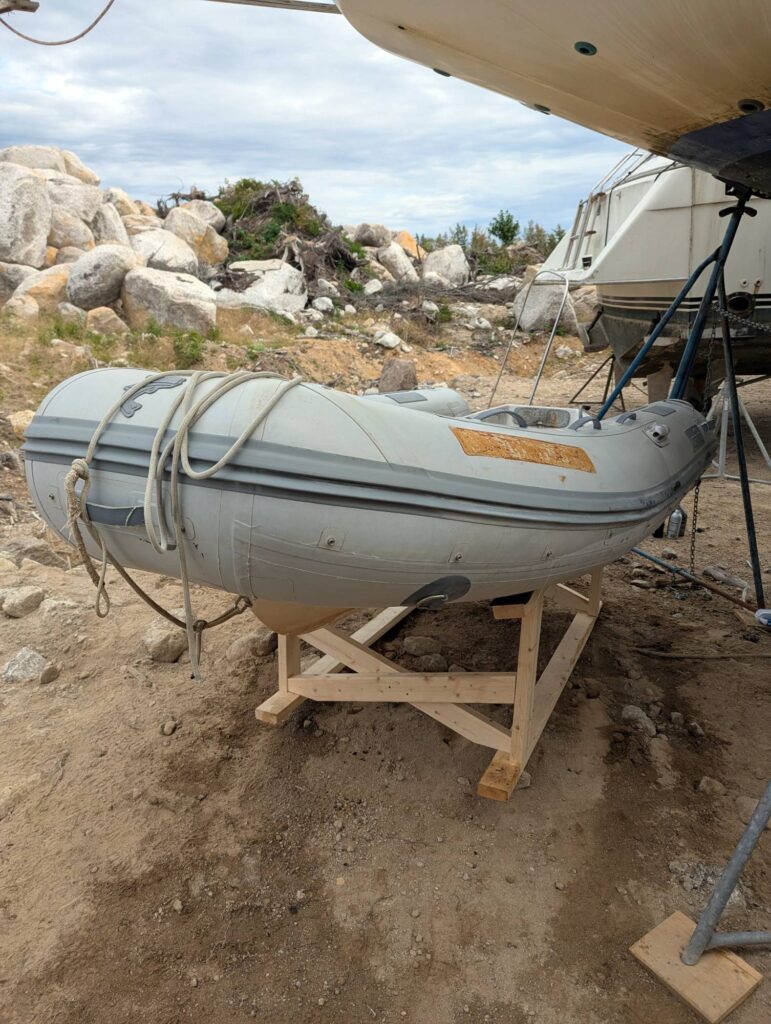
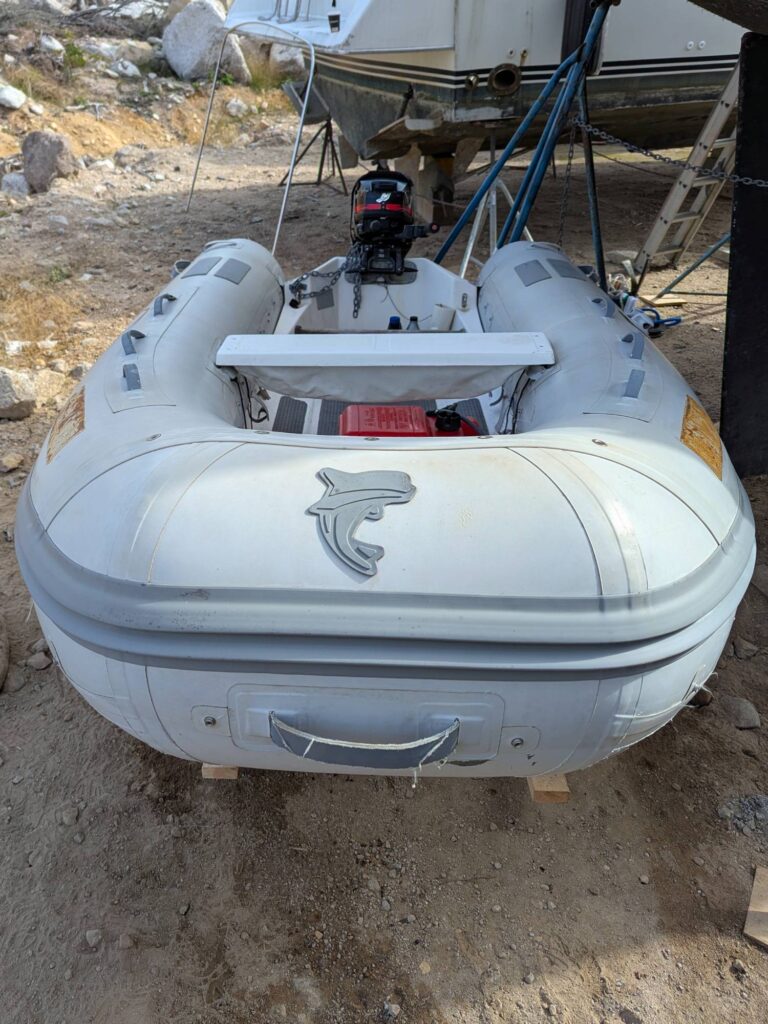
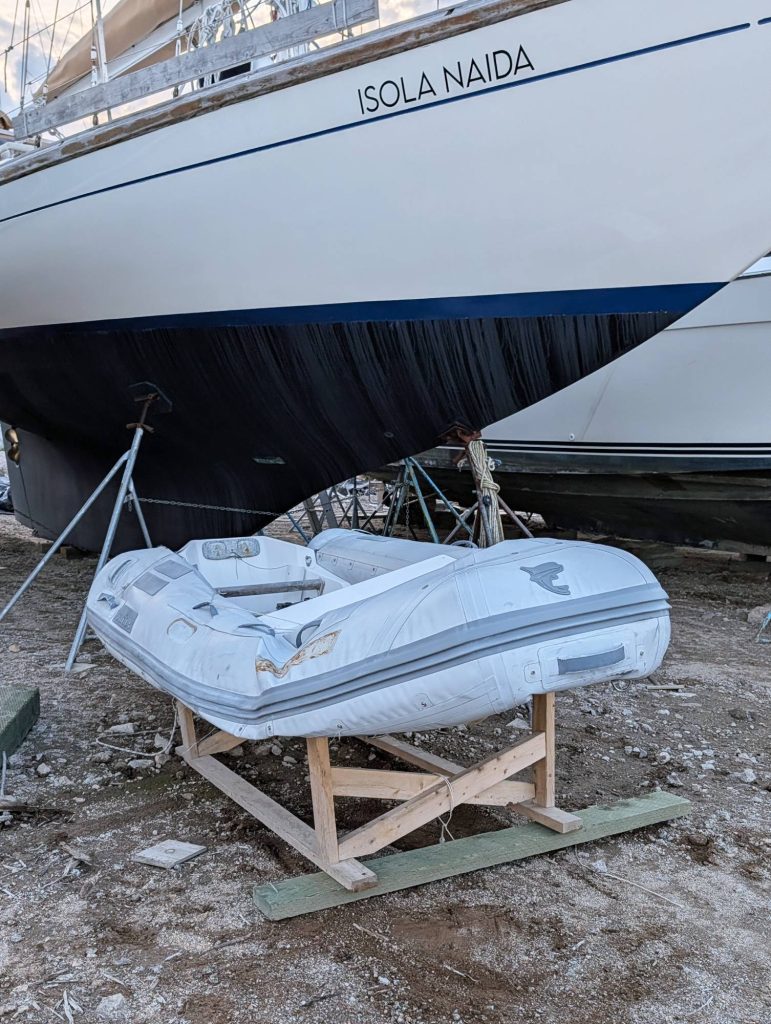
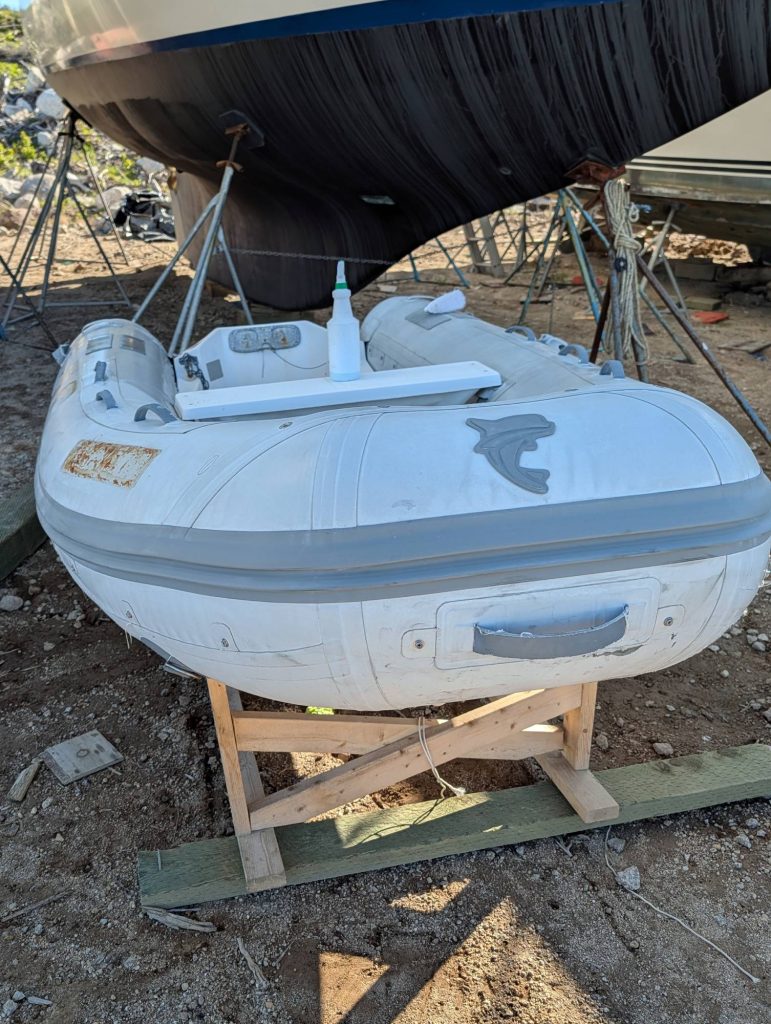
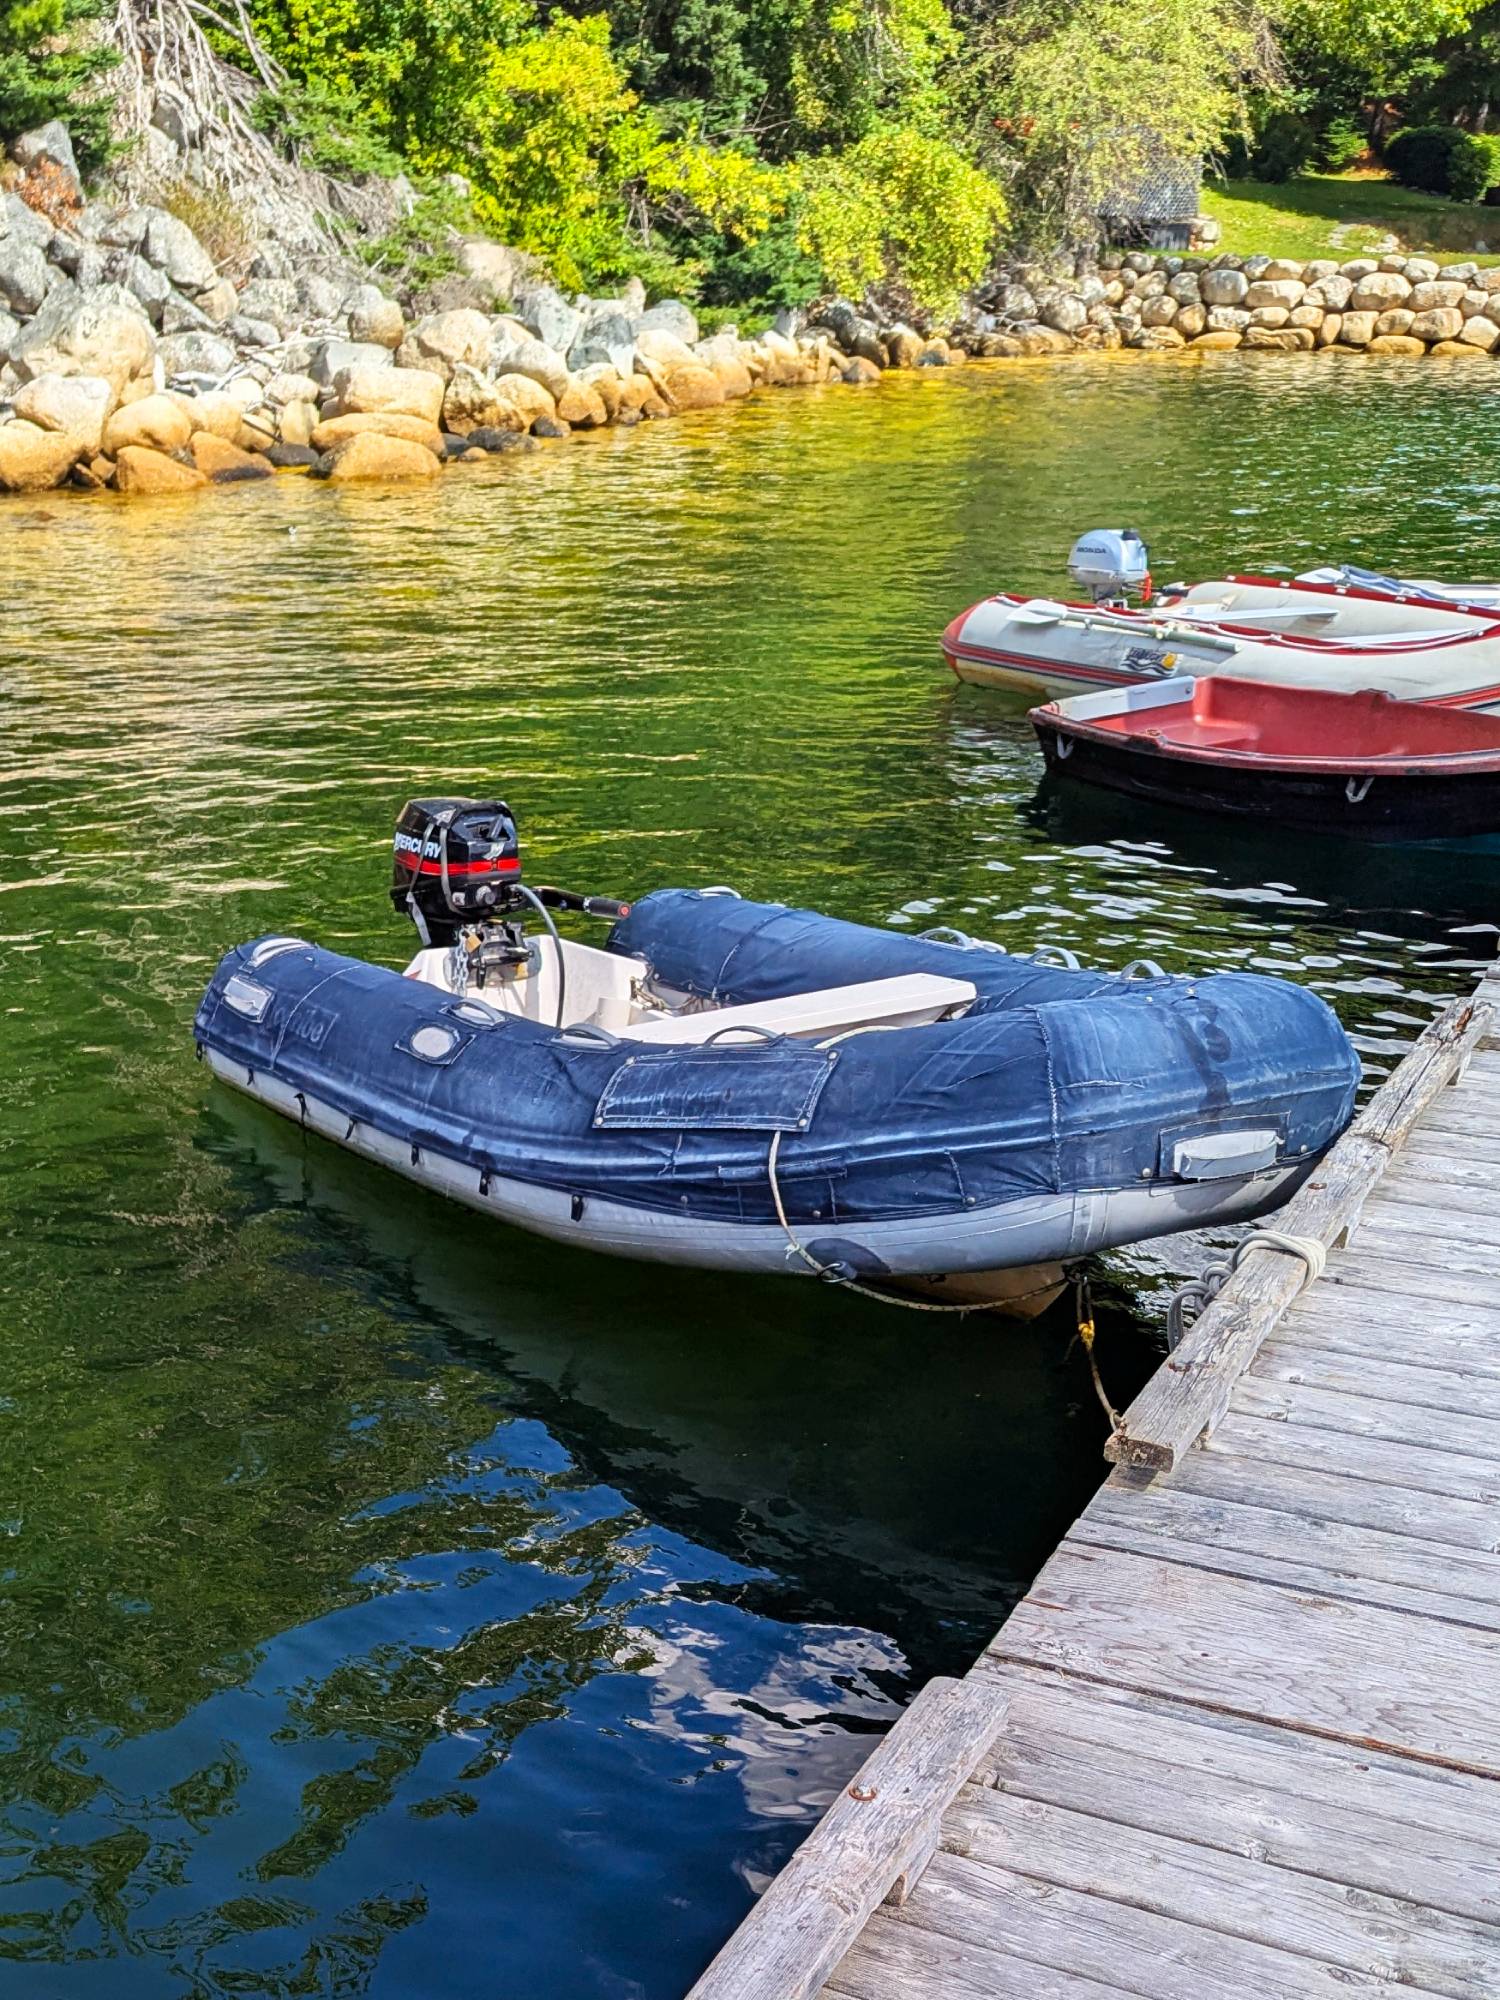
    When we took stewardship of Isola Naida, we also adopted her tender, a Caribe Nautica MVPL-10 Rigid Hull Inflatable Boat (RHIB). Caribe has long been known for their quality inflatable boats and we were excited to have a RHIB as a tender – their stability and carrying capacity is unmatched. Now that we have the boat out of the water for the season we’re able to address the leaks and prepare the tender for next season.

    Before

    We knew at the time we bought Isola Naida that the starboard and bow sponsons of our RHIB each suffered a slow leak. This meant that we’ve had to reinflate two of the three sponsons daily. The previous owners hadn’t had the opportunity to haul her our and go on a leak-finding mission.

    Step 1: Soap Wash

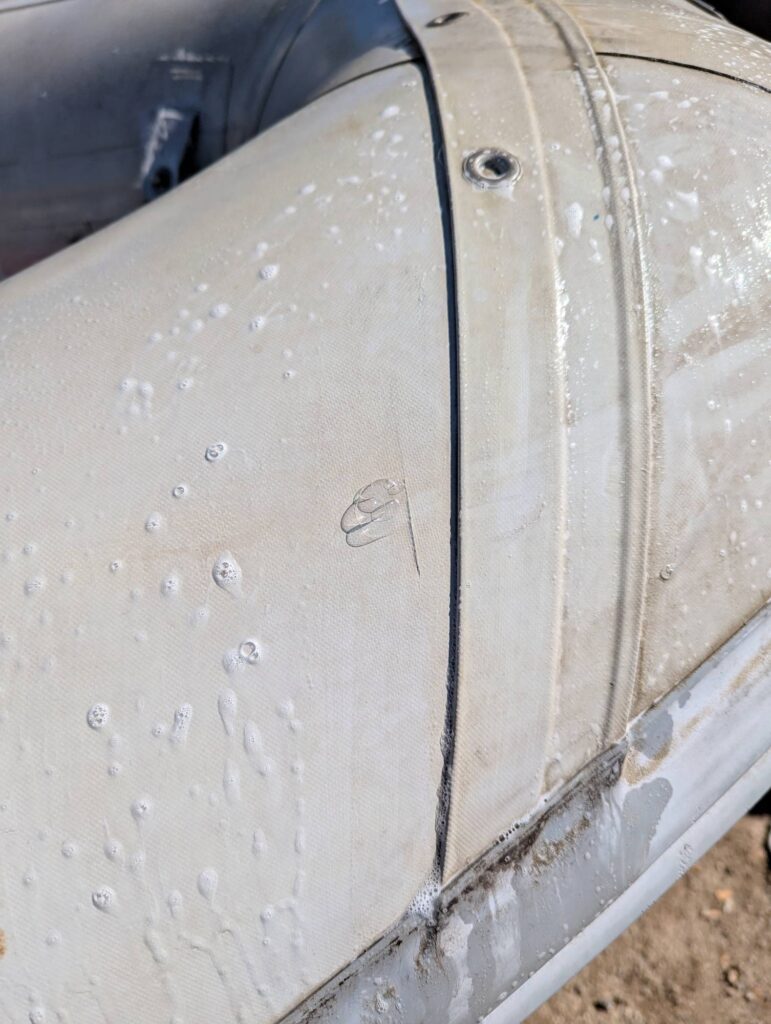
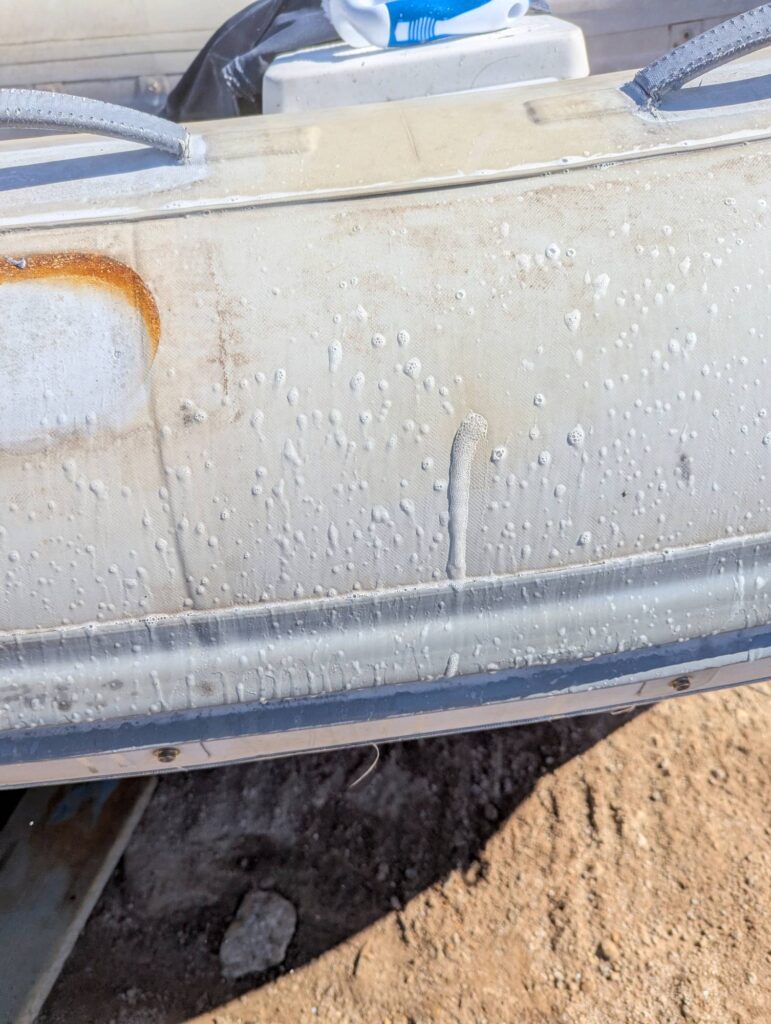
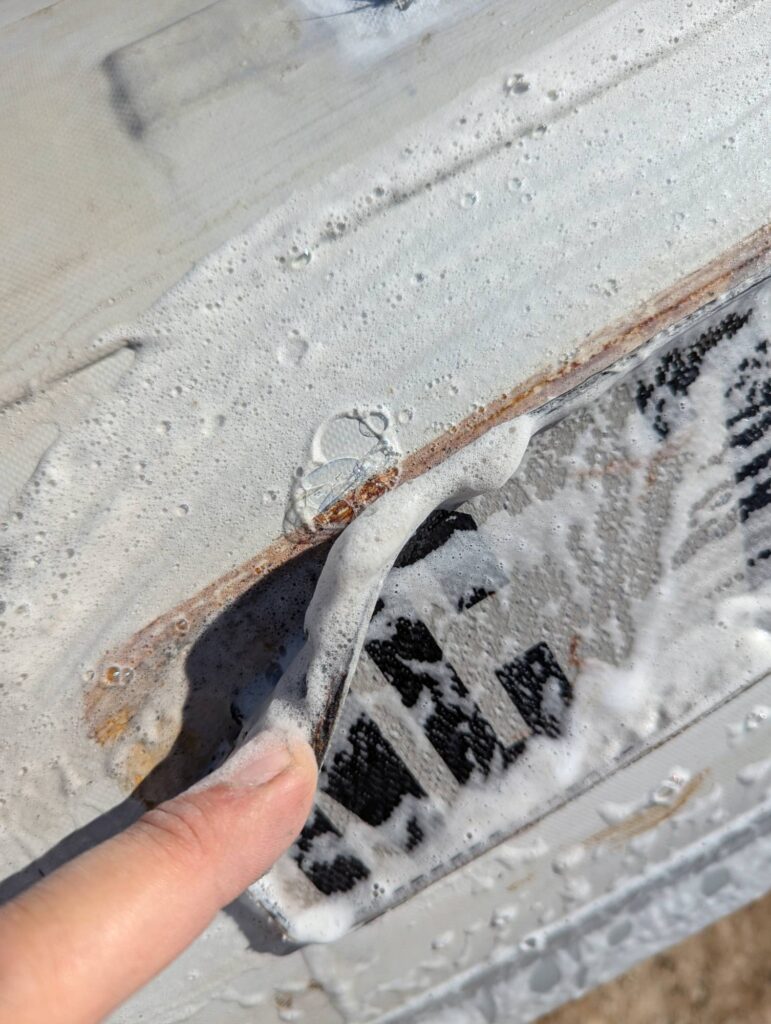
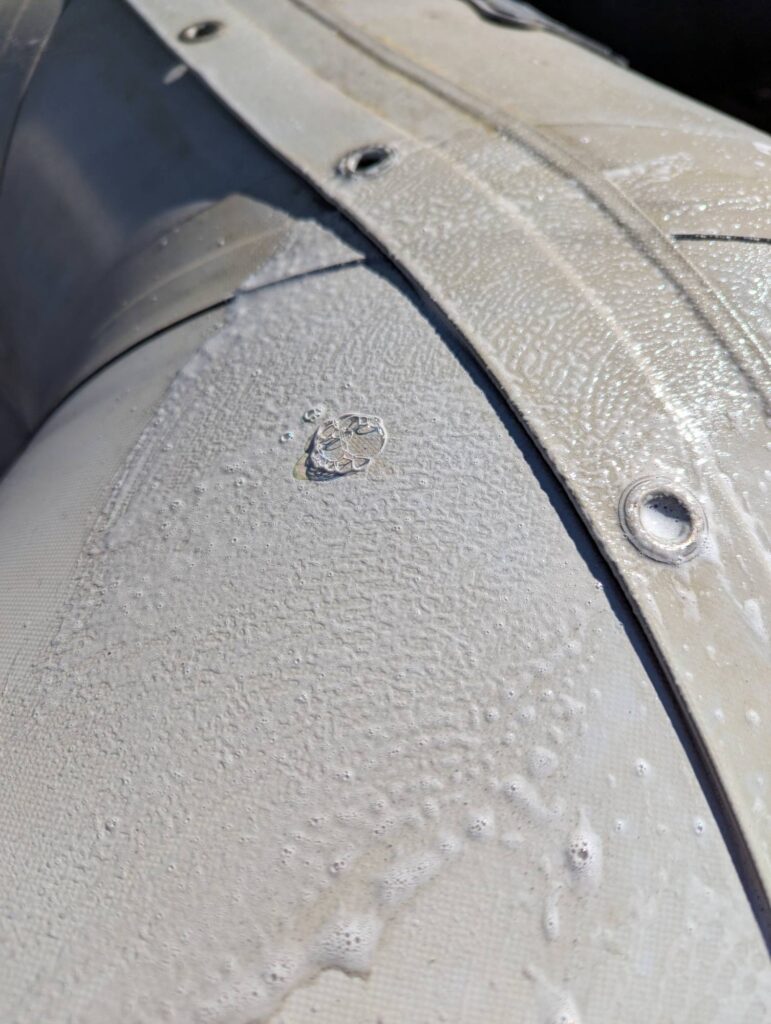
    On 27 September, D’Arcy took advantage of the tender being out of the water to begin cleaning the boat and finding leaks. Using a spray bottle with a 1:4 mixture of Dawn dish soap to water, he began spraying sections of the sponsons and used a stiff bristle brush to help remove dirt and lather the soap. Lathering the soap helps to create an even distribution of bubbles which further helps the larger bubbles formed by air leaks to stand out.

    We quickly discovered five leaks – four were pinhole leaks and one was a very fine slice. All of the leaks were located on the starboard bow of the boat. This bit of information immediately exposed the culprit: Isola Naida’s boarding ladder!

    Isola Naida’s ladder swings over the port side toe-rail and hinges at the midpoint. When the lower half of the ladder is in the upright position instead of lowered into the water, the ends of the stainless steel tubing that makes up the ladder is exposed. This happens to be the perfect height for making contact with the RHIB’s sponsons. This was a known issue which we had discussed with Isola Nadia’s previous owners.
    Step 2: Degreasing

    On 5 October, D’Arcy returned to degrease the tender and perform a deeper cleaning. This also ensured that we hadn’t missed any leaks in our original search. We used Marine Spray Nine Heavy Duty cleaner to degrease the Hypalon sponsons and the interior hull.

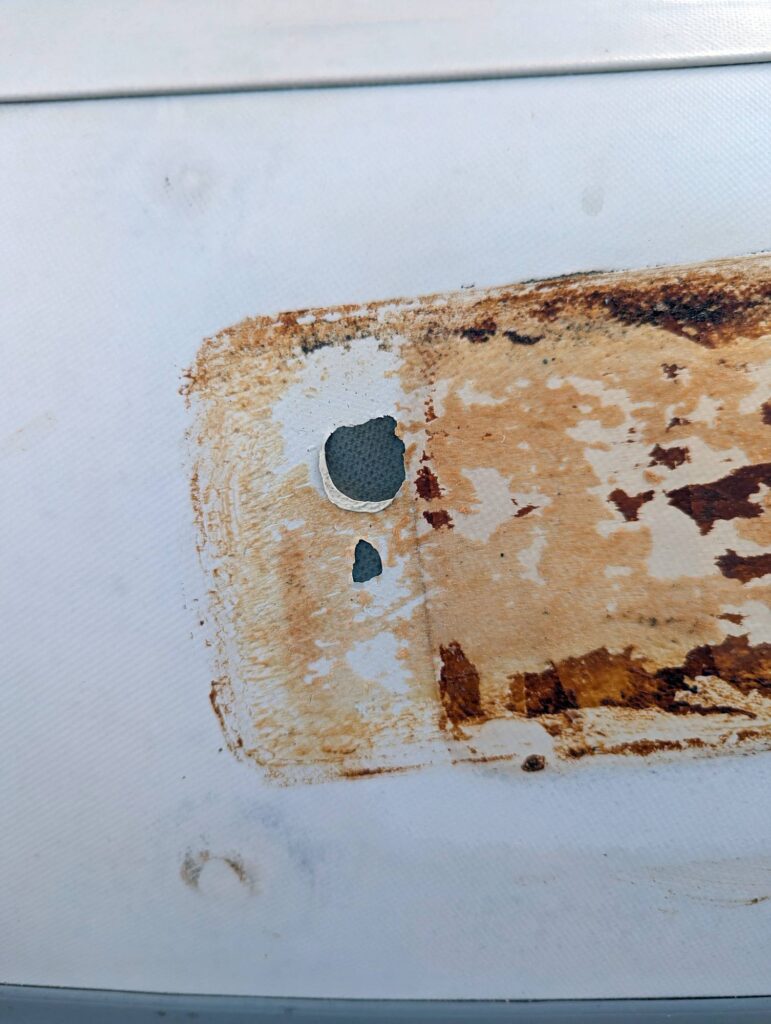
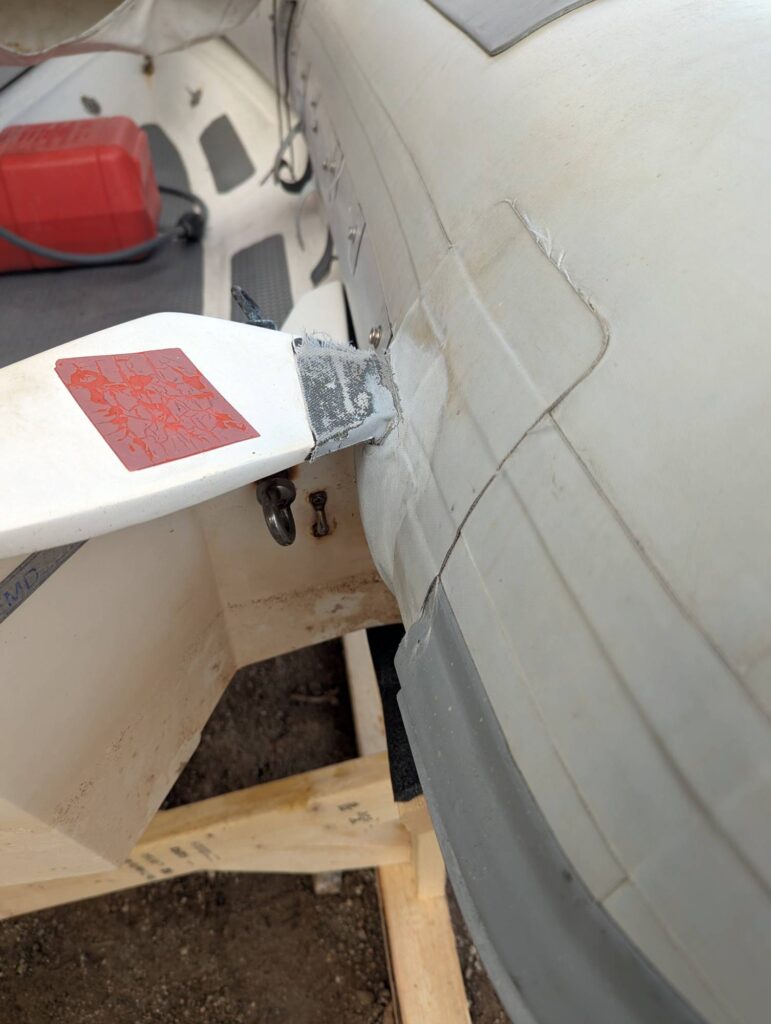
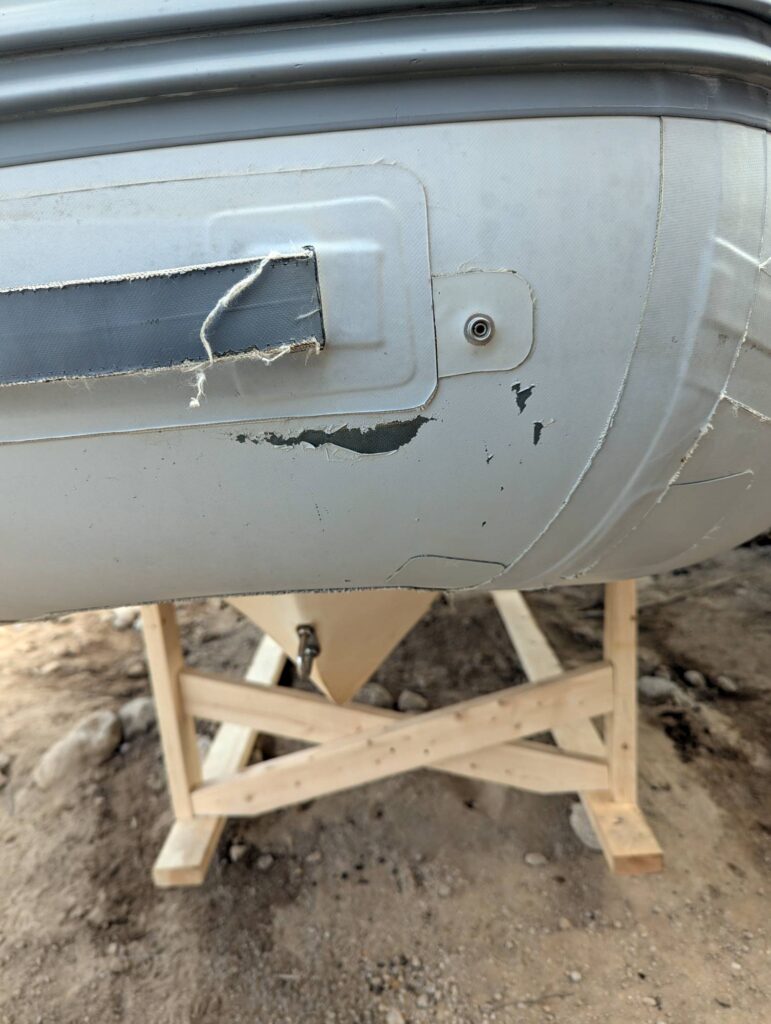
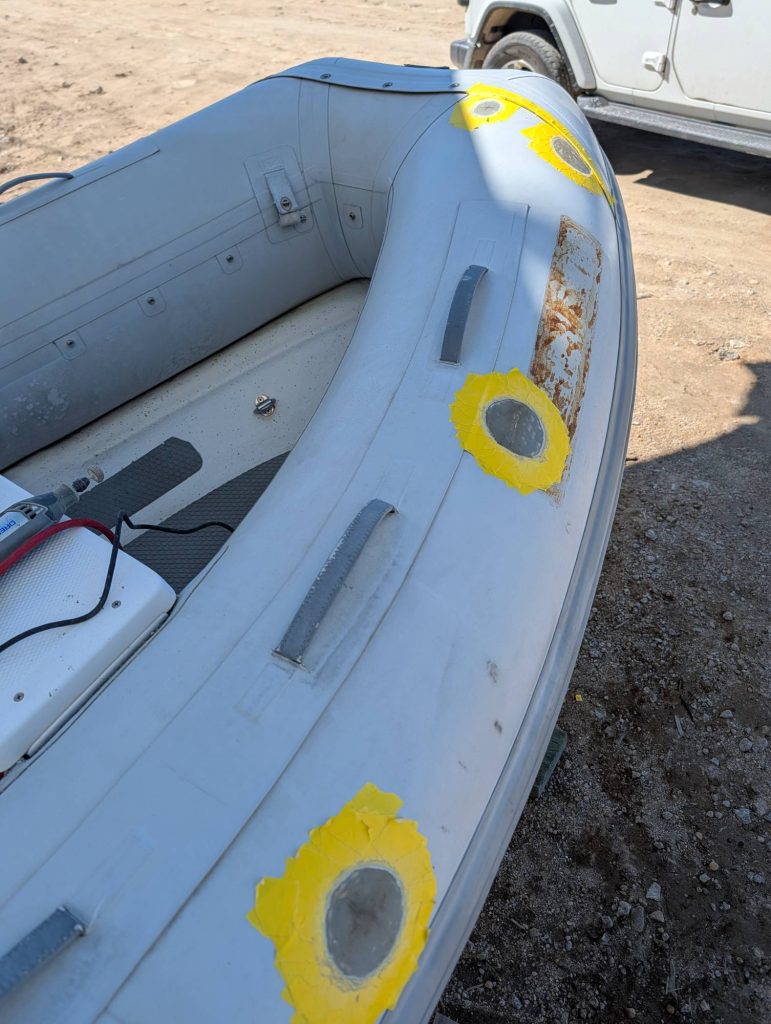
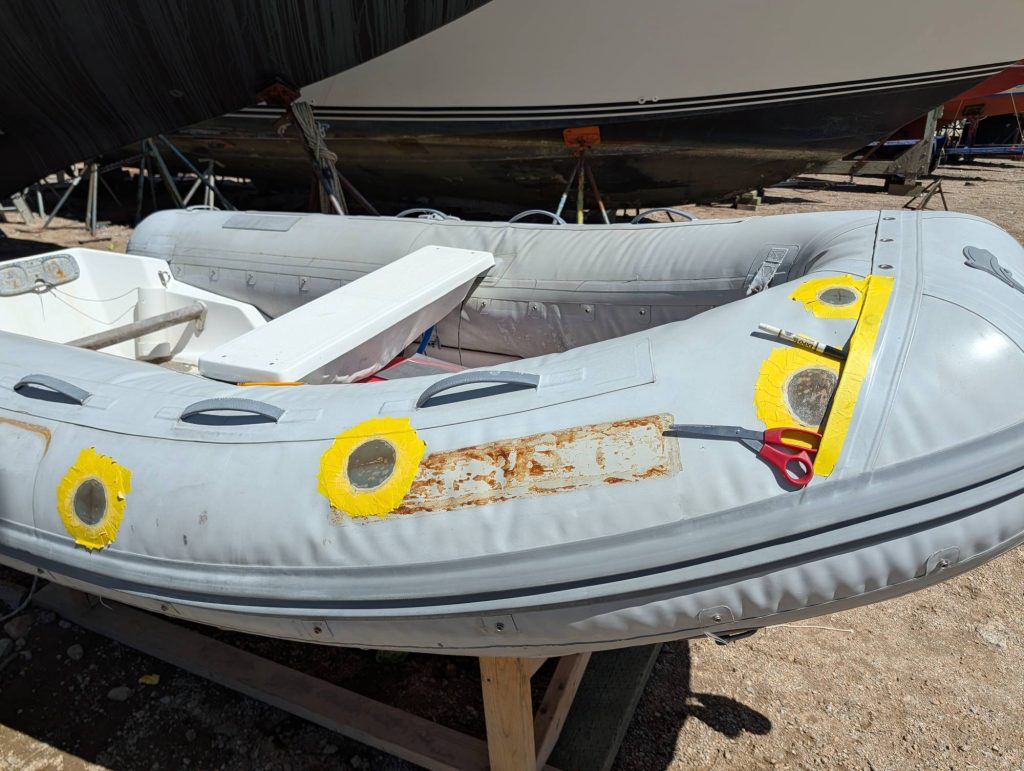
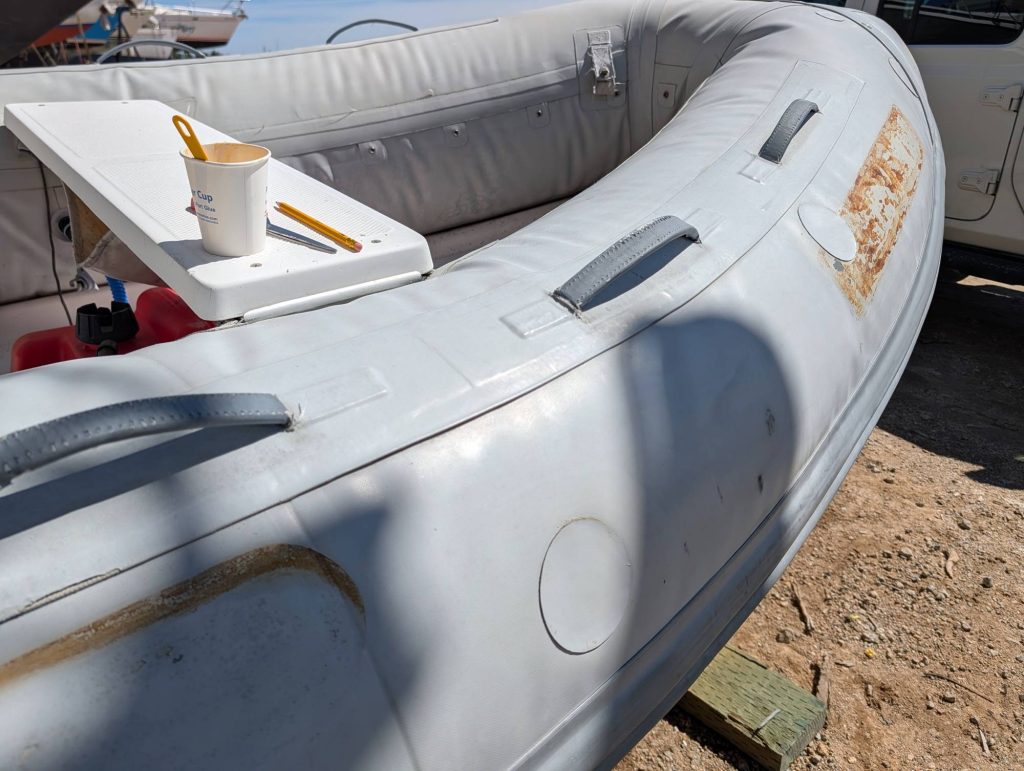
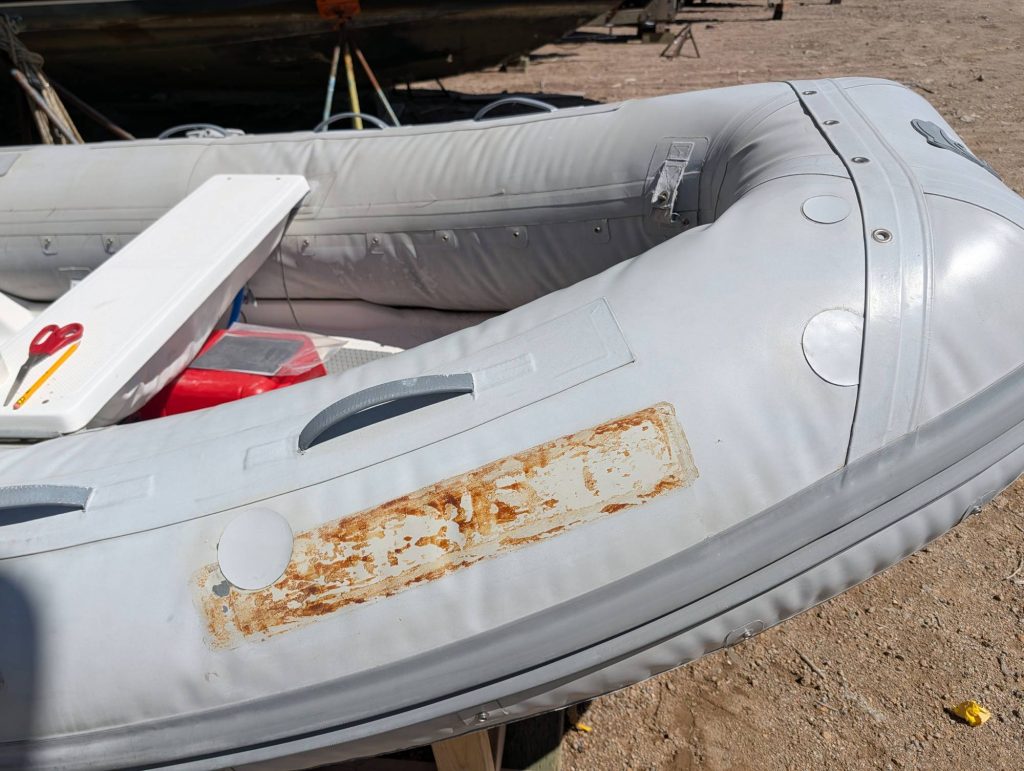
    In the process, we removed the old North Carolina registration plates that had been affixed to the port and starboard side sponsons. This exposed some more spots where the neoprene outer layer of material had been separated from the Hypalon backing. We’ll reinforce these areas when we patch the leaks to help protect the sponsons as much as possible.
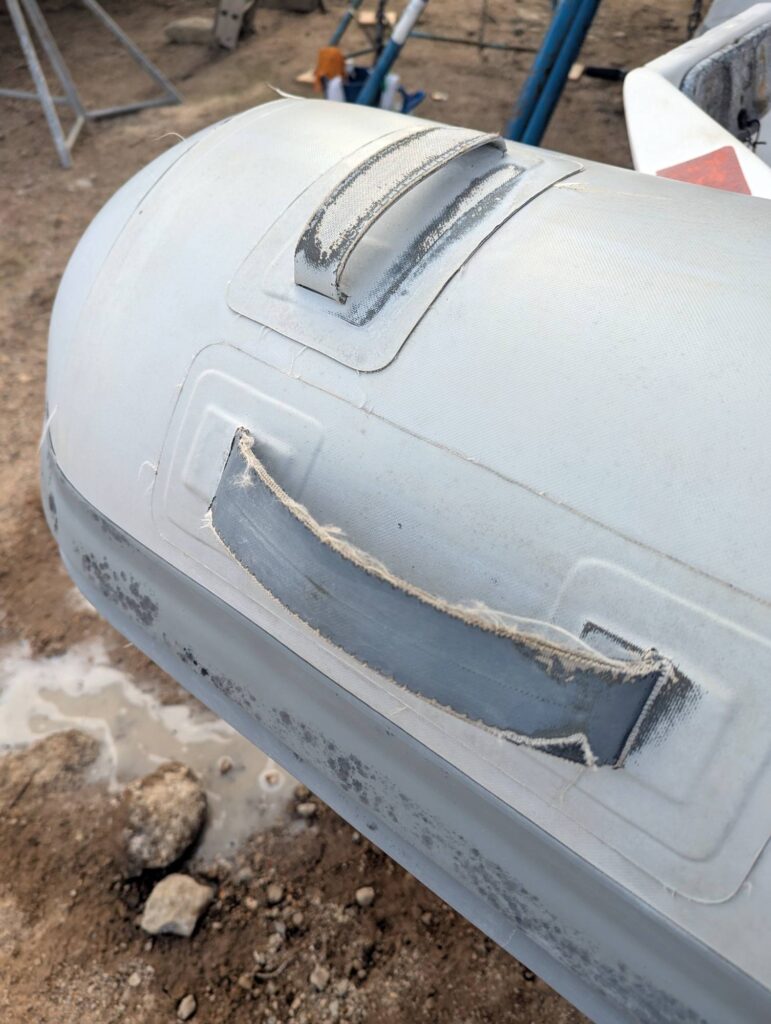
    We won’t be able to reinforce the handles at this point. Structurally they are fine, repairs to the handles are purely cosmetic. We’ve made a note to address the handles in the future.

    Step 3 & 4: Sand Surface, Acetone repair site

    We ran out of warm weather in October, so it didn’t make sense to continue the dinghy project at that time. On 23 May, we finally had a weather window with acceptable temperatures for the two part epoxy adhesive to cure. The sponsons were reinflated to confirm the locations of the leaks before being deflated slightly to prevent excessive outward pressure building beneath the patches.
    D’Arcy carefully taped a perimeter around each repair site using the patch material as a guide. He then used a Dremel tool with a spherical sandpaper flap wheel (the stone bit wouldn’t fit onto the tool) to prepare the surface of the sponsons. After the surface material was removed entirely, a quick hand sanding with 180 grit sandpaper ensured the surface had enough tooth for the adhesive to adhere properly. The Hypalon side of the patch material was also sanded with 180 grit sandpaper.
    A light wipe with acetone over the exposed Hypalon fabric ensured that the surface was clean and dry. Acetone will damage the PVC exterior layer, so it’s important not to wipe beyond the repair site.

    Step 5: Two Part Adhesive

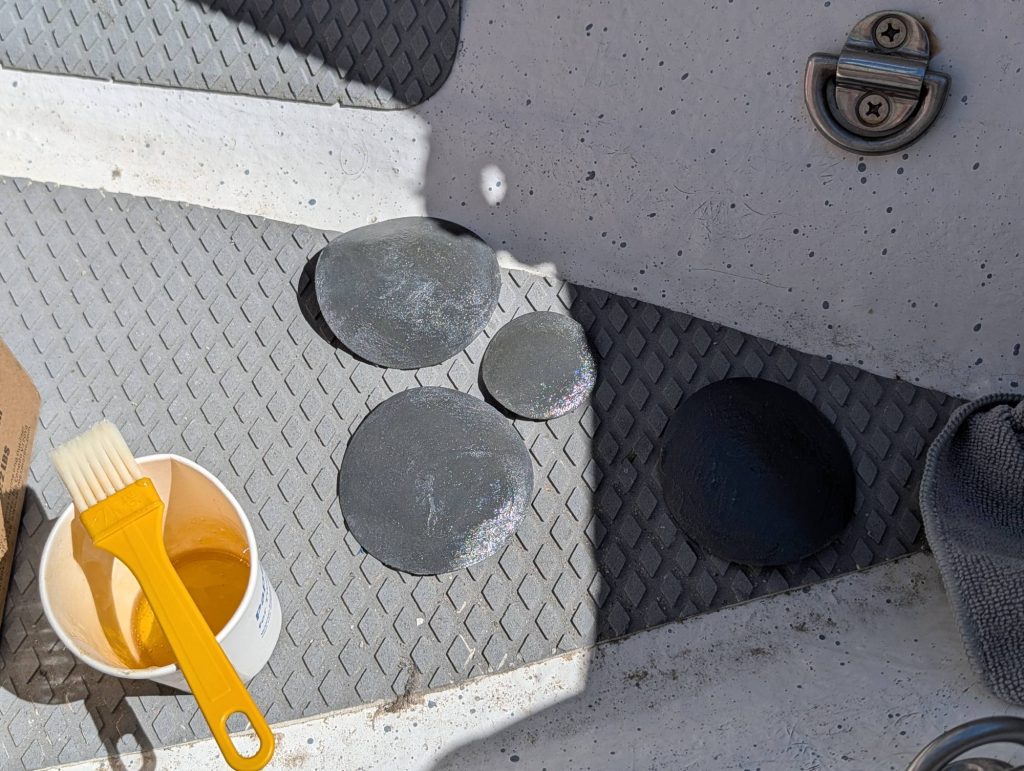
    With everything sanded and prepared, the two part epoxy resin was mixed with 5% hardener. After the adhesive was thoroughly mixed a thin layer of the adhesive was applied to the repair sites and to the back of the patches. This layer of adhesive was left to dry for 10 minutes. This allows the adhesive to secure itself to the material itself.

    The final step was to apply the patches one at a time. A second layer of adhesive was applied to the repair site (the tape was removed at this point) and a layer of adhesive was applied to the reverse of the patch. The patch was then pressed onto the surface of the repair site. The tip of a large marker was used to press the material from the middle outward ensuring full spread and adhesion.

    The patches were then carefully covered to prevent exposure to direct sunlight.

    Step 6: Inflate and Test

    The sponson won’t be pressurized for more 24 hours after the repairs, so we’ll have to wait to confirm that there are no more leaks. We’ll update this part of the post when we have more information about the success of the repairs.

  • Boat Work: Starboard Settee Storage Project

    Boat Work: Starboard Settee Storage Project

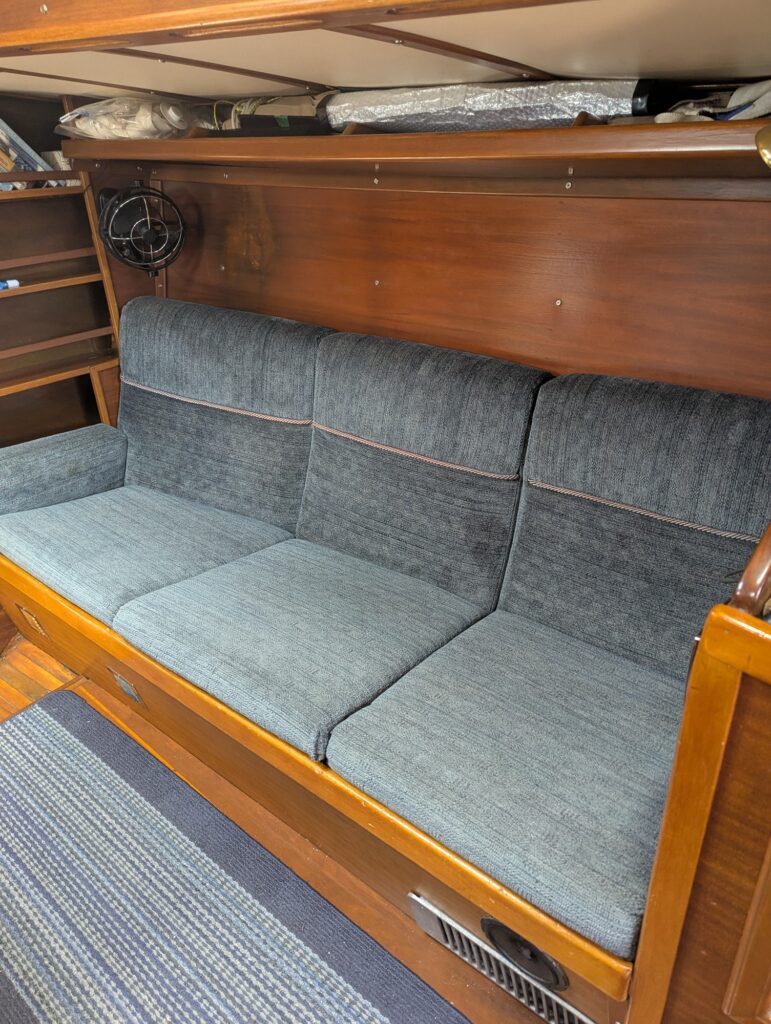
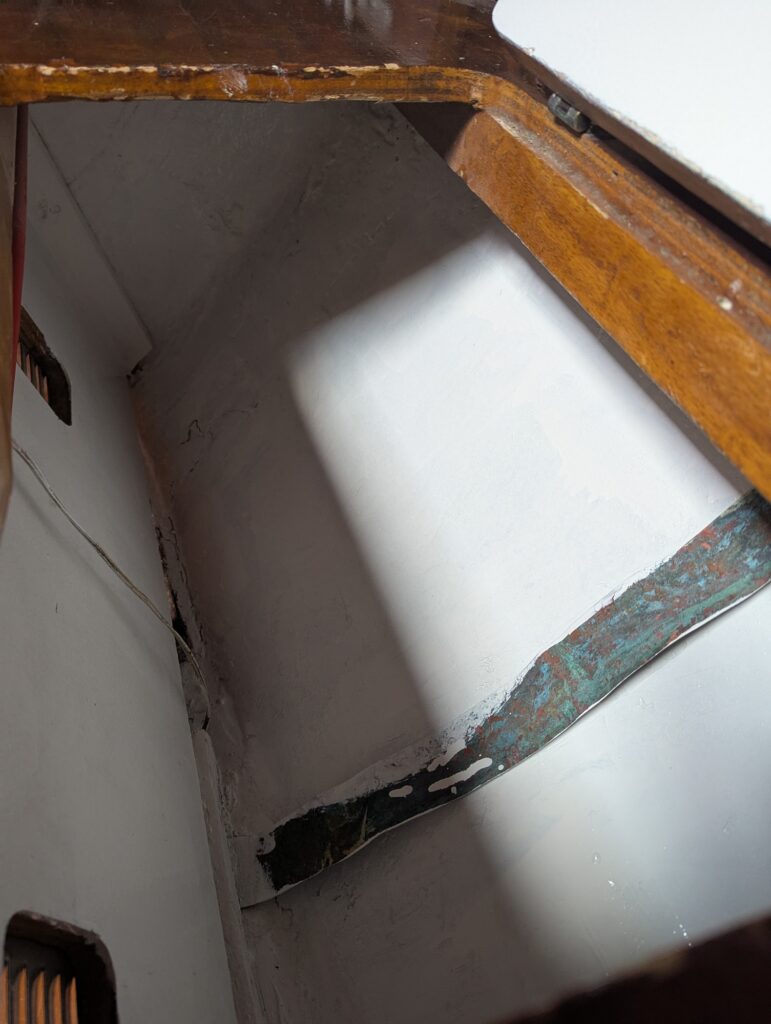
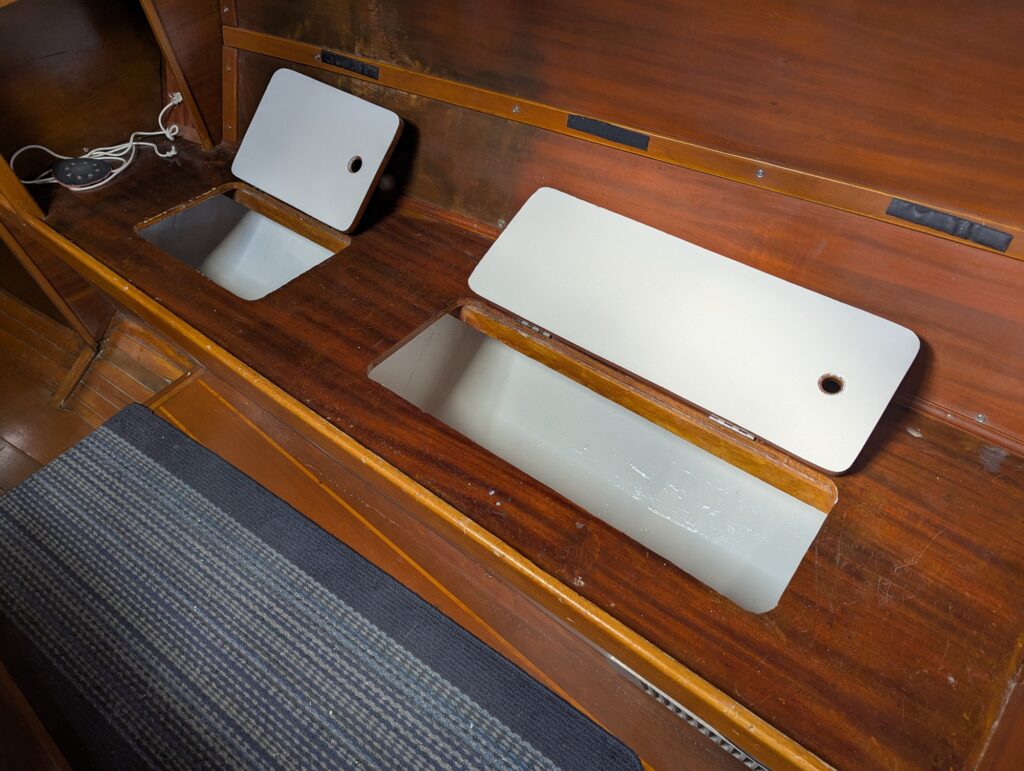
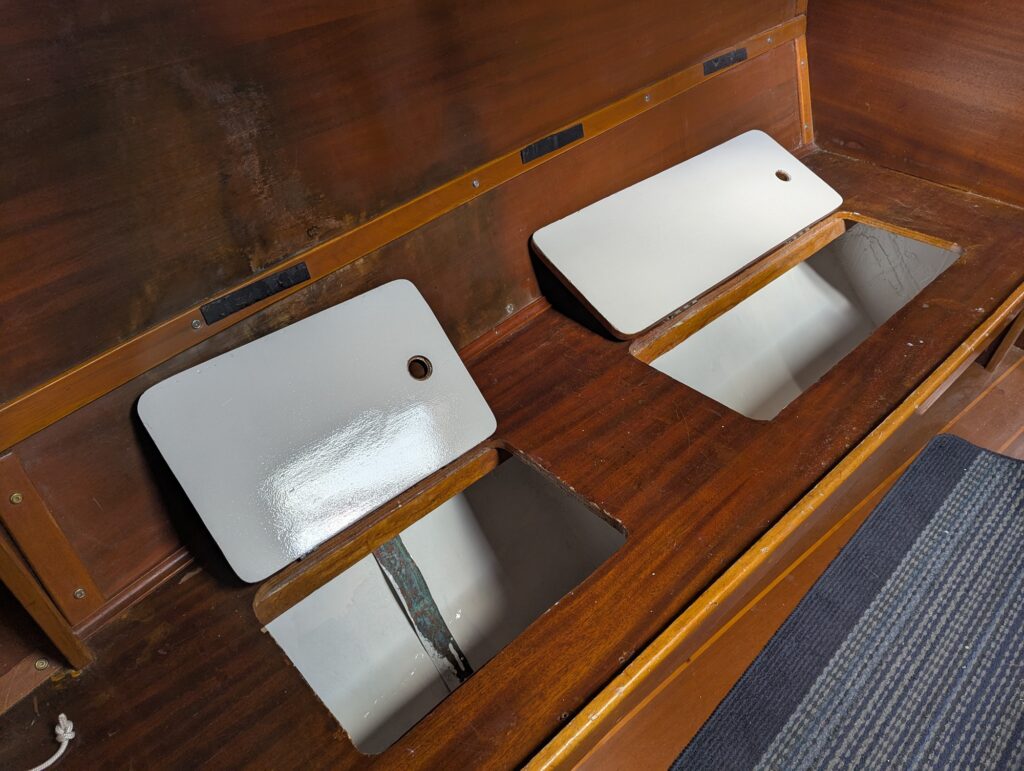
    When we first saw Isola Naida, we were quite content with the finishes and workmanship onboard. Is she the most beautiful boat in the world? No, but she was in good shape that and just needed to be maintained. We’ve had Isola Naida for a few months now and just like owning a home, we’ve found some things that we would like to improve upon to make her our own. The first project on our list of boat work cleaning and refinishing under the salon settee. This is the Starboard Settee Storage Project.

    Before

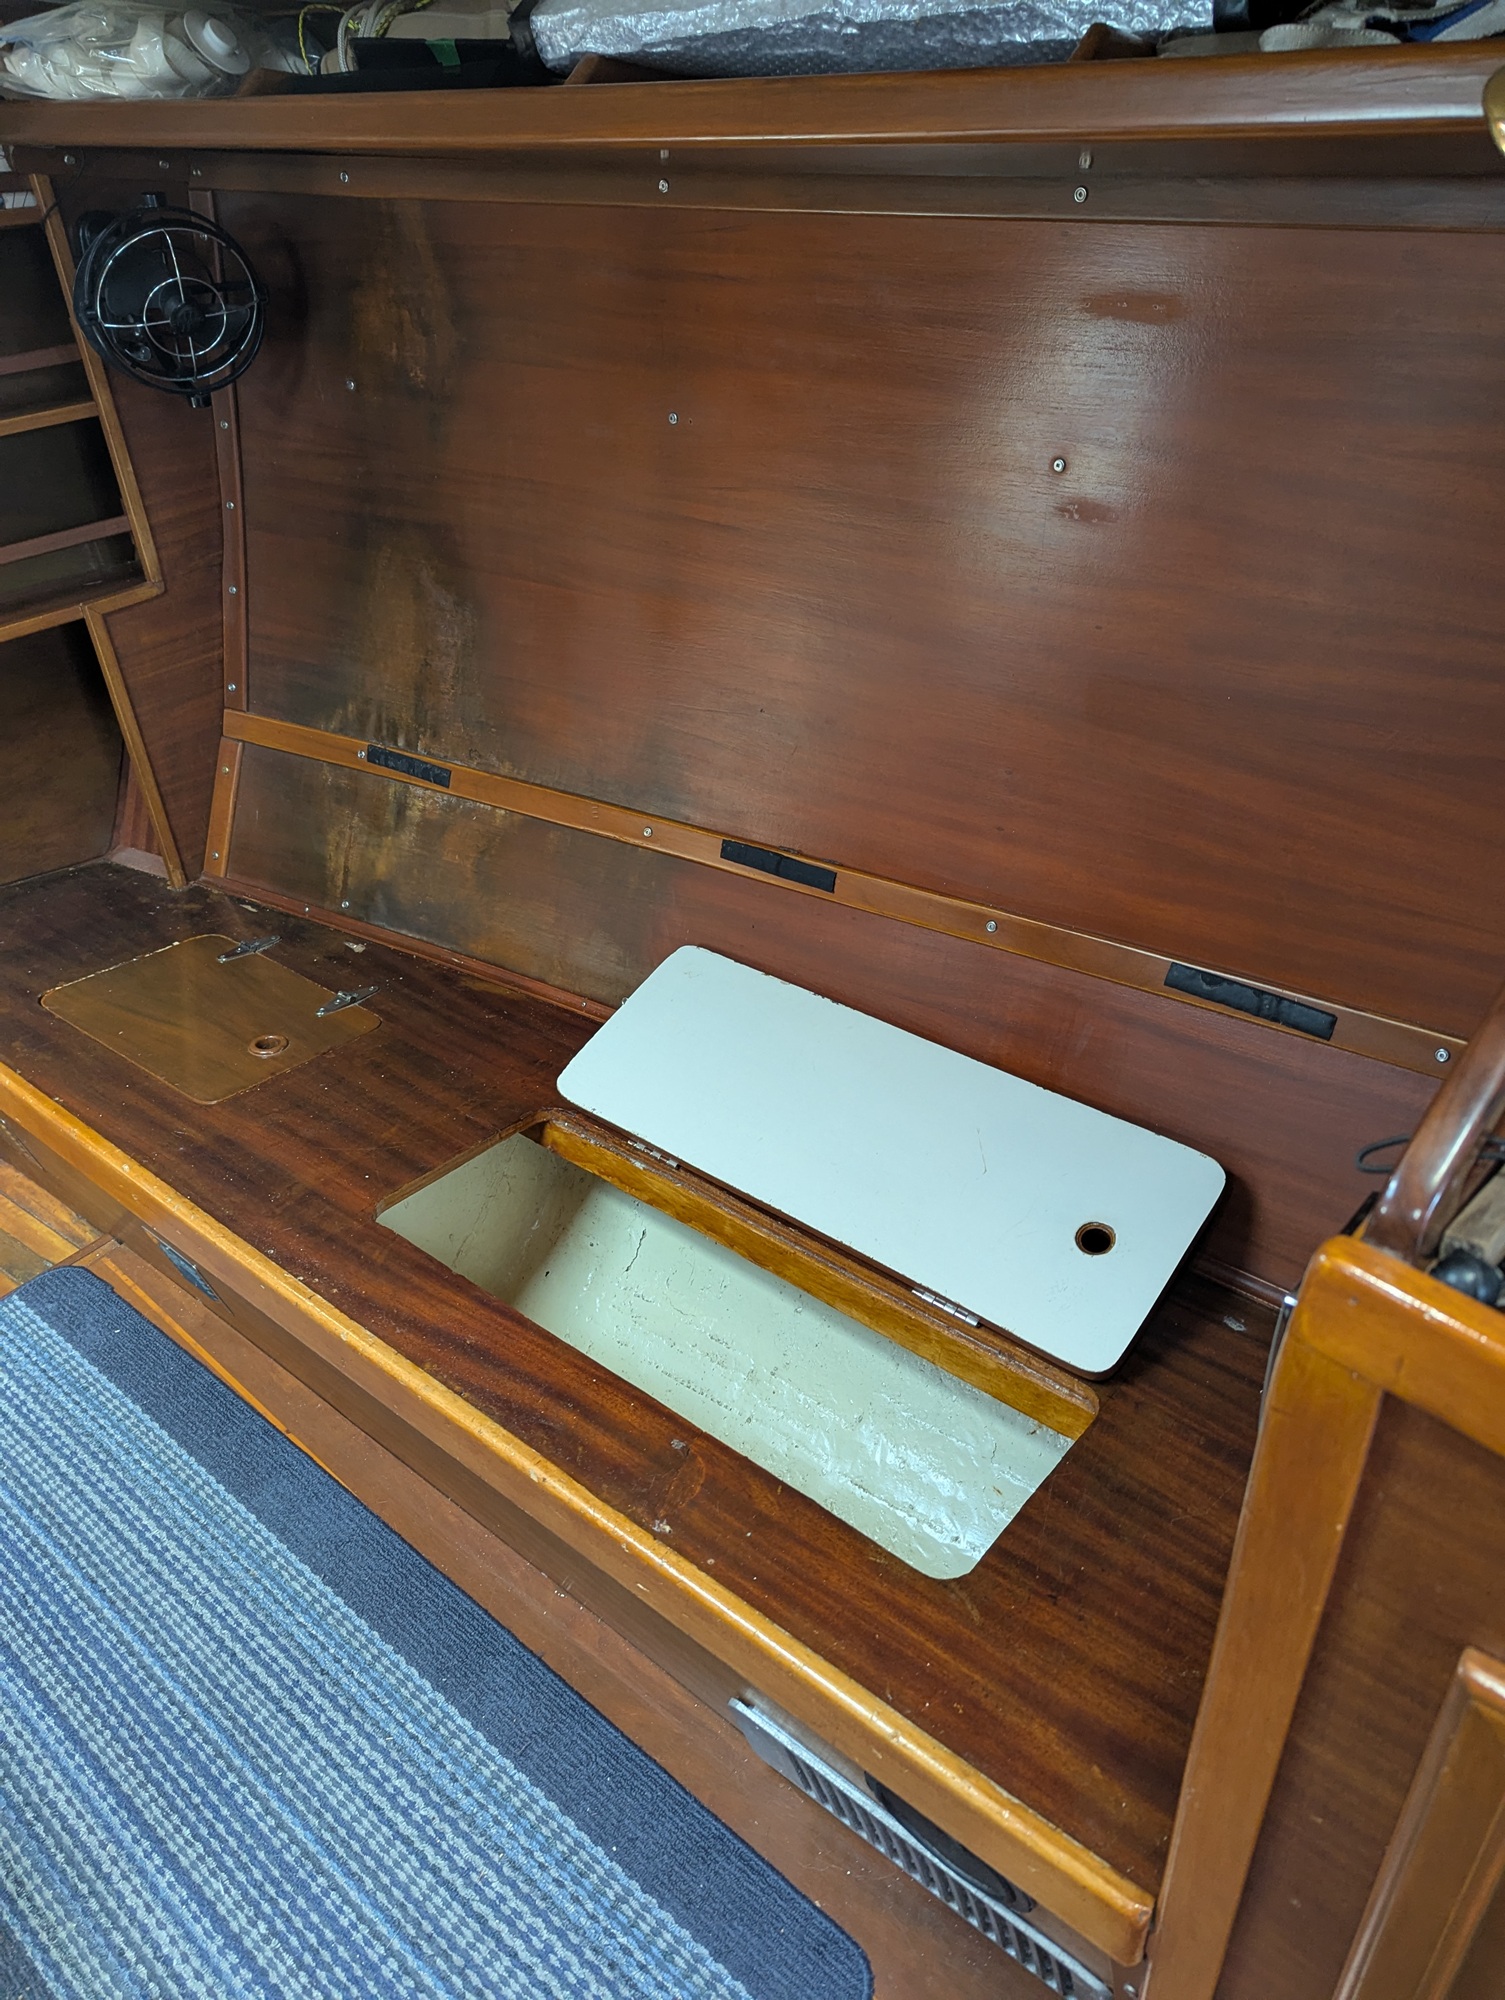
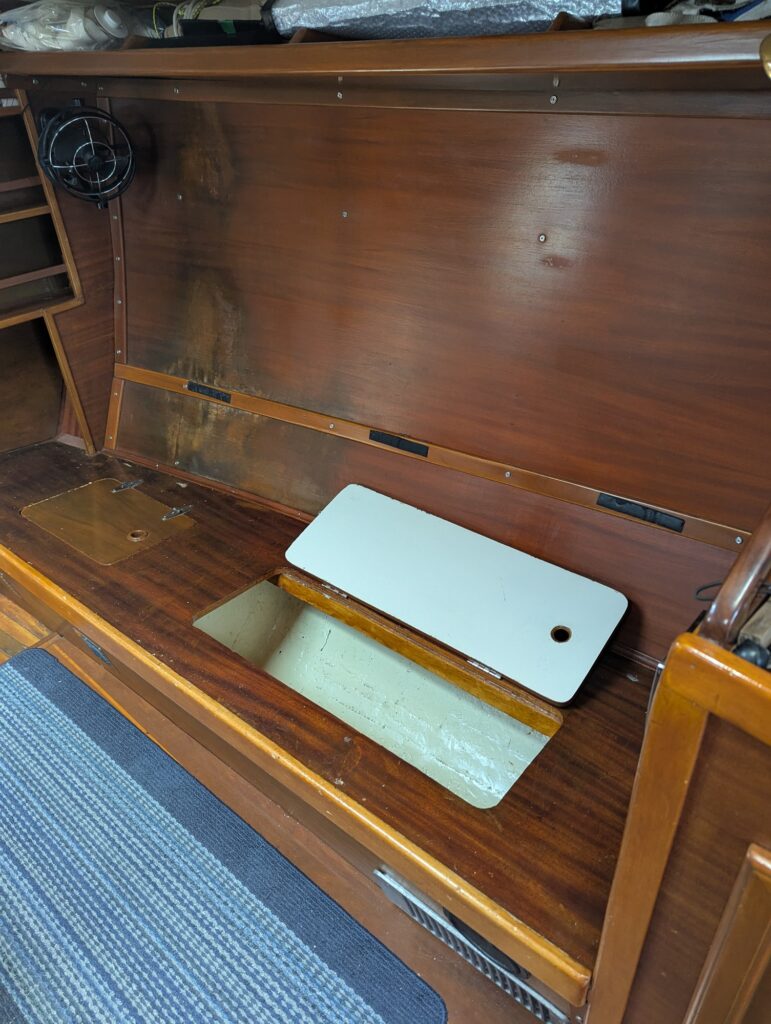
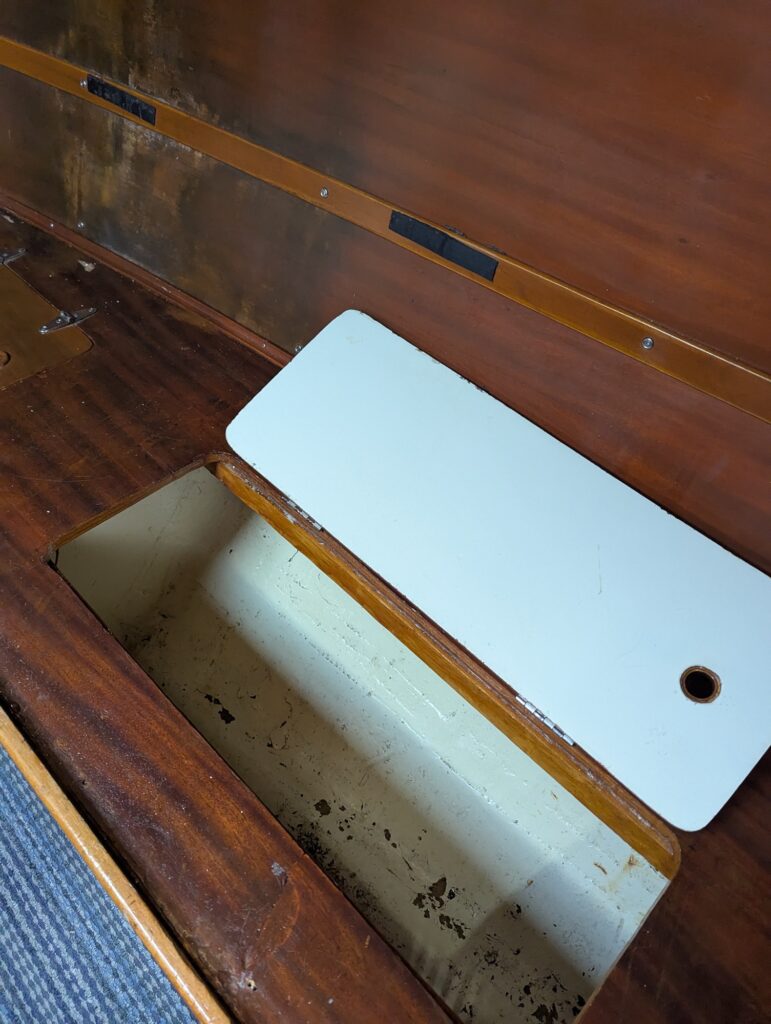
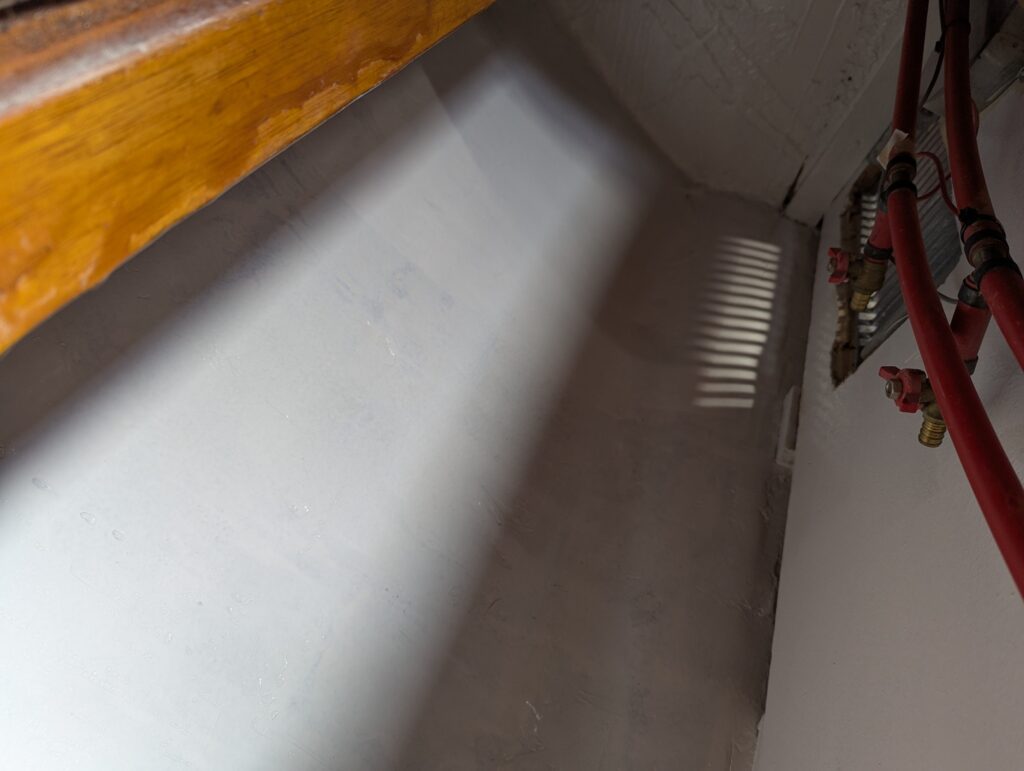
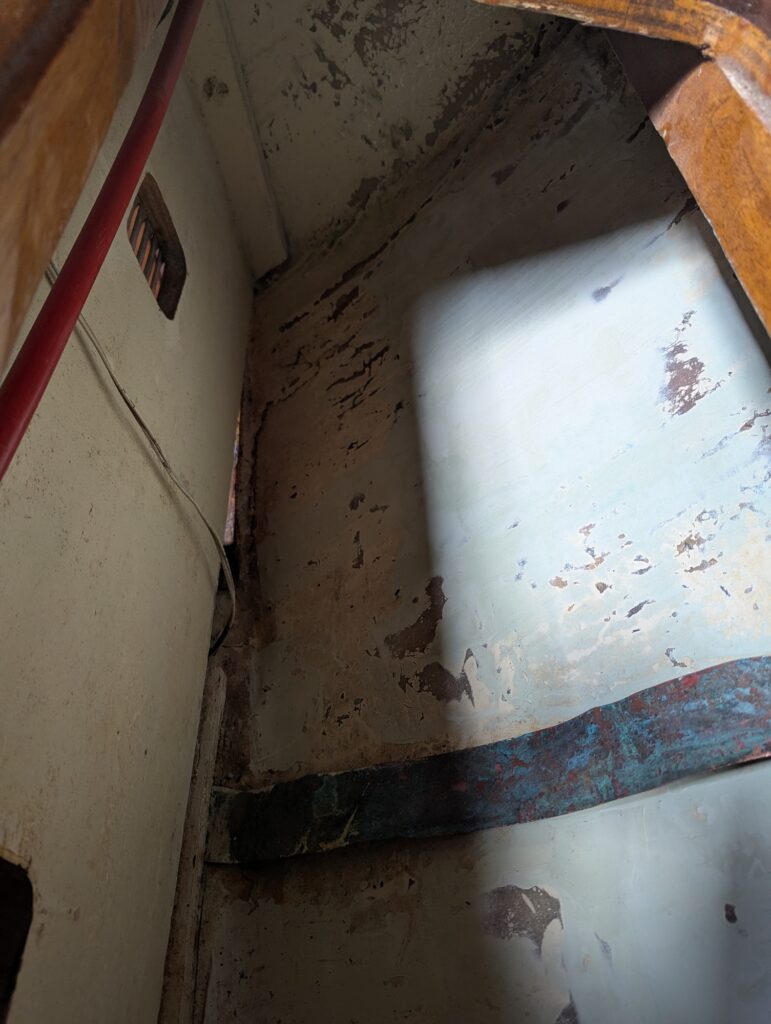
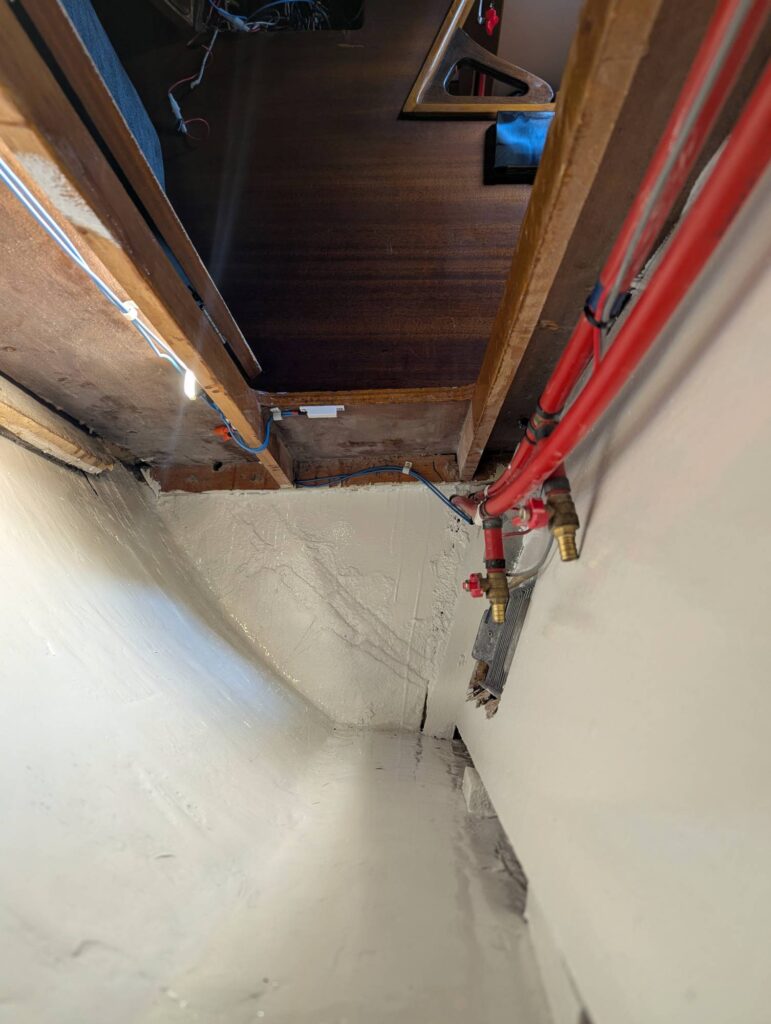
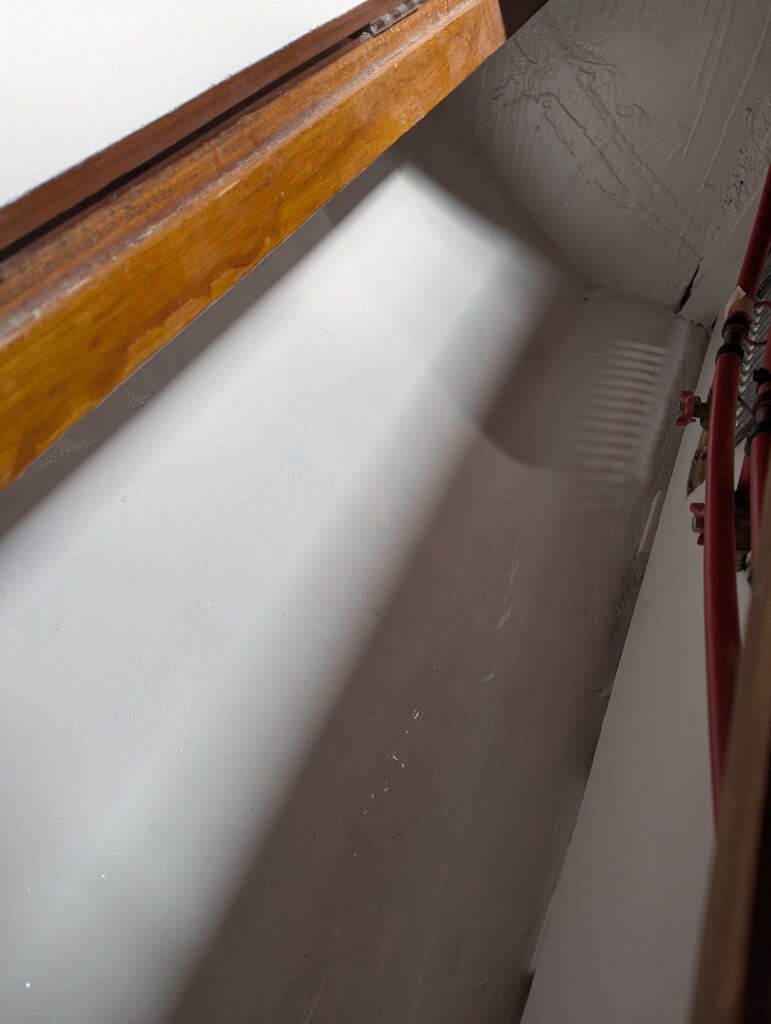
    Under Isola Naida’s salon settee, like many boats, is a storage space directly on top of the interior of the hull. Hull interiors are often left in a state of finish that is livable but not refined. The inner layer of fiberglass cloth tends to cure with dimples. The builder may have spilled resin that cured in globs and were never sanded smooth. None of this is an actual concern – it’s not meant to be seen, so who cares, right?

    Step 1: Sanding

    On 15 August, D’Arcy was aboard Isola Naida to being the process of sanding. Being on the mooring ball and having to rely on the house batteries and solar system, we hoped that we would be able to avoid needing power sanders to complete this project. Hand sanding did surprisingly well, but the process would have taken multiple days to get anywhere near the finish we would like. To make matters worse, the small Shop-Vac was onboard didn’t contain a filter – something we should have checked for before using it – causing the vacuum to blast sanding dust throughout Isola Naida.

    D’Arcy returned a few days later with with a random orbital sander and a his personal shop vacuum. We weren’t sure how much the vacuum or the sander would draw on the electrical system, all we could do was monitor the use and stop if required.

    We quickly discovered that the shop vacuum and the orbital sander combined caused too much draw causing the breaker to the inverter to trip. So began the process of running the sander then quickly switching to the vacuum to collect as much dust out of the air as possible.

    Step 2: Fairing

    It took a few days to get back to the project between working, racing, and other responsibilities. On 29 August, D’Arcy returned to Isola Naida to apply fairing compound to the inside of the hull in the storage lockers. We decided to use 3M Marine Premium Filler, both due to its availability locally and based on the recommendations from professionals.

    The filler is a two part mixture consisting of the filler product and a hardener cream, mixed in a roughly 50:1 ratio. Working time is less than 10 minutes, so it is important to only mix as much as you can apply quickly. We found that 200ml was pushing the limits for our application. The filler mixes up green hardens to a lighter shade of green when applied. We applied the filler with a hand spreader. This filler is ready to sand within 30 minutes, but it would be a few days before we could get back aboard to continue working.

    Steps 3 & 4: Sand, Rinse, Repeat

    D’Arcy was aboard again on 31 August to sand, touchup fairing and paint the storage lockers. After sanding the fairing with 60 grit sandpaper to knock down imperfections and high spots, the whole surface was sanded with 120 grit sandpaper to give the surface a tooth for the paint to grip onto. The surface was vacuumed and given wipe down with acetone. Sanding exposed a few spots that needed more attention, so new fairing was applied in these spots. The 3M Marine Premium Filler has a 30 minute set up time, which was perfect for a lunch break before sanding once more.

    Step 5: Painting

    After vacuuming as much of the dust as possible, and wiping down all surfaces with a acetone, a coat of white Interlux Bilgekote was applied. Bilgekote is an enamel paint designed to protect against water, oil and other contaminates from damaging the wood or fiberglass. The paint was applied using a wool roller wherever possible to achieve a consistent finish. In some of the nooks and crannies, it was necessary to use a brush. In these locations care was taken to apply the paint as smoothly as possible.

    It wasn’t possible to get coverage on every surface due to space restrictions, so we’ll need to revisit painting to touch-up those surfaces.

    Steps 5 Continued

    A quick stop aboard Isola Naida on 8 September provided the perfect opportunity to do some touch-up painting and apply a second coat of Bilgekote to the inside of the storage lockers. The previous coat didn’t provide great coverage in all areas, and some of the upper corners needed to be painted by hand.

    Step 6: Mounting & Wiring

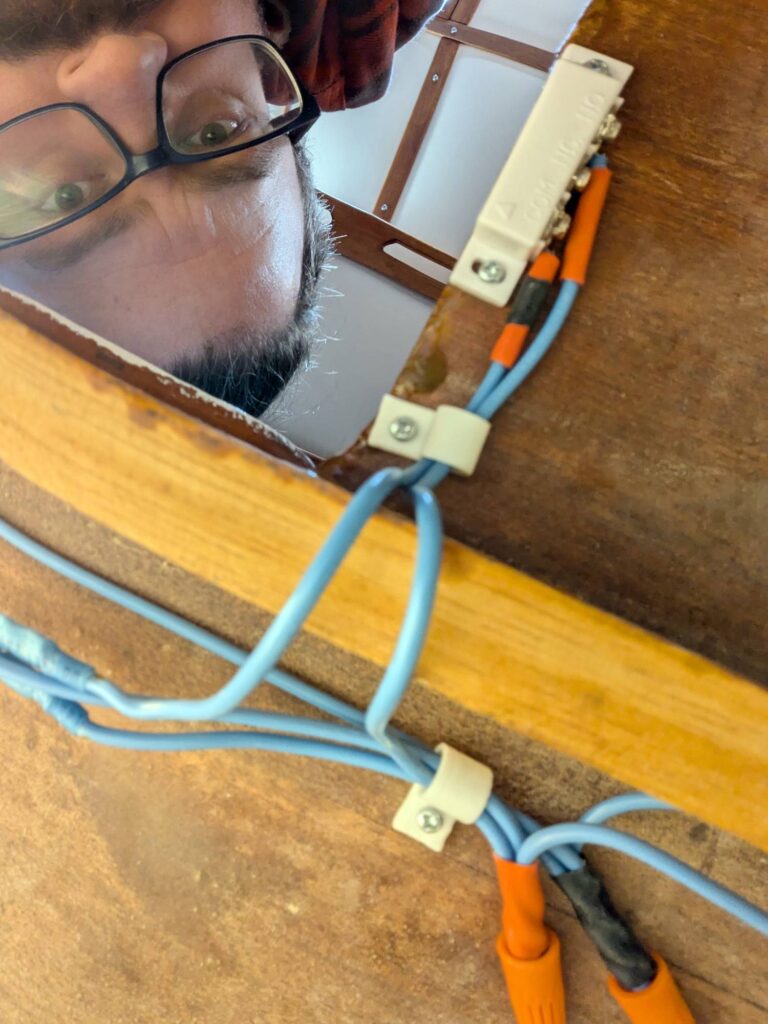
    It’s been a busy few weeks since we were last able to focus on this project. We were able to run the wiring from the electrical panel to the settee on a previous visit. We made as many wiring connections as we could during that visit. On 2 November, D’Arcy was back on Isola Naida to finish off the installation of the lights, magnetic reed switches, and do some cable management.

    The LED strip arrived with a connector wired to the leading end of the strip which made the first length of lights an easy installation. Heat-shrink wire connectors were used to connect the positive and negative leads to the magnetic read switch and the negative wire heading back to the panel.

    The smaller locker proved to be a bit more of an undertaking. We opted to solder directly to the LED strip instead of ordering strip connectors. It took more attempts that D’Arcy would like to admit, but eventually we had a working circuit. To help ensure that everything stays in place, we applied a spot of hot glue over the soldered connections and between the wires to both strengthen the connection and prevent leverage being applied to the soldered points. Finally, a piece of heat-shrink tubing was applied over everything; really solidifying the connection.

    The final step was to install everything to the underside of the settee. Small screws were used to hold the switches in place. The LED strip was stuck on using the 3M Adhesive backing (which we are expecting to fail in the future, at which point we will explore other solutions). For cable management, D’Arcy 3D printed cable clips to hold the wires in place. These were screwed in as necessary to tidy everything up.


    With that, the Starboard Settee Storage Project is complete! In the future, we’re hoping to add the same lighting feature to the Port Settee. Thanks for following along with this project. The next big project will be to patch our Caribe RHIB.