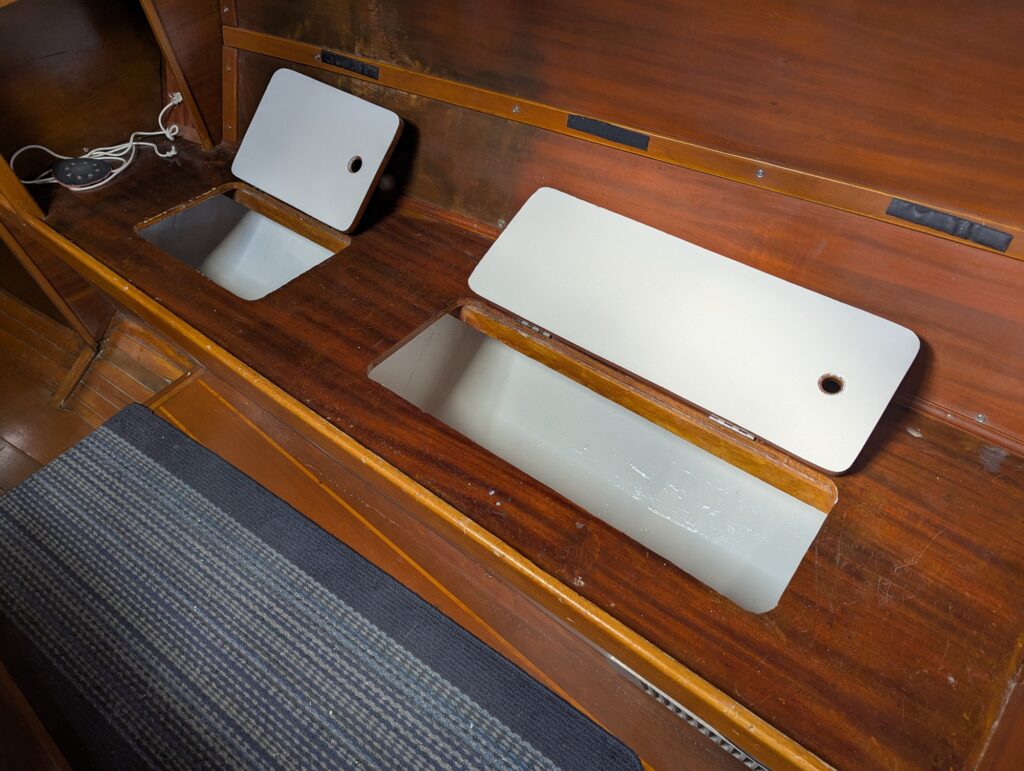
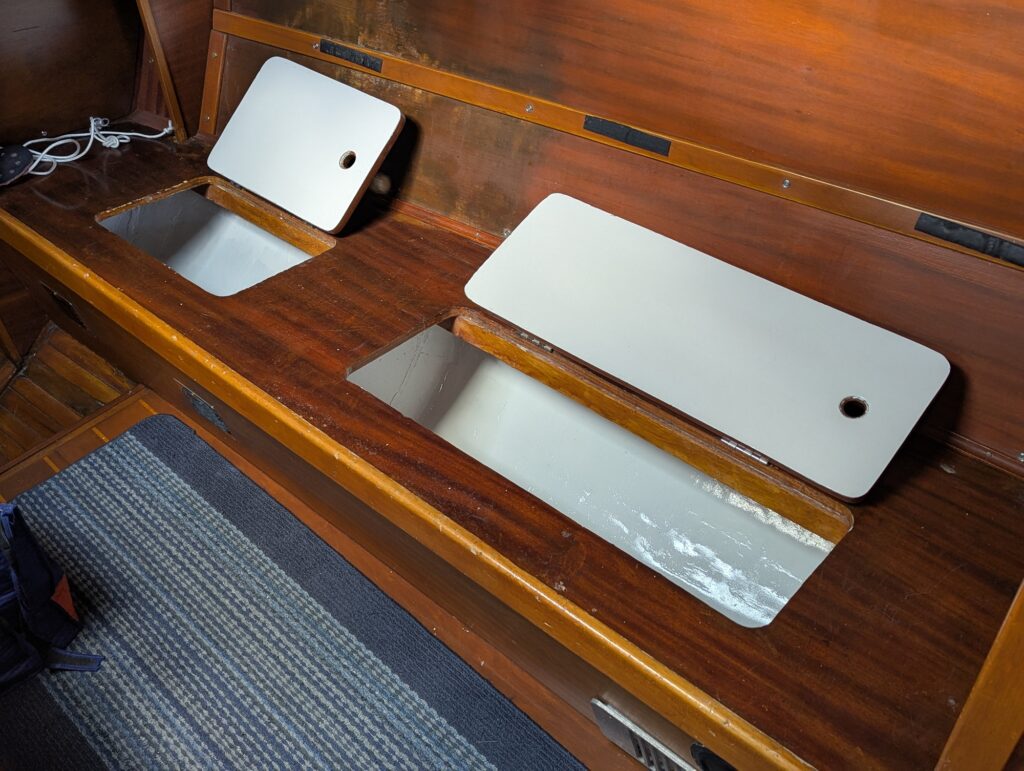
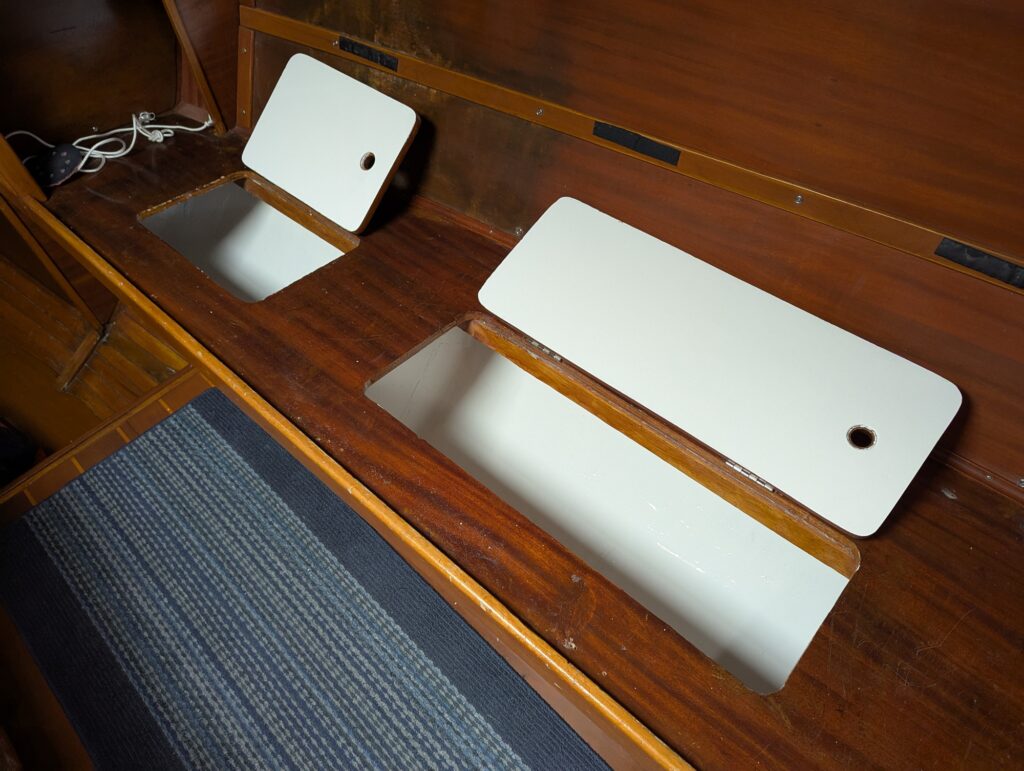
When we first saw Isola Naida, we were quite content with the finishes and workmanship onboard. Is she the most beautiful boat in the world? No, but she was in good shape that and just needed to be maintained. We’ve had Isola Naida for a few months now and just like owning a home, we’ve found some things that we would like to improve upon to make her our own. The first project on our list of boat work cleaning and refinishing under the salon settee. This is the Starboard Settee Storage Project.
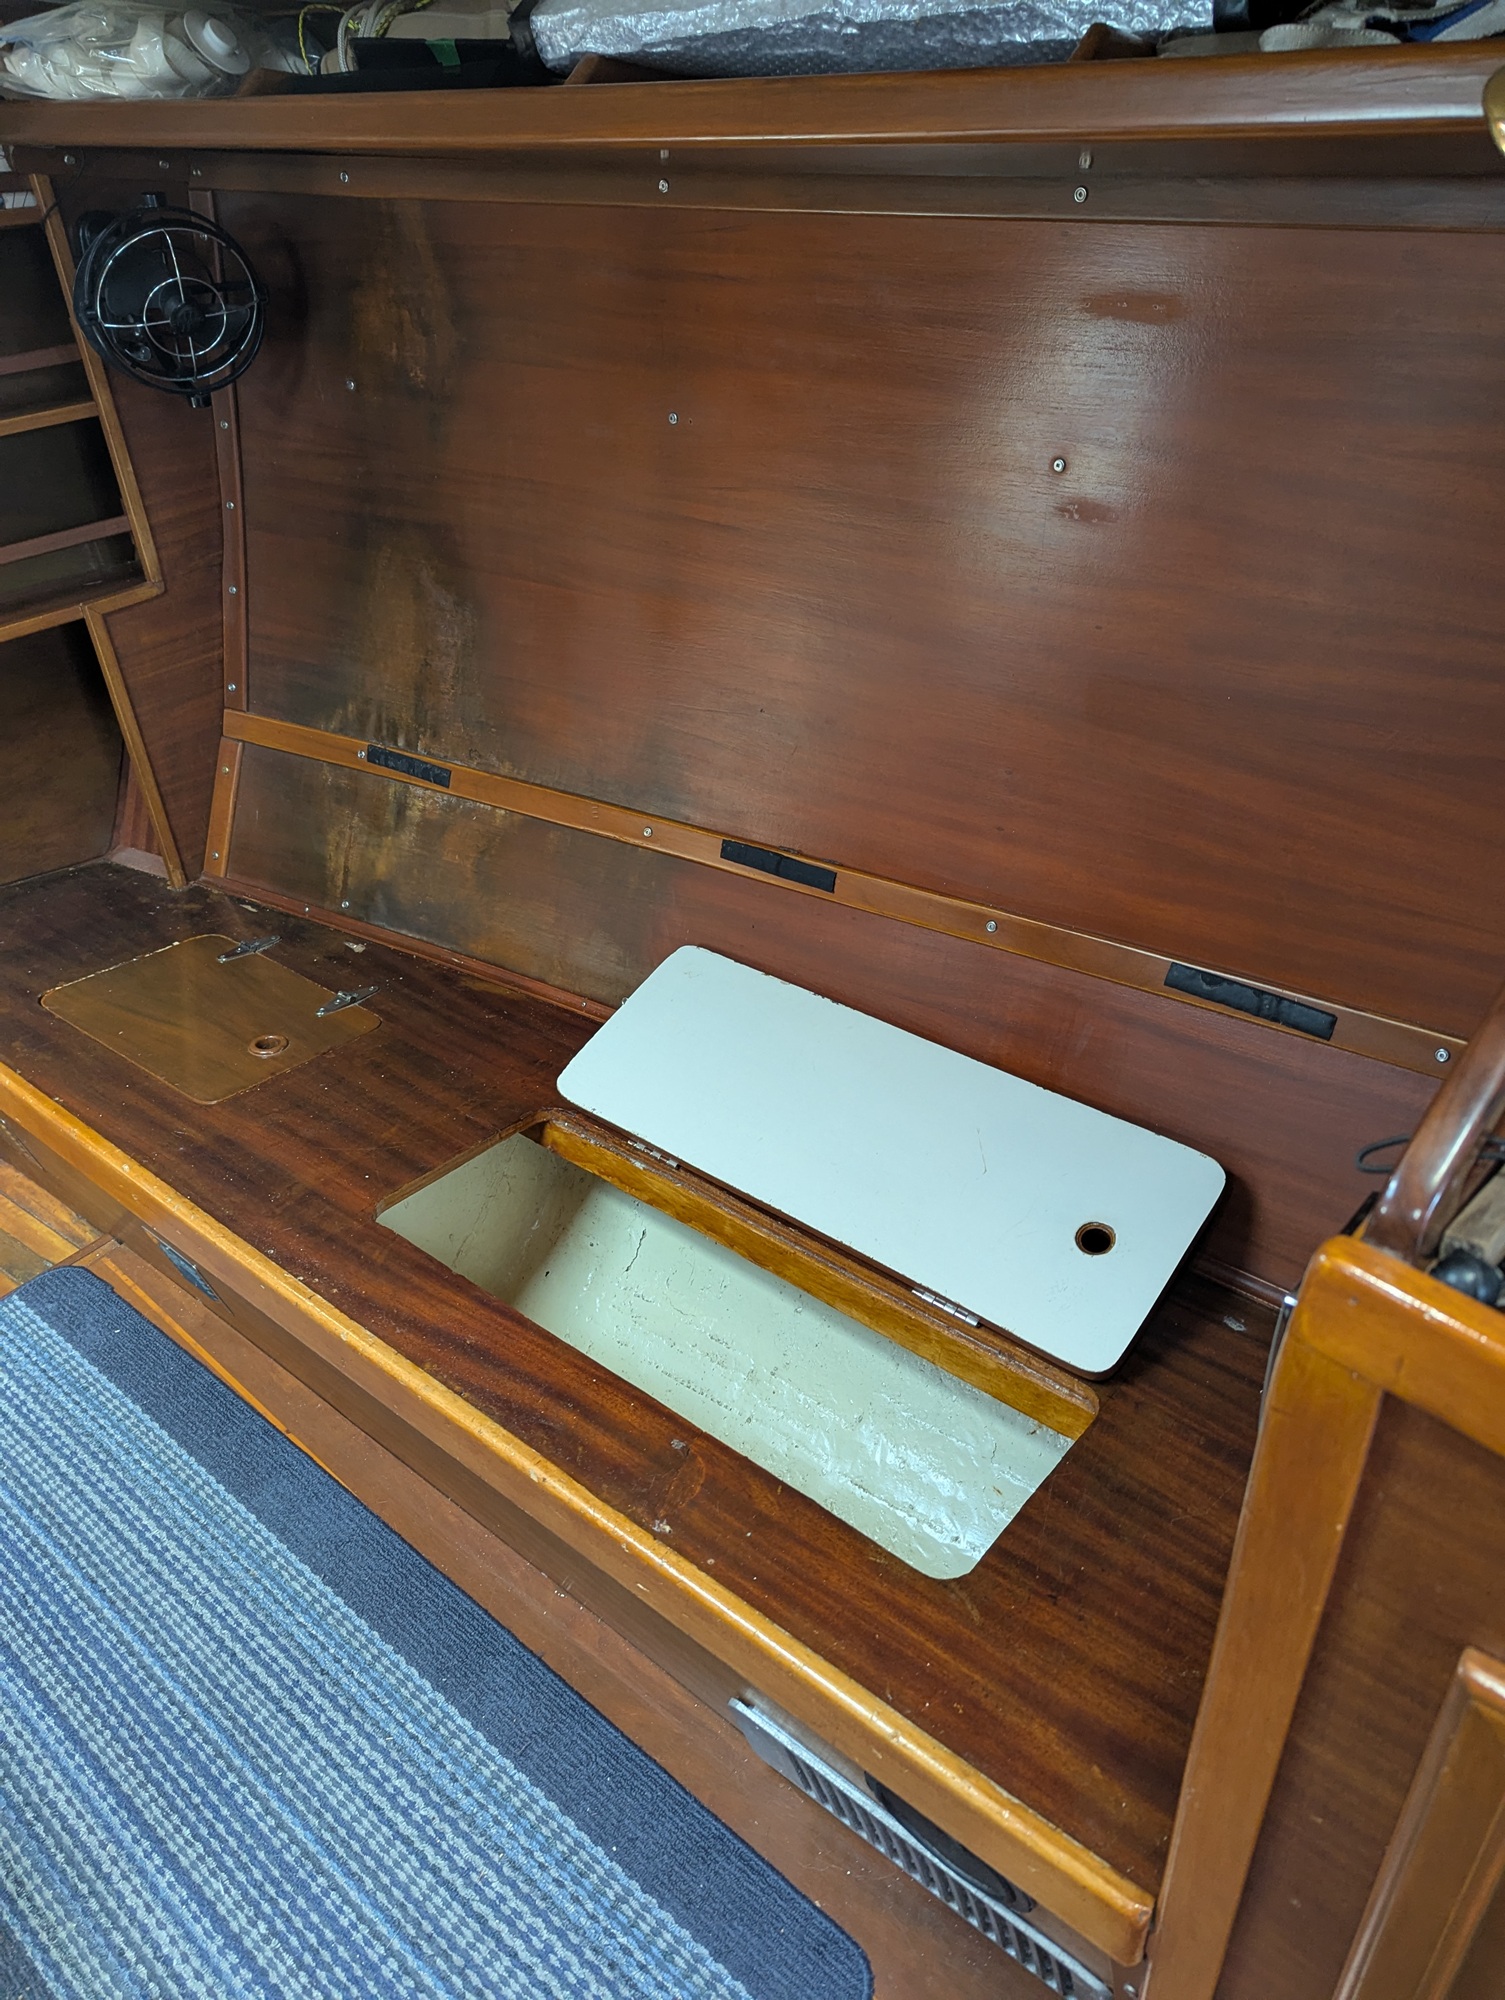
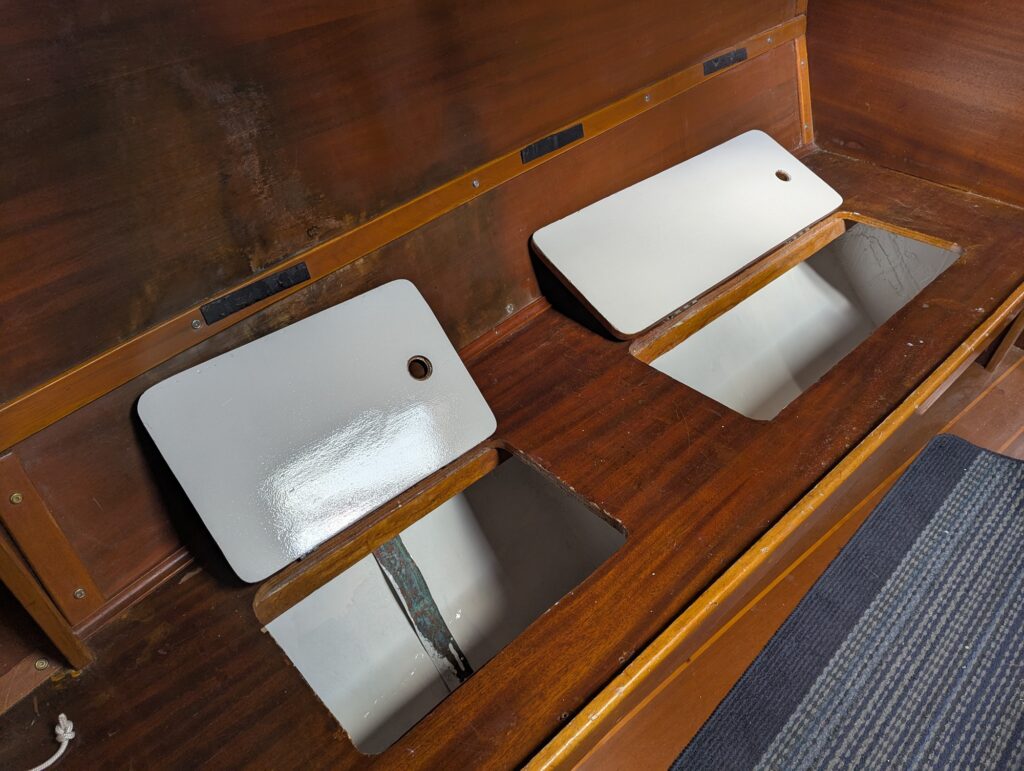
Before
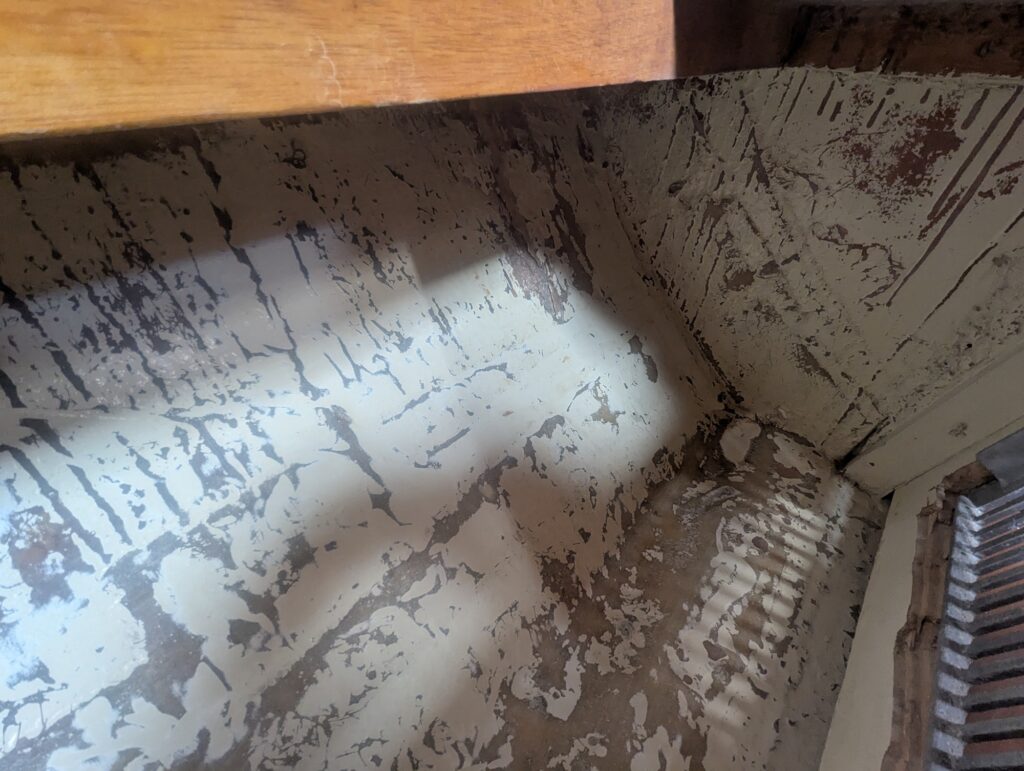
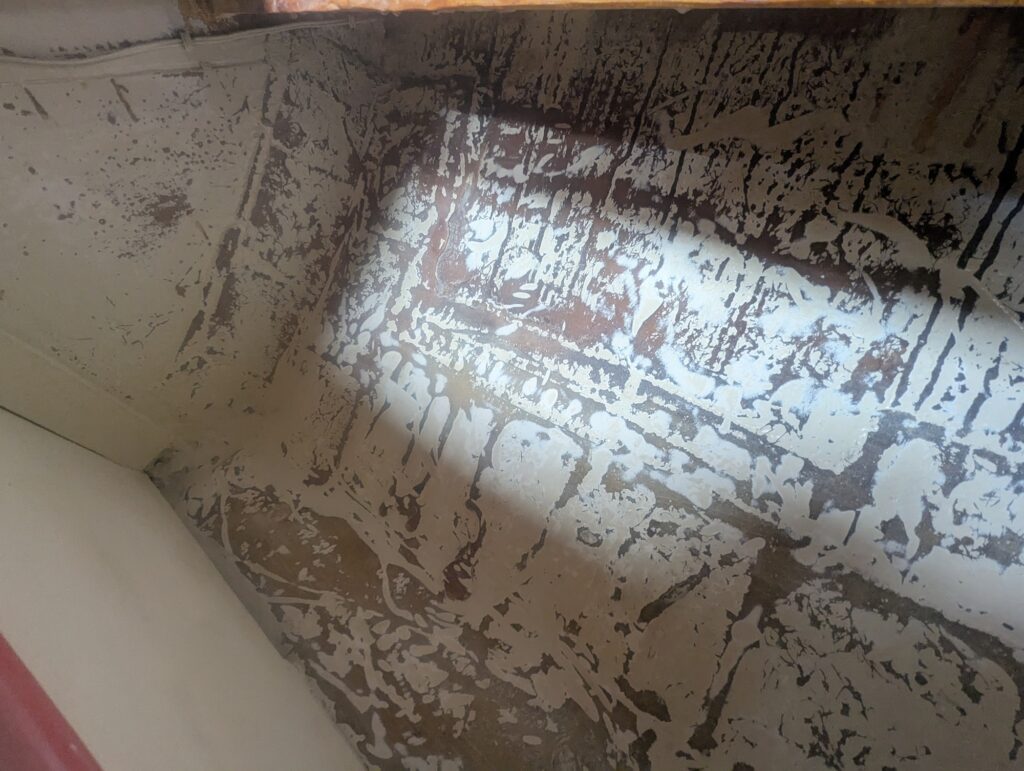
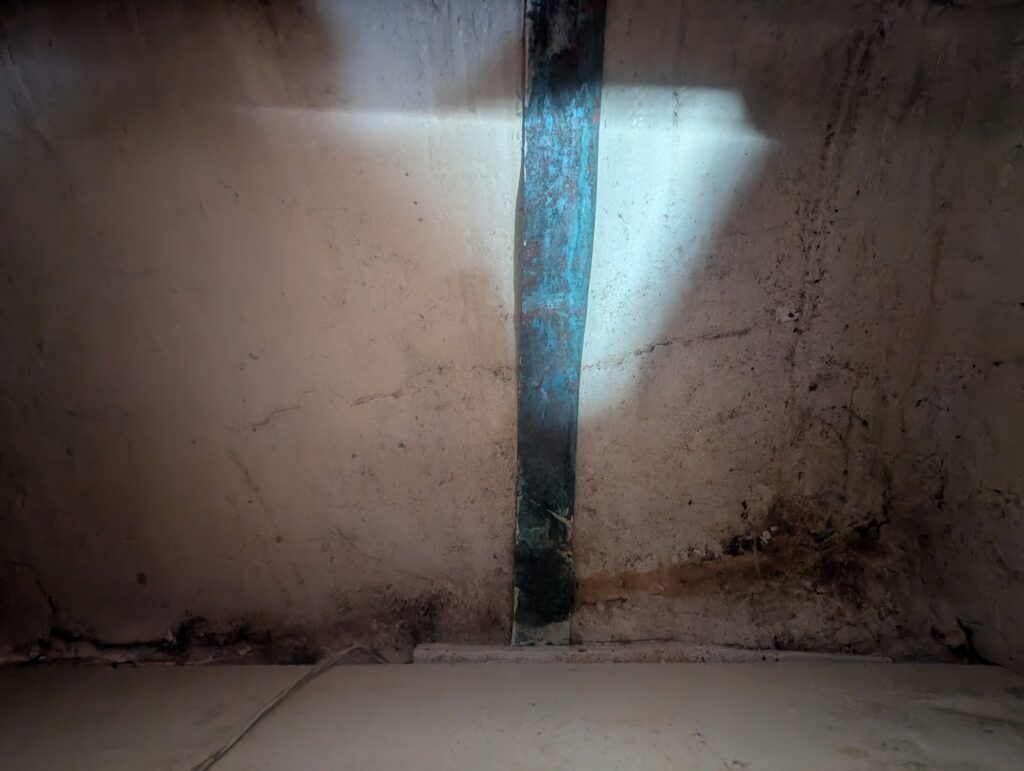
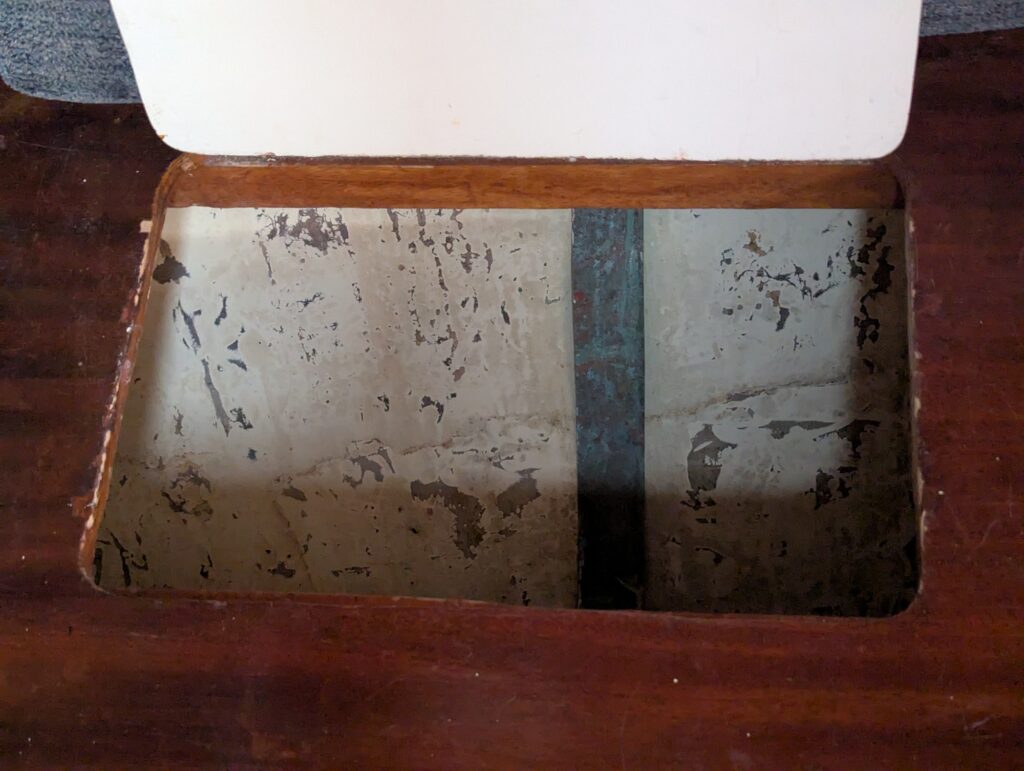
Under Isola Naida’s salon settee, like many boats, is a storage space directly on top of the interior of the hull. Hull interiors are often left in a state of finish that is livable but not refined. The inner layer of fiberglass cloth tends to cure with dimples. The builder may have spilled resin that cured in globs and were never sanded smooth. None of this is an actual concern – it’s not meant to be seen, so who cares, right?
The Vision
Our goal is to re-finish the interior of the hull in this area so that it is smooth, at least, as smooth as we can get it without tearing out the settee. From there we’ll apply a fresh coat of white bilge paint to protect the interior of the hull from any spills that may occur. Finally, we’ll install soft white LED strip lights that illuminate the storage space when the hatch is opened.
Since we aren’t living aboard Isola Naida yet, we aren’t sure how we are going to use this space yet. In the future, when we’ve figured that out, we’ll make containers or dividers that will help keep the space organized in all conditions. Smoothing the hull will help by providing a more uniform surface for those containers or dividers to be designed for.
The Plan
The plan is as follows:
- Sand hull with 60 grit followed by 120 grit
- Fair hull to fill and smooth surface
- Sand fairing with 60 grit followed by 120 grit
- Repeat steps 2 & 3 as required
- Paint with Interlux Bilgekote
- Mount and Connect lighting and switches
Step 1: Sanding
On 15 August, D’Arcy was aboard Isola Naida to being the process of sanding. Being on the mooring ball and having to rely on the house batteries and solar system, we hoped that we would be able to avoid needing power sanders to complete this project. Hand sanding did surprisingly well, but the process would have taken multiple days to get anywhere near the finish we would like. To make matters worse, the small Shop-Vac was onboard didn’t contain a filter – something we should have checked for before using it – causing the vacuum to blast sanding dust throughout Isola Naida.
D’Arcy returned a few days later with with a random orbital sander and a his personal shop vacuum. We weren’t sure how much the vacuum or the sander would draw on the electrical system, all we could do was monitor the use and stop if required.
We quickly discovered that the shop vacuum and the orbital sander combined caused too much draw causing the breaker to the inverter to trip. So began the process of running the sander then quickly switching to the vacuum to collect as much dust out of the air as possible.
Step 2: Fairing
It took a few days to get back to the project between working, racing, and other responsibilities. On 29 August, D’Arcy returned to Isola Naida to apply fairing compound to the inside of the hull in the storage lockers. We decided to use 3M Marine Premium Filler, both due to its availability locally and based on the recommendations from professionals.
The filler is a two part mixture consisting of the filler product and a hardener cream, mixed in a roughly 50:1 ratio. Working time is less than 10 minutes, so it is important to only mix as much as you can apply quickly. We found that 200ml was pushing the limits for our application. The filler mixes up green hardens to a lighter shade of green when applied. We applied the filler with a hand spreader. This filler is ready to sand within 30 minutes, but it would be a few days before we could get back aboard to continue working.
Steps 3 & 4: Sand, Rinse, Repeat
D’Arcy was aboard again on 31 August to sand, touchup fairing and paint the storage lockers. After sanding the fairing with 60 grit sandpaper to knock down imperfections and high spots, the whole surface was sanded with 120 grit sandpaper to give the surface a tooth for the paint to grip onto. The surface was vacuumed and given wipe down with acetone. Sanding exposed a few spots that needed more attention, so new fairing was applied in these spots. The 3M Marine Premium Filler has a 30 minute set up time, which was perfect for a lunch break before sanding once more.
Step 5: Painting
After vacuuming as much of the dust as possible, and wiping down all surfaces with a acetone, a coat of white Interlux Bilgekote was applied. Bilgekote is an enamel paint designed to protect against water, oil and other contaminates from damaging the wood or fiberglass. The paint was applied using a wool roller wherever possible to achieve a consistent finish. In some of the nooks and crannies, it was necessary to use a brush. In these locations care was taken to apply the paint as smoothly as possible.
It wasn’t possible to get coverage on every surface due to space restrictions, so we’ll need to revisit painting to touch-up those surfaces.
Steps 5 Continued
A quick stop aboard Isola Naida on 8 September provided the perfect opportunity to do some touch-up painting and apply a second coat of Bilgekote to the inside of the storage lockers. The previous coat didn’t provide great coverage in all areas, and some of the upper corners needed to be painted by hand.
This post will be updated with the remaining steps as the work is completed. Come back soon to see the progress and results!